

Decadent Black Forest Thumbprint Cookies
These chocolate cherry thumbprint cookies are a black forest cookie in disguise: rich cocoa dough, a pool of cherry preserves in the center, and a chocolate drizzle on top that makes them look bakery-fancy. After testing, I learned that cold dough is the key, so chill the filled cookies for a full hour (or overnight) and bake them straight from the fridge to keep them from spreading too much. Bake just 12 per sheet, and as soon as they come out of the oven, scoot each cookie with a large round cookie cutter or an upside down glass to nudge the soft edges back into perfectly round cookies. Once they cool, drizzle with chocolate to finish.
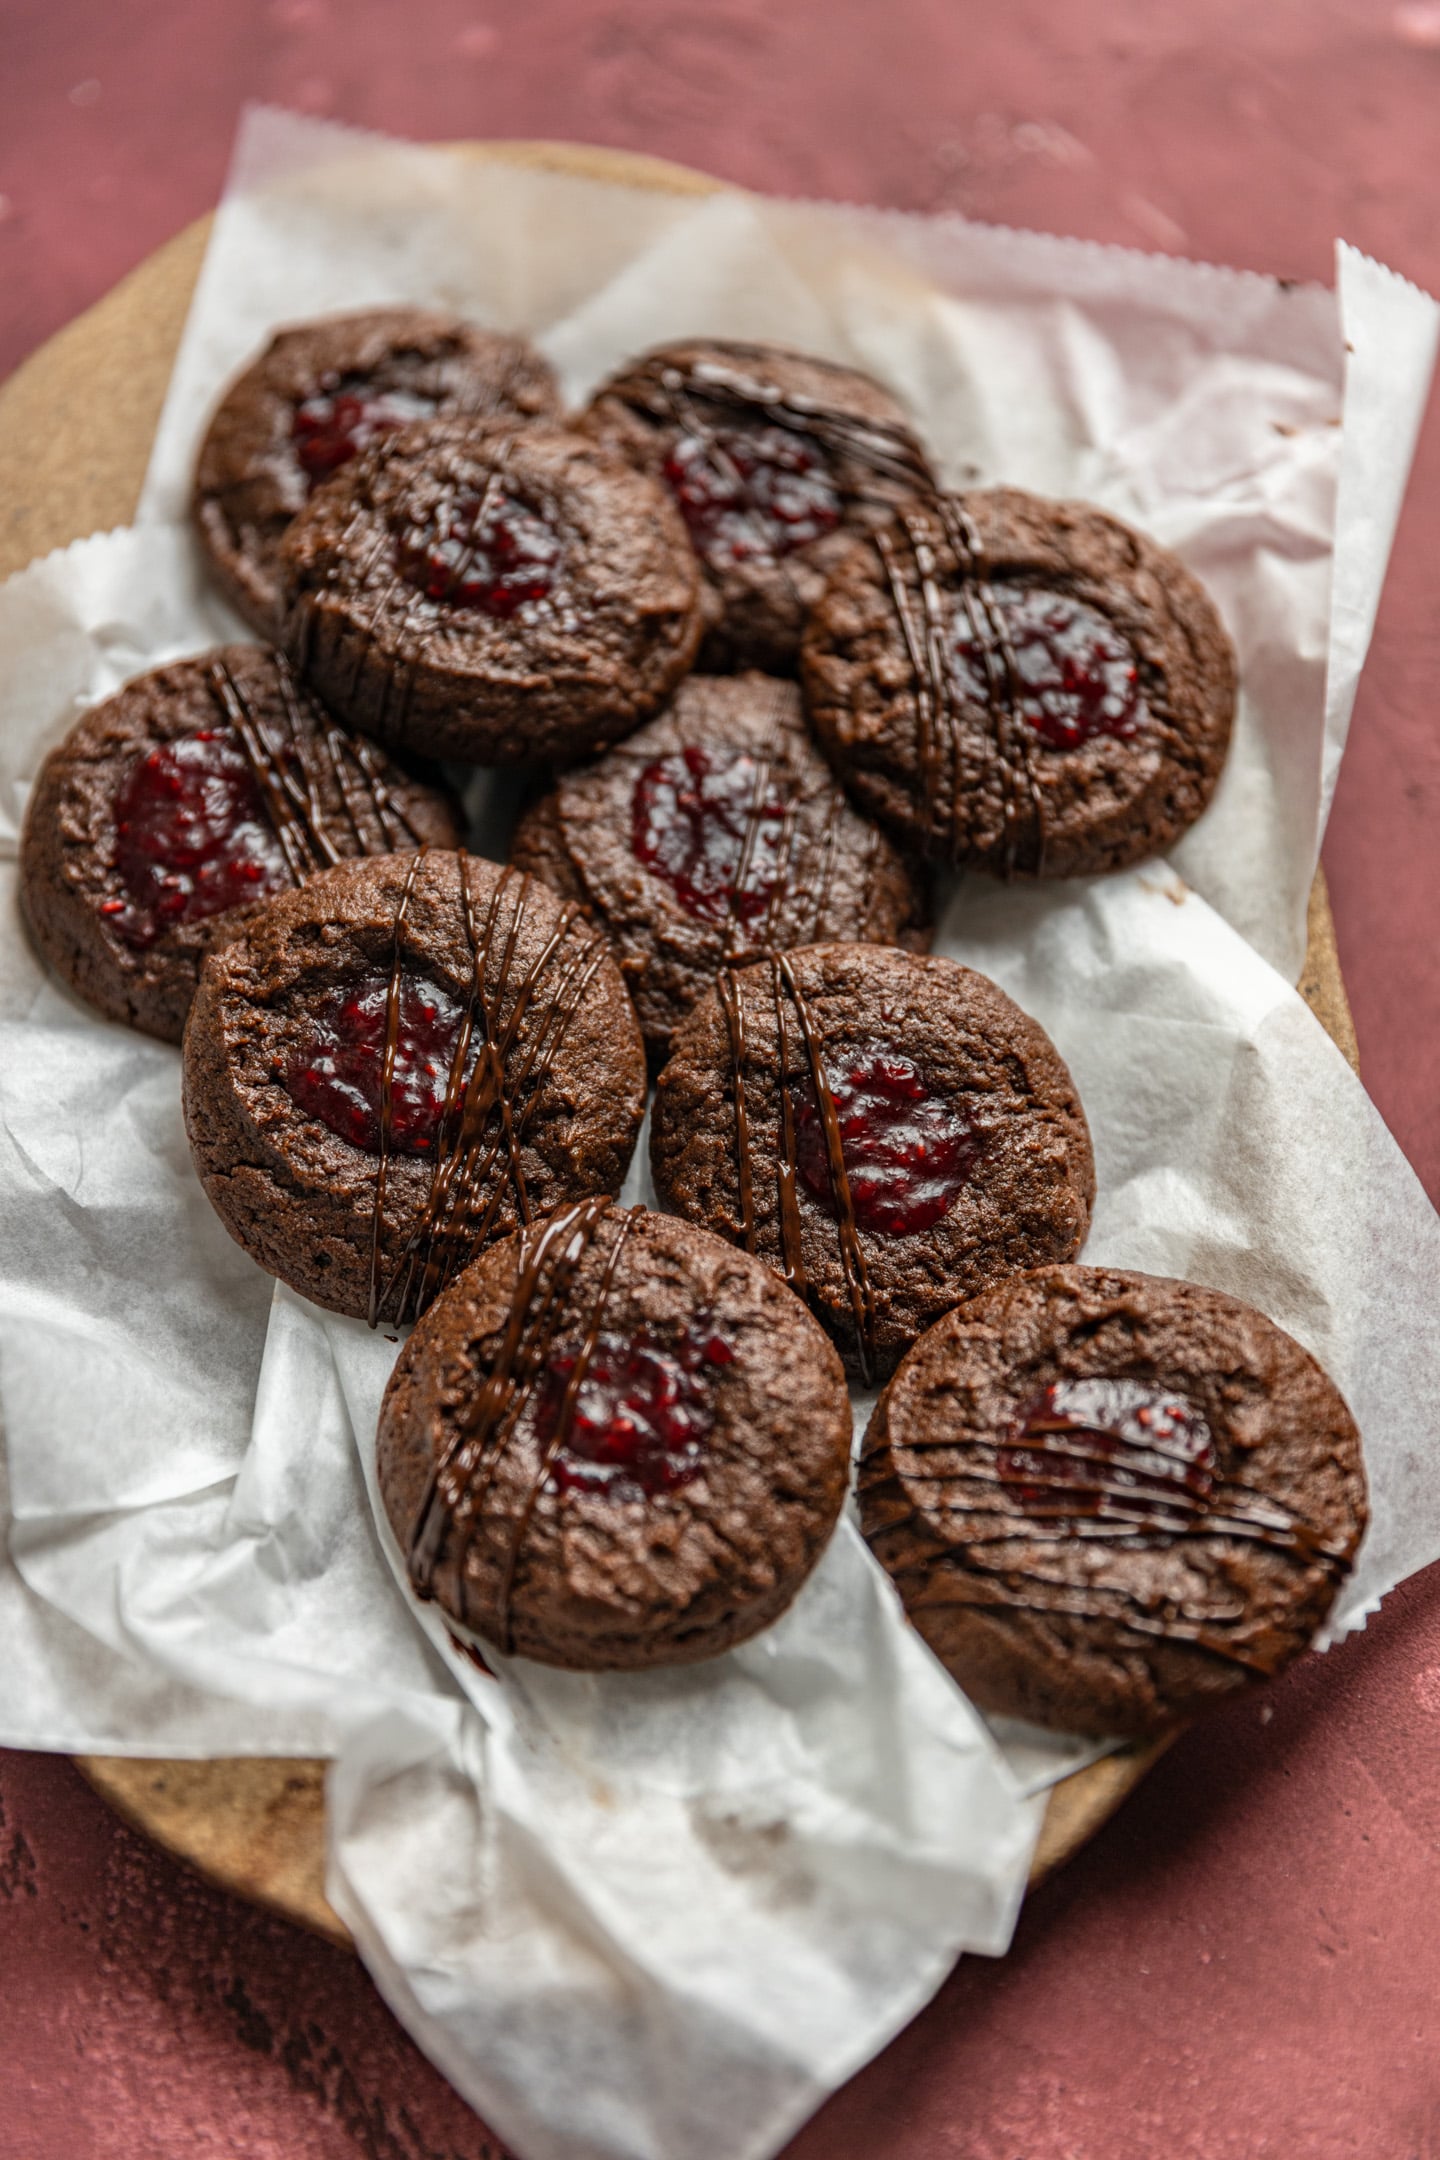
I have been making a ton of new holiday cookies for this year’s cookie box and I could not stop thinking about making these black forst thumprint cookies. As a professional baker, cookie season is my favorite season of all and I like to come up with new cookie flavors or twists on a classic recipe.
These chocolate cherry thumbprints have a melt in your mouth texture, somehow almost like a shortbread. The addition of corn starch keeps these super soft, which is not something I put in all my cookies but this one needed it!
They also have a deep rich chocolate flavor, and a juicy tang from the cherry preserves. While I was recipe testing, I decided to try these with raspberry preserves too, and they were just as delicious!
I wanted to make sure these didnt spread out too much and that they were on the smaller more puffy side, not flattened out, just like my cookie butter blossoms. The key to make that happen was to make sure the dough goes in really cold and to scoot the cookies with a round larger cookie cutter right when they came out of the oven. That helps to squish the cookie back up to a smaller size.
Because I also like to make my desserts really pretty, these tricks really helped and lived up to my expectations! Lastly, I drizzled some melted chocolated just on one side of the cookie so make it even prettier. It definitely made them look more professional, yay!
Use Preserves
I wanted to make sure that the filling wouldnt be to runny, so instead of using jam or jelly I used preserves which were thick enough to keep the shape while baked.
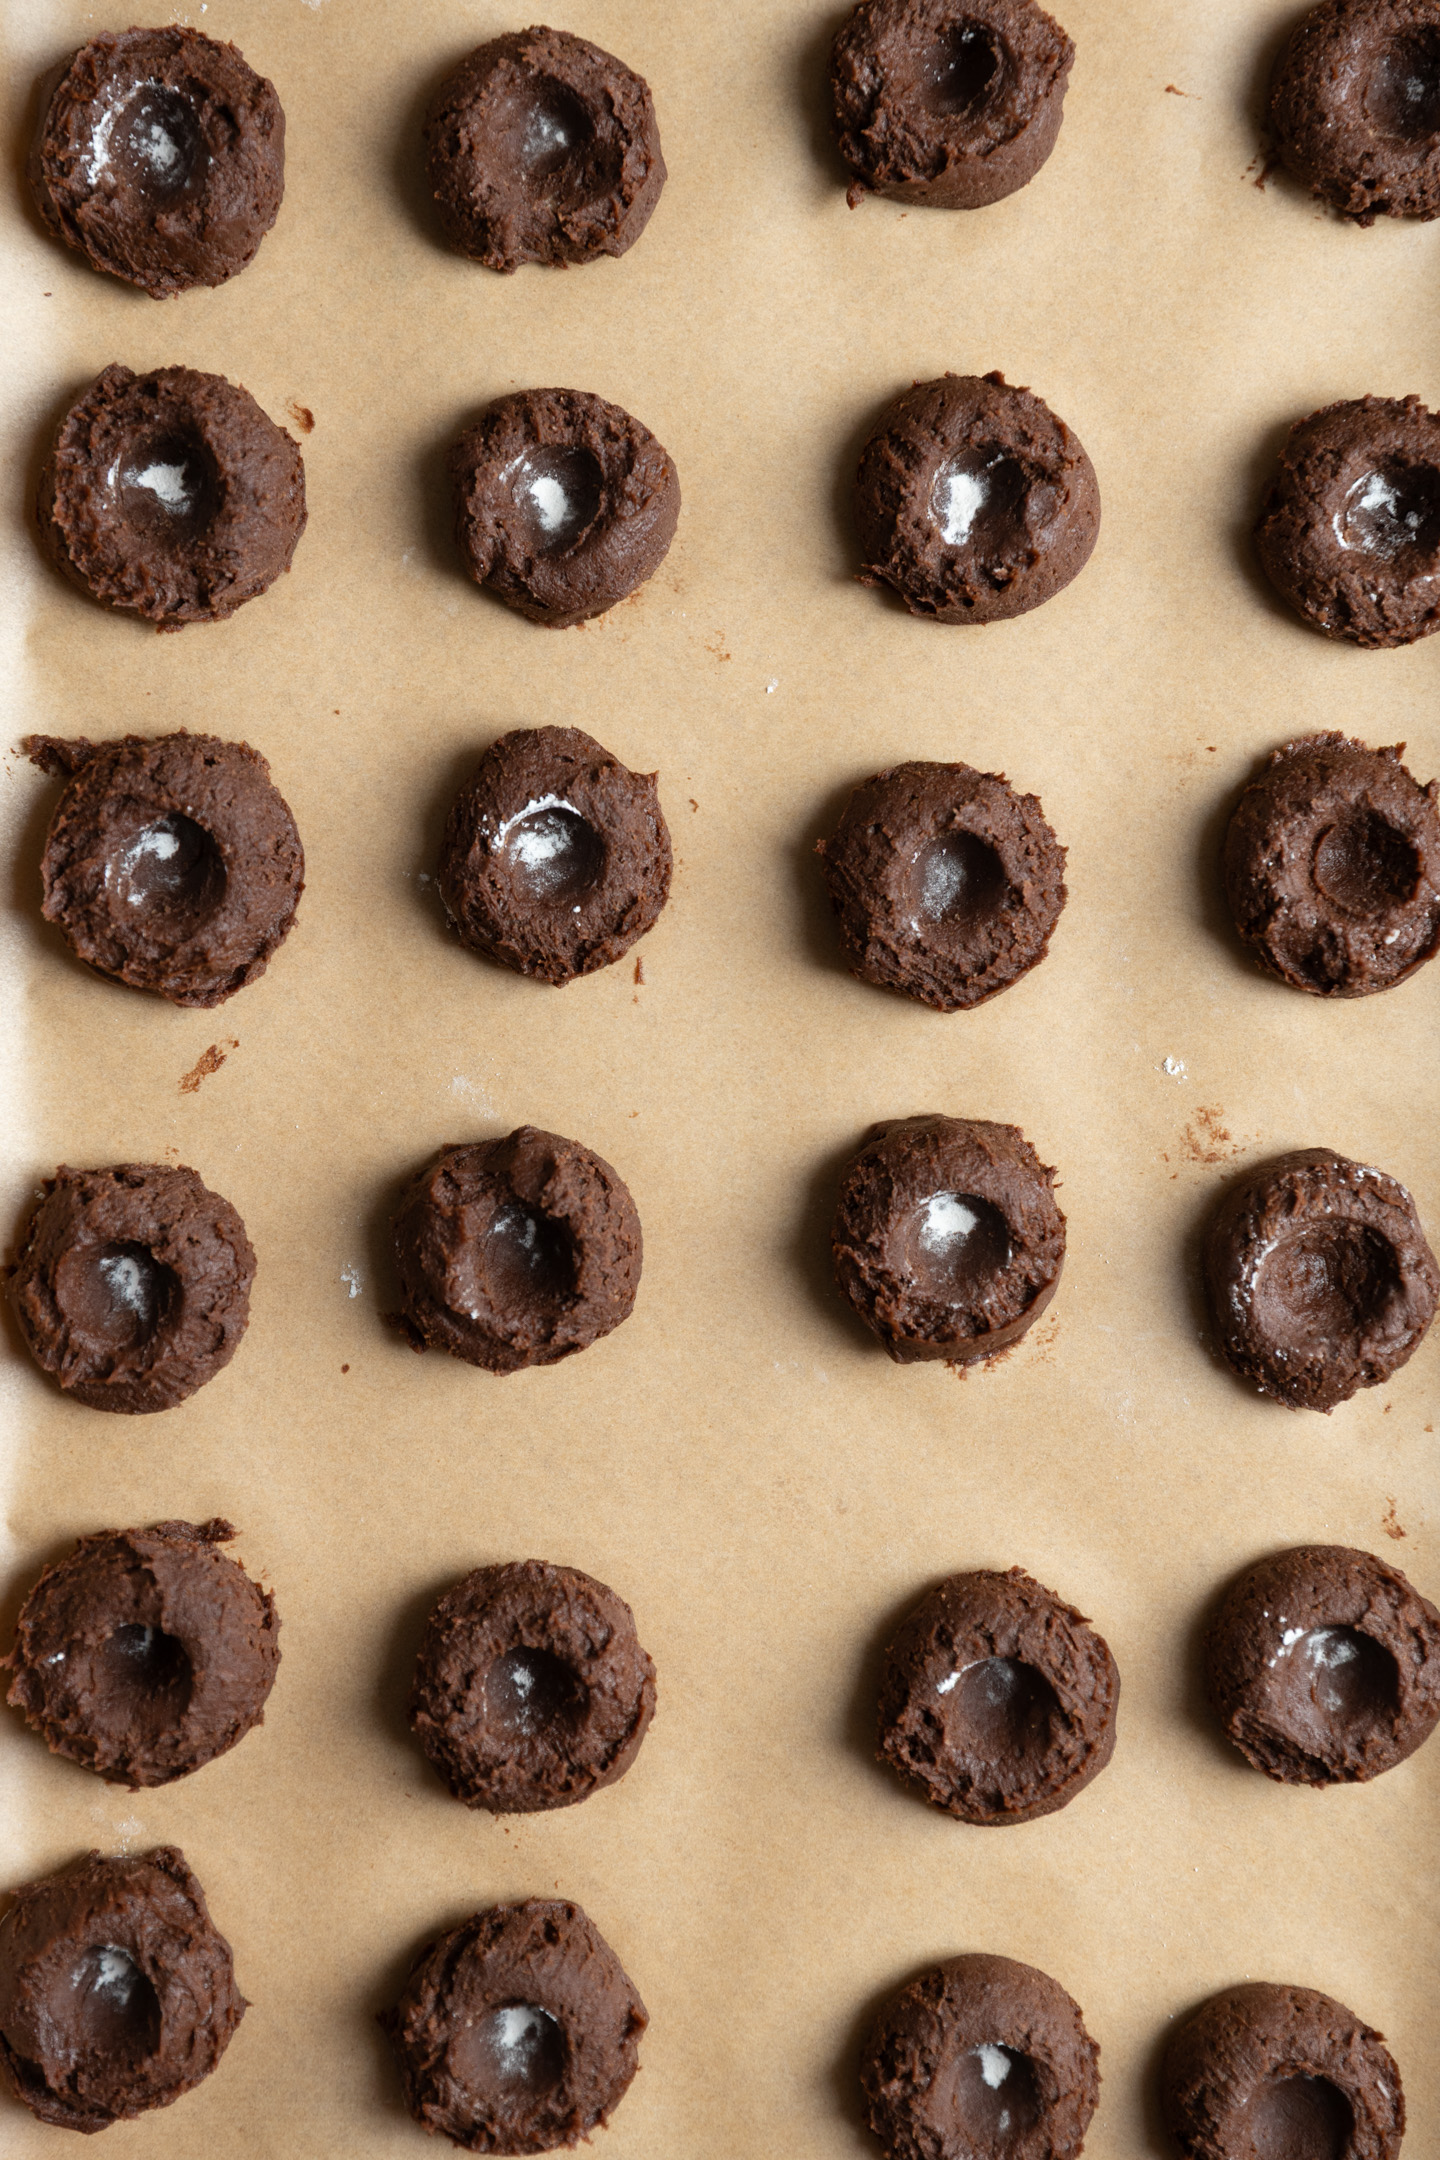
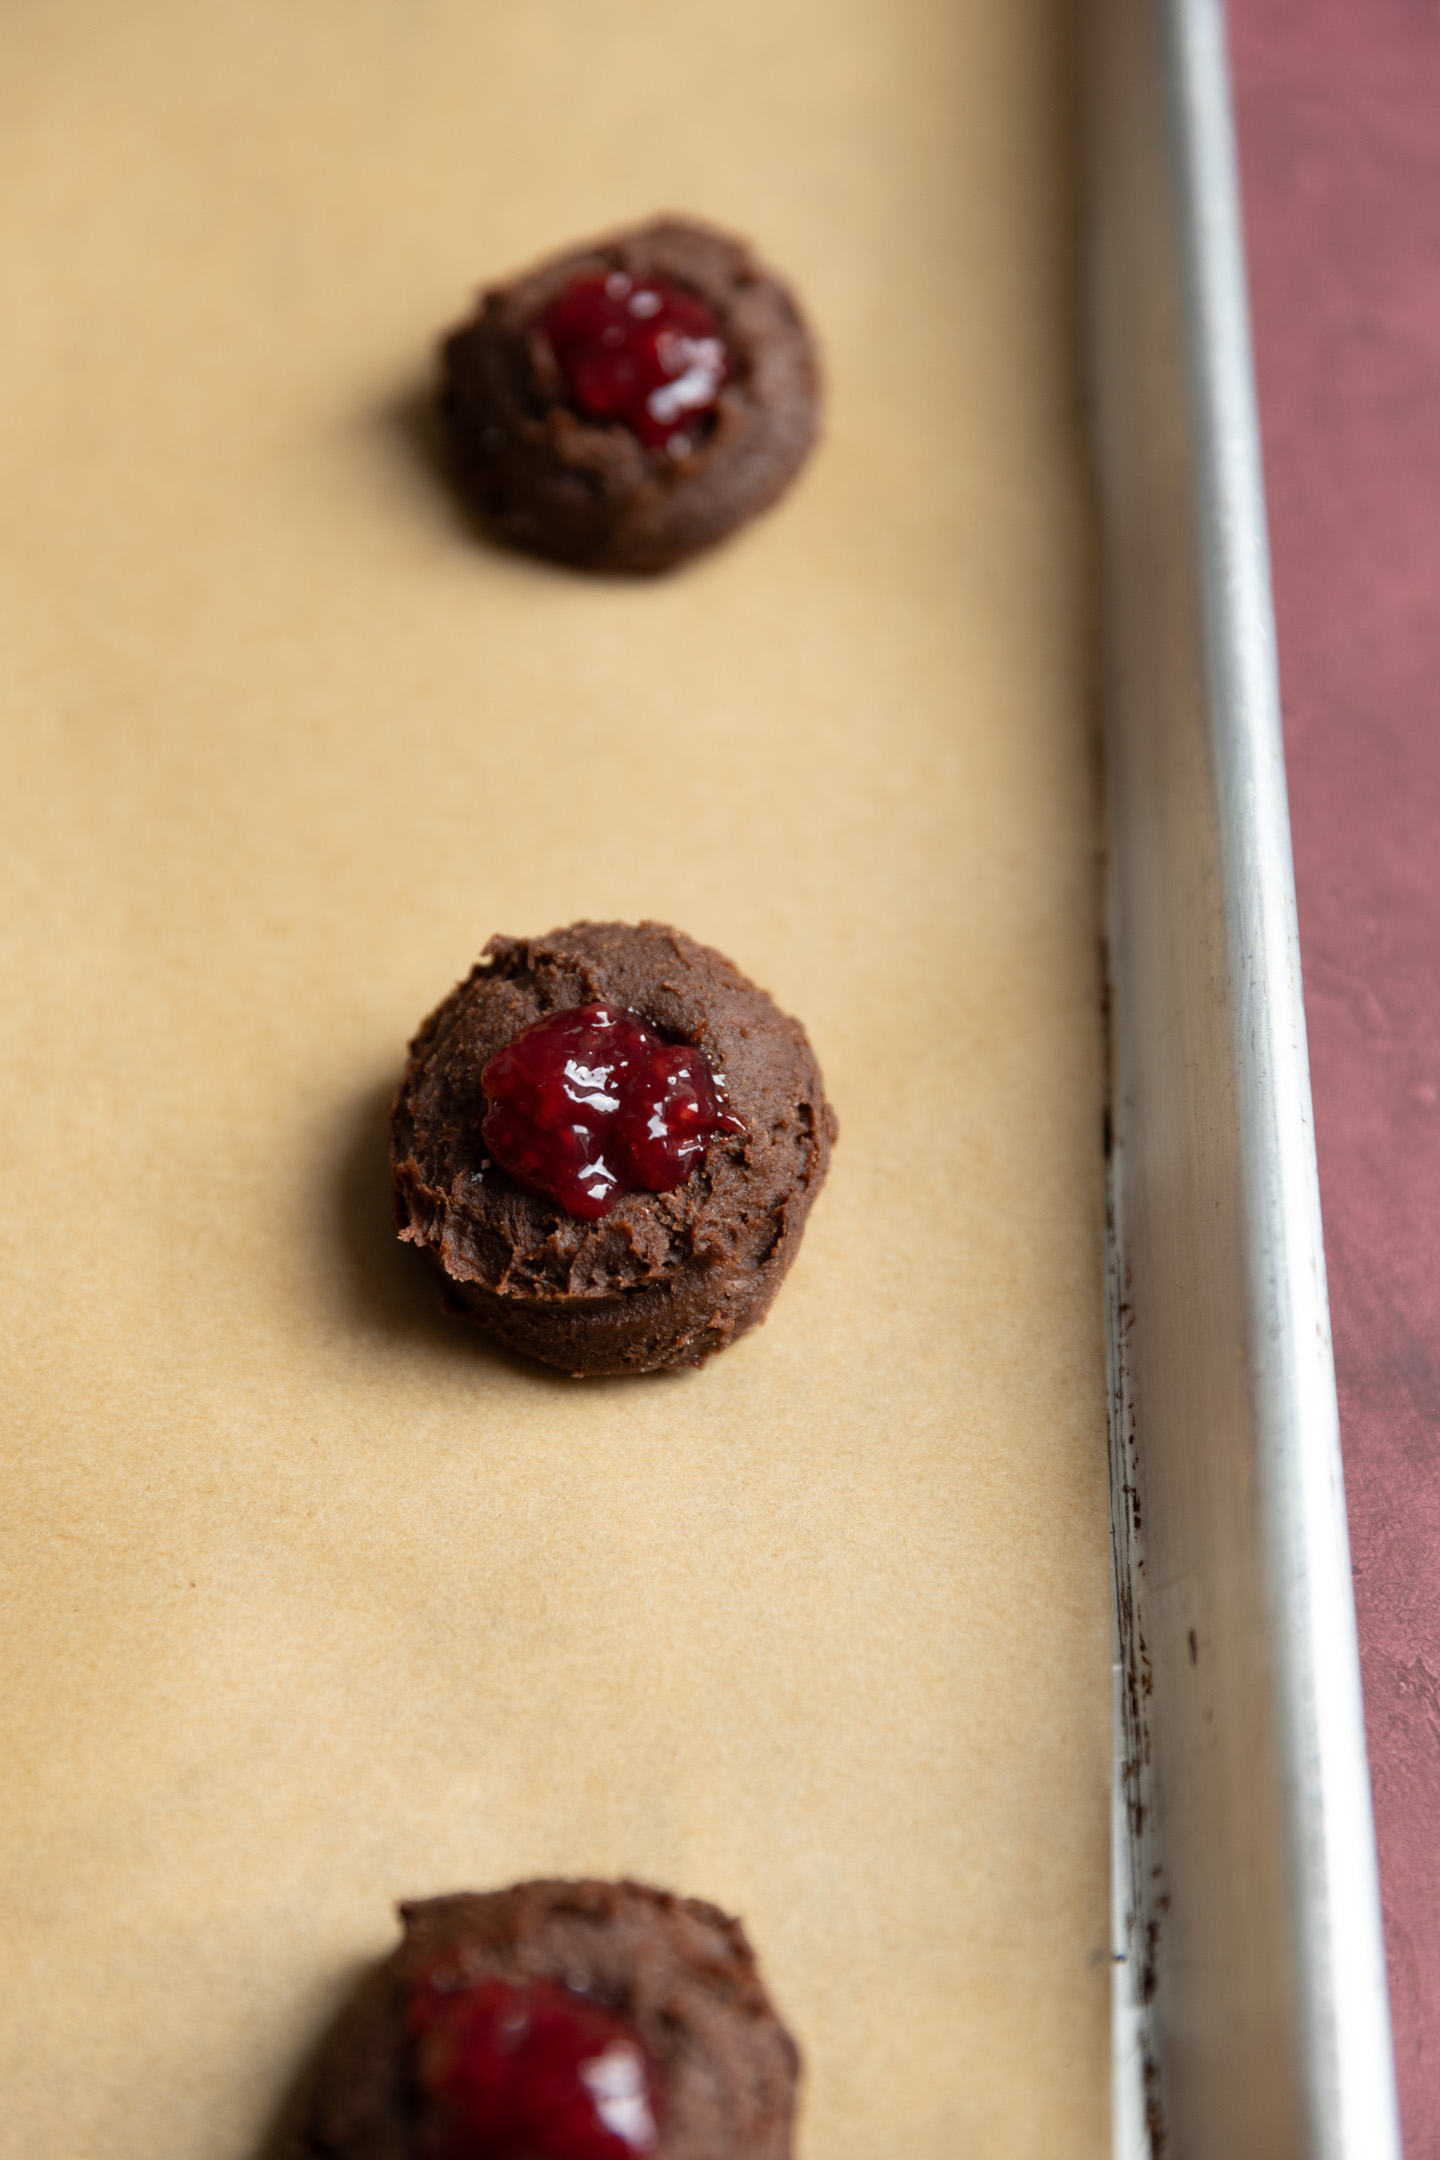
Bake the cookies 8-12 cookies per sheet. I do 12 but make sure that there is enough space between each for them to spread just a little.
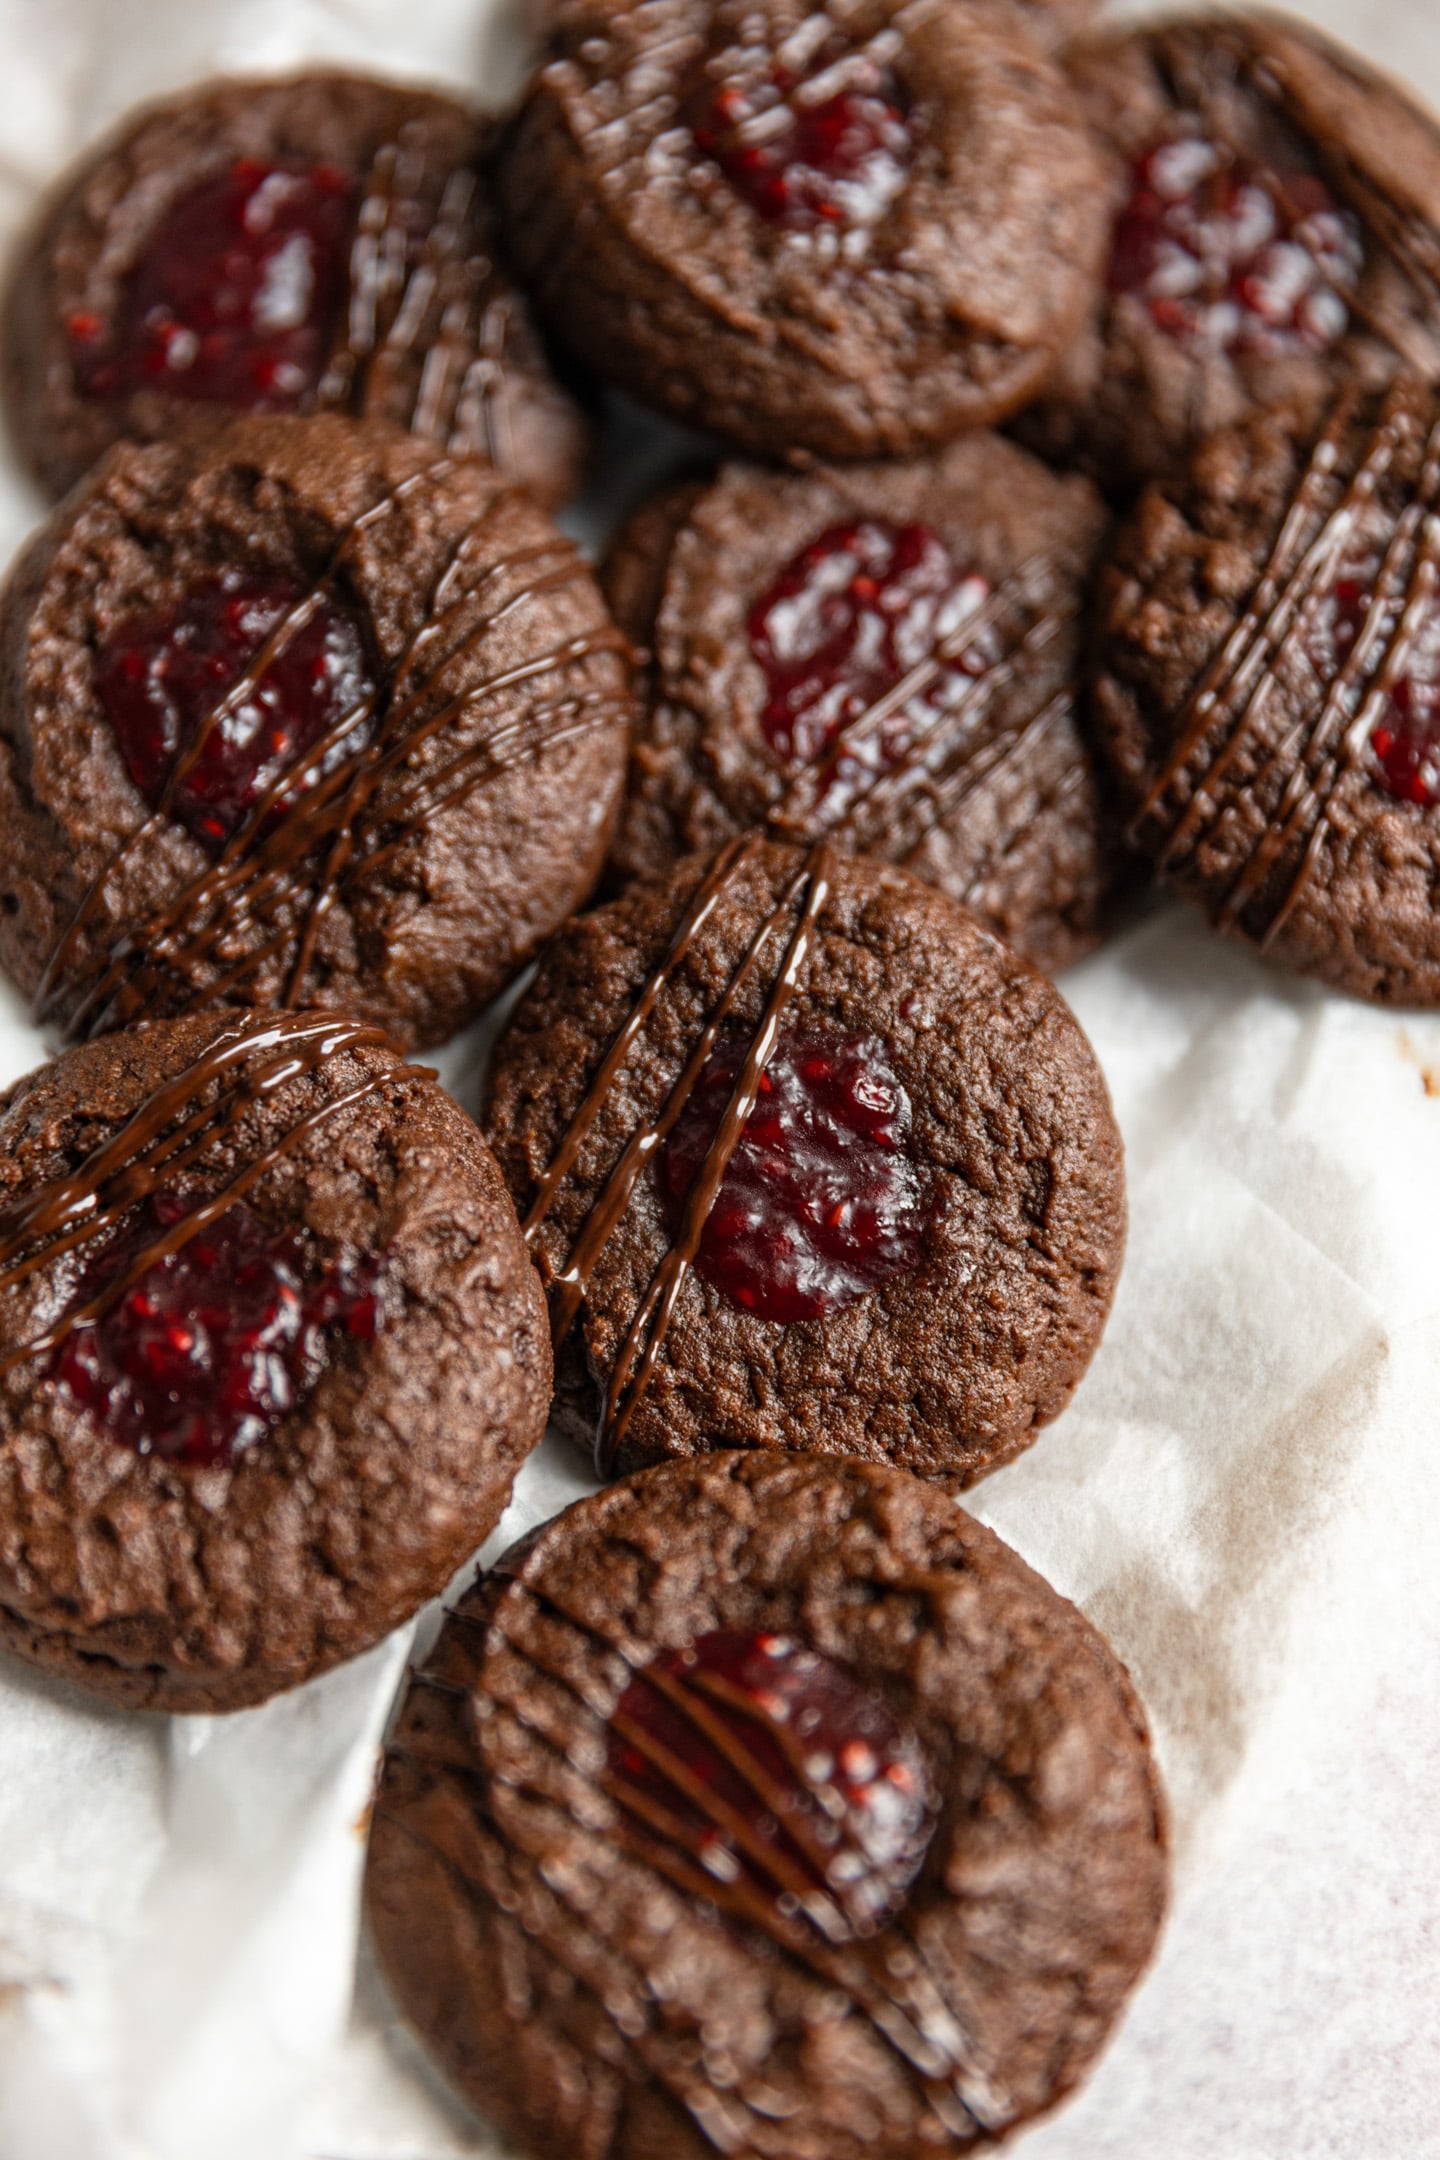
After they are scooted and initially cooled, move them over to a wire to cool completely. Melt 1/4 cup chocolate chips in a microwavable safe bowl and using a small spoon drizzle the chocolate over just one side of the cookies.
Recipe tips
- Make sure to measure your flour correctly. The best, most accurate way is with a kitchen scale. If you dont have one, (you should get one!) spoon then level off the flour in your measuring cup.
- A cookie scoop really makes this recipe a lot easier.
- All refrigerated ingredients should be at room temperature to make it easy to combine with the other ingredients.
Essential Tools You Need
 Buy Now →
 Buy Now →
 Buy Now →
Decadent Black Forest Thumbprint Cookies
Ingredients
- 1 cup unsalted butter, softened 227g
- ½ cup brown sugar
- ¼ cup white sugar
- 1 large egg
- 1 egg yolk
- 1 tbsp vanilla extract
- 1 ½ cups all-purpose flour, 180g
- ½ cup unsweetened cocoa powder, 60g
- ½ tsp cornstarch
- 1 tsp baking powder
- ¼ tsp kosher salt
- Cherry preserves, 1 tsp per cookie
- ¼ cup chocolate chips, melted, for drizzling
Instructions
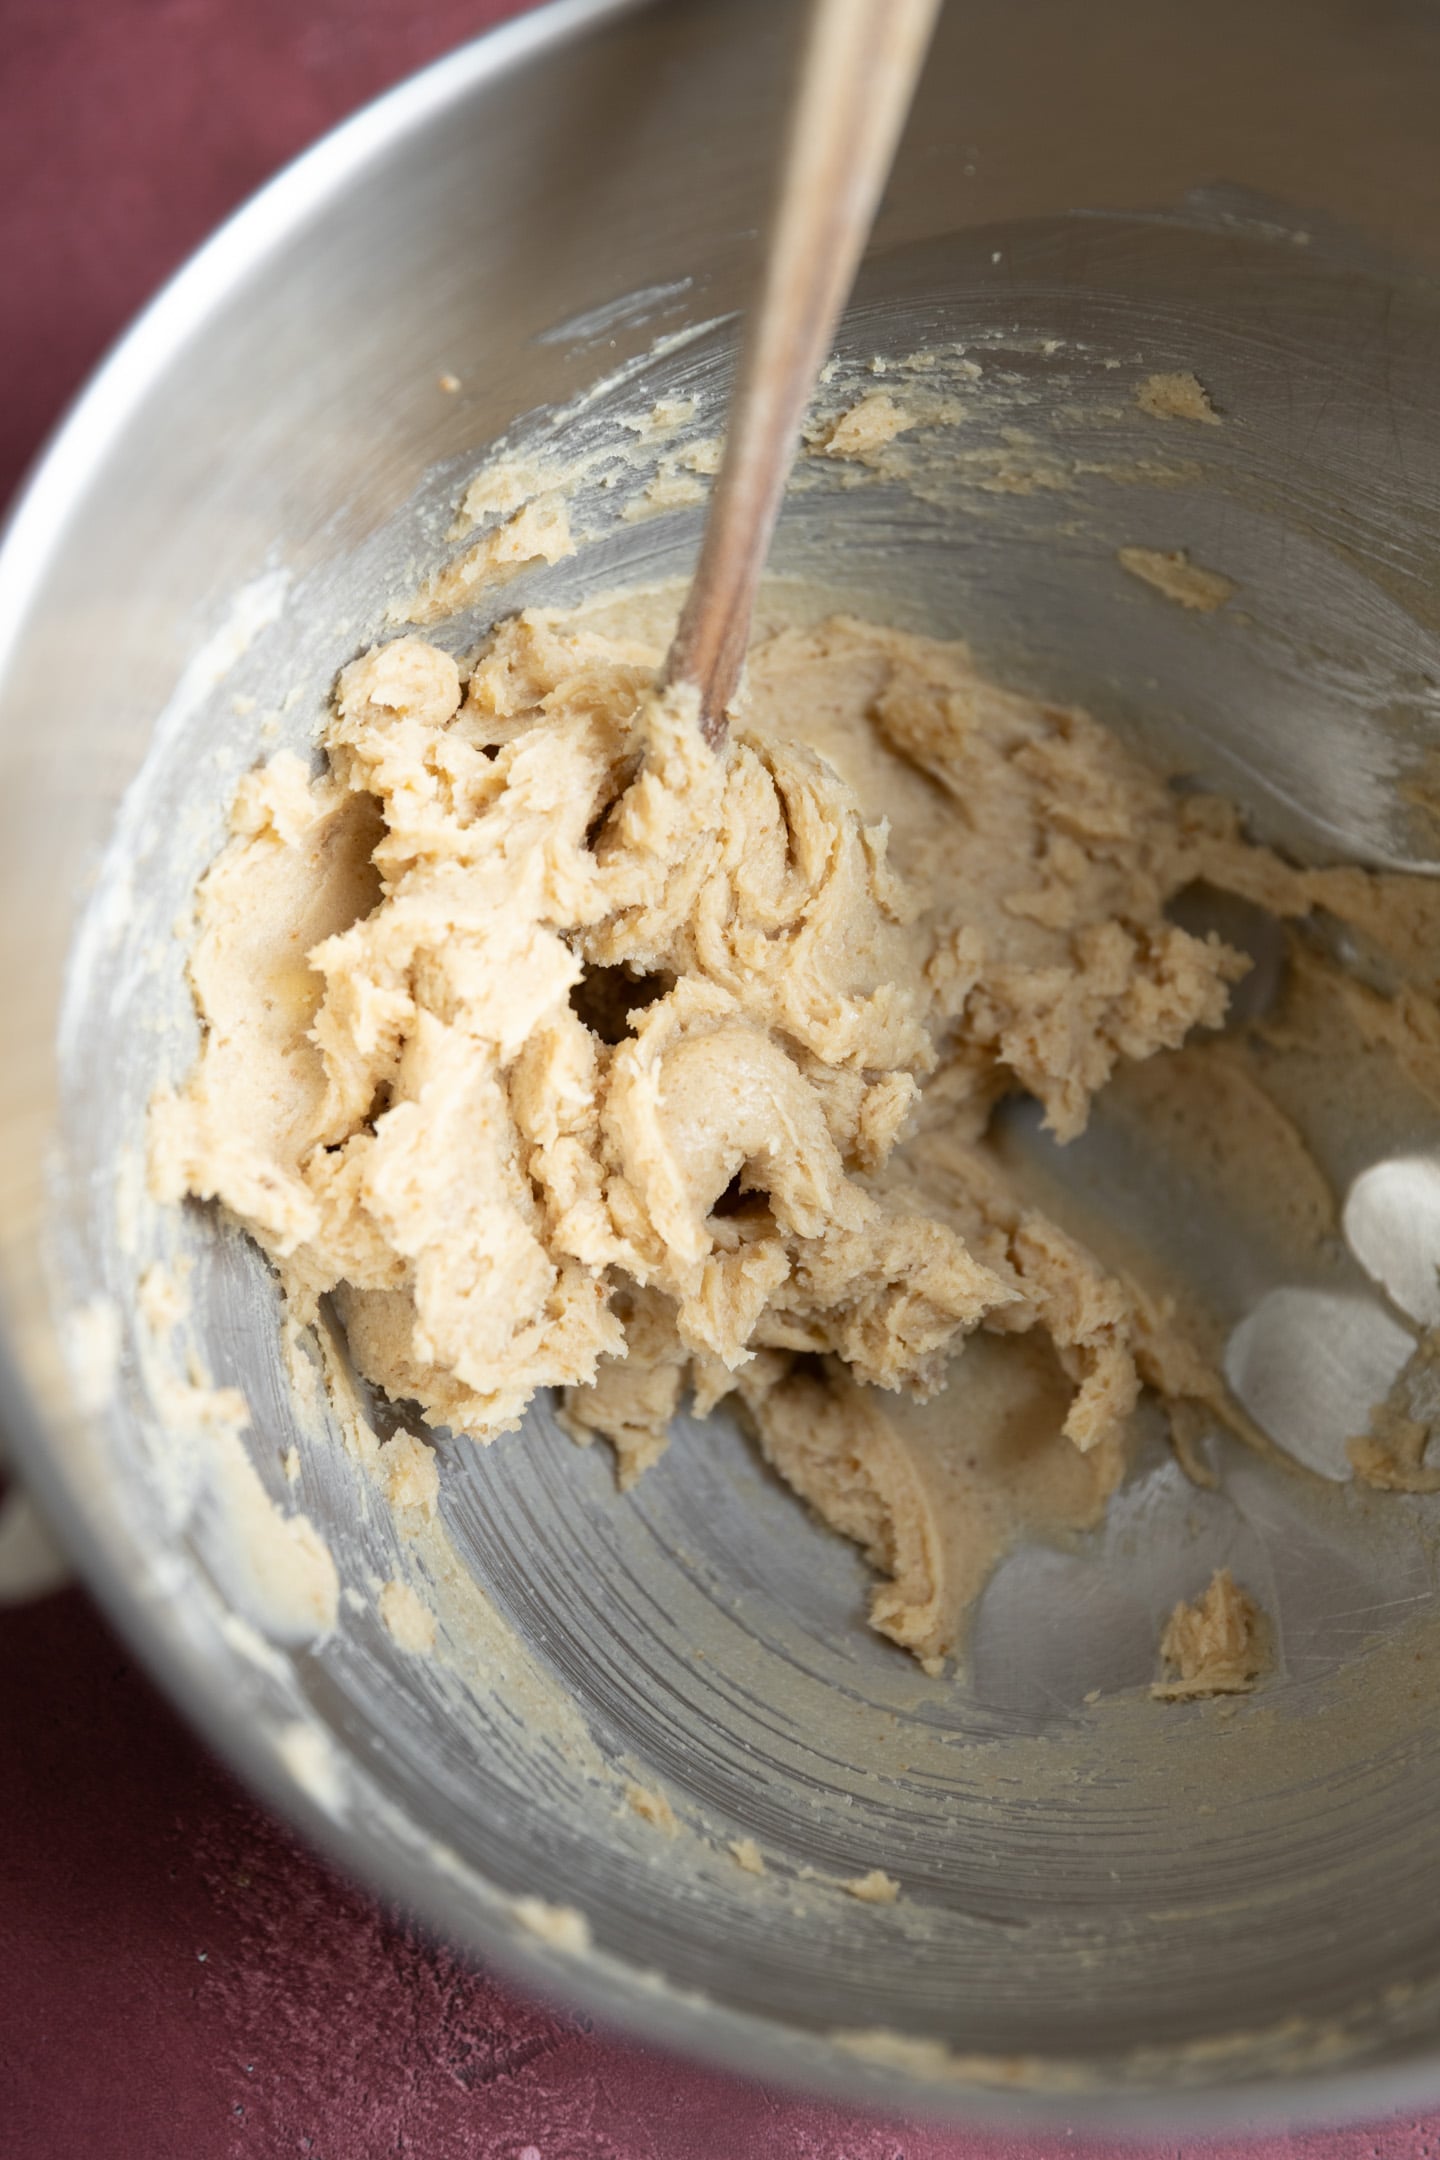
- In the bowl of a stand mixer or in a large bowl with a hand mixer, beat the 1 cup softened butter, ½ cup brown sugar, and ¼ cup white sugar on medium speed for 1 minute, until light and fluffy.
- Add the egg, egg yolk, and 1 tbsp vanilla extract, and mix until combined.
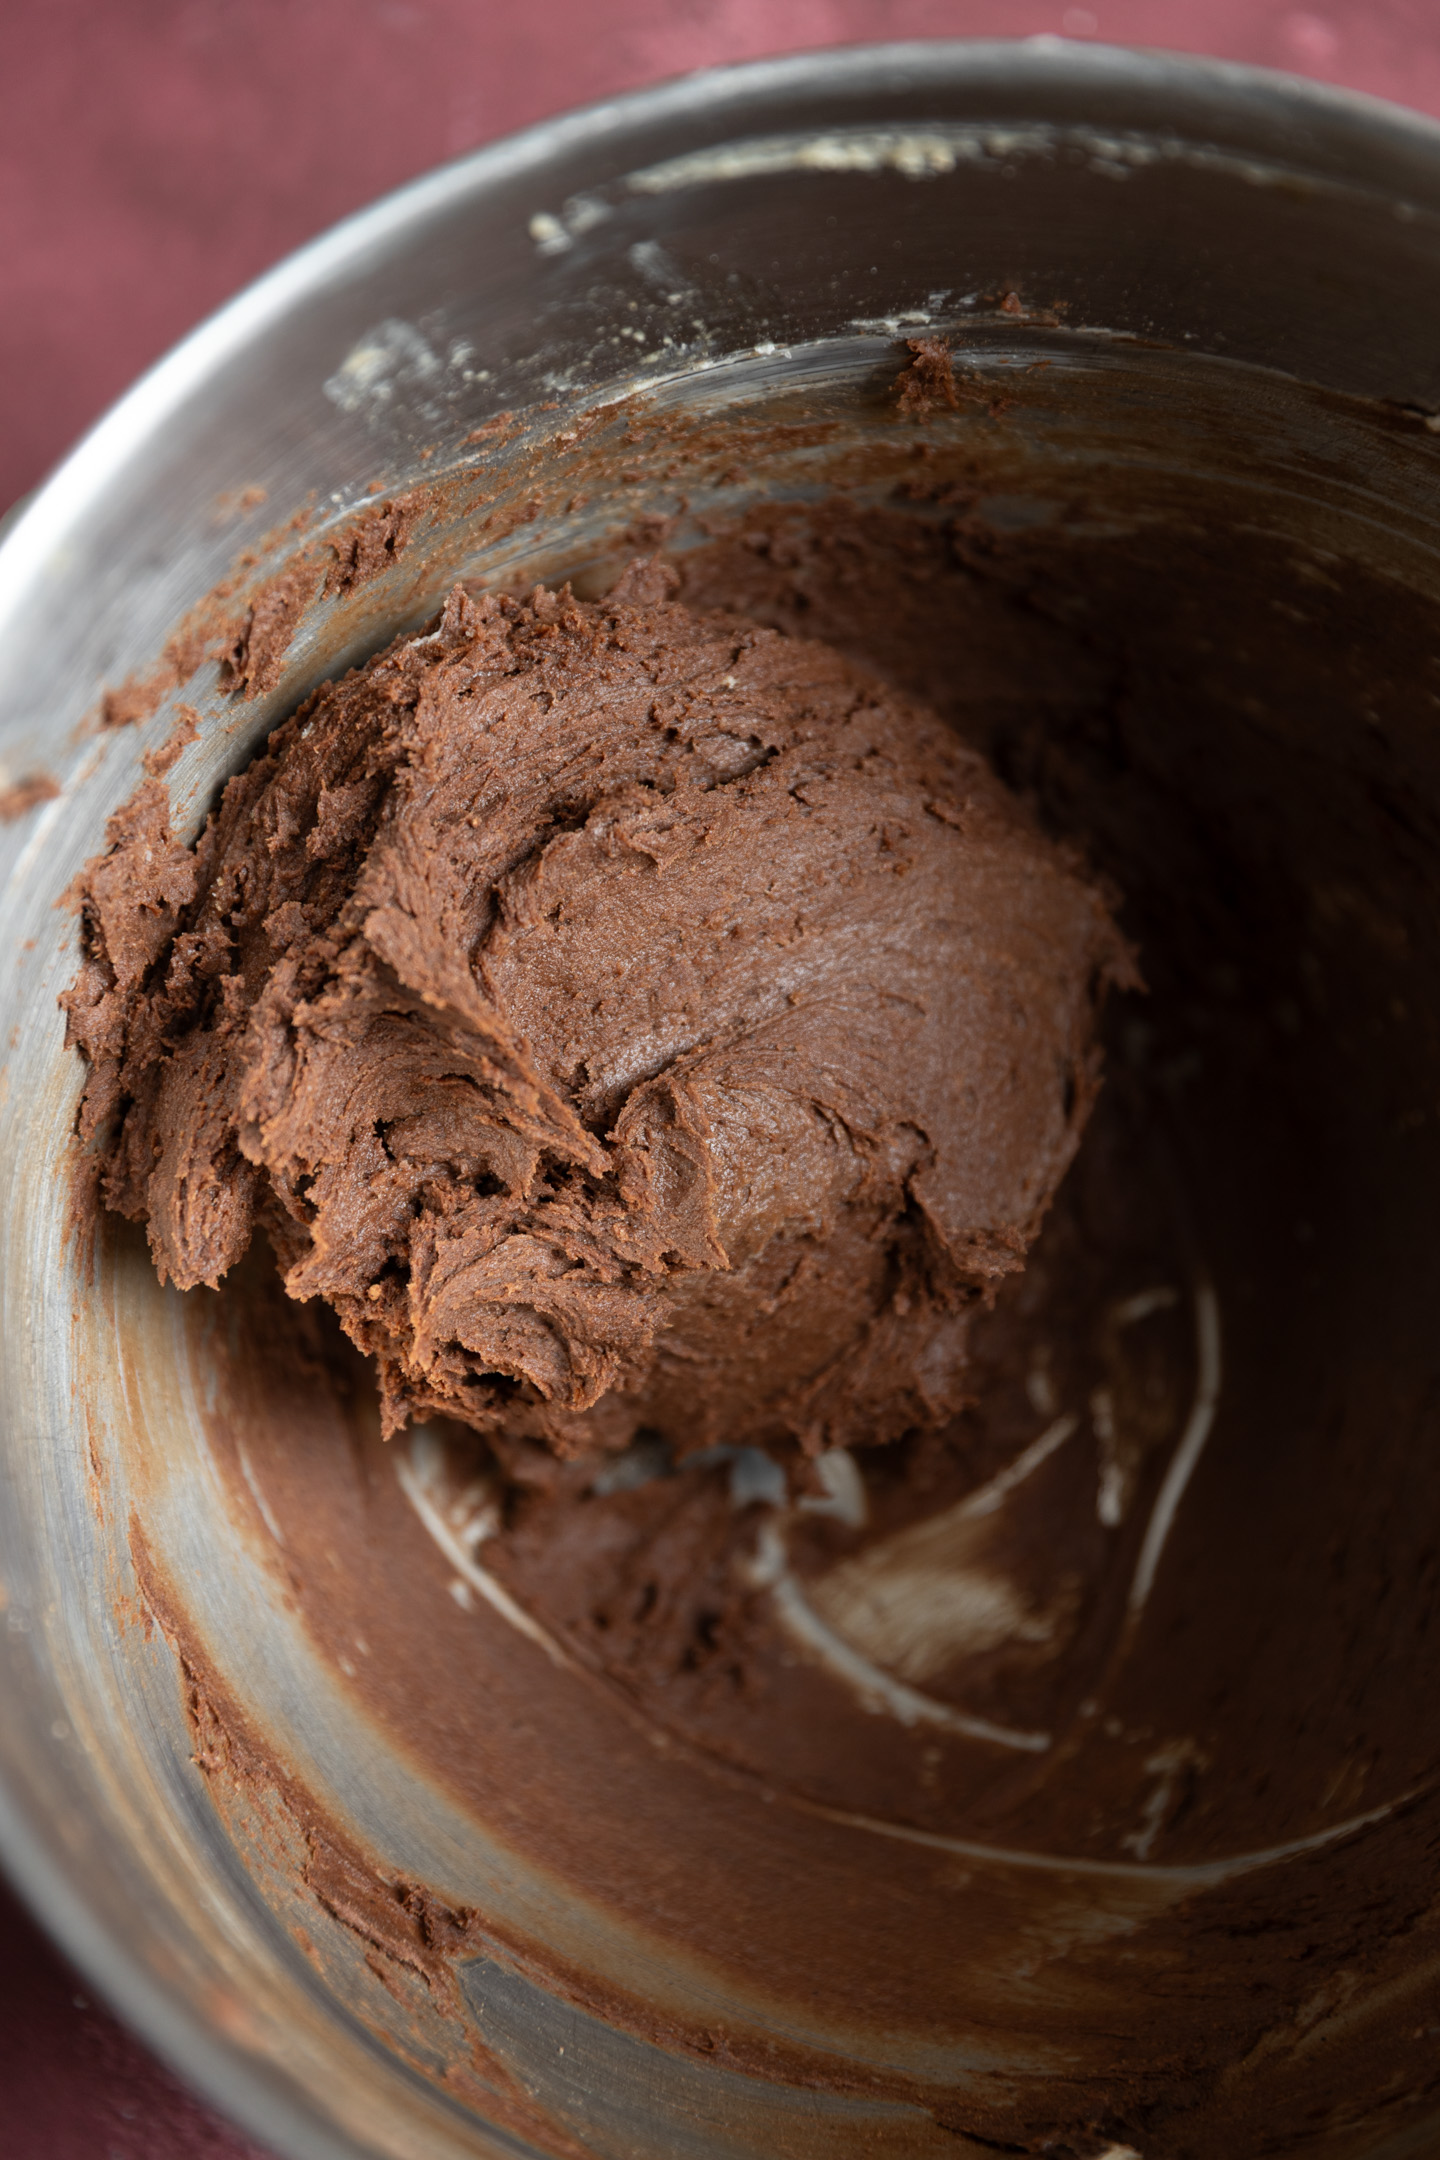
- Add the 1 ½ cups flour, ½ cup cocoa powder, ½ tsp cornstarch, 1 tsp baking powder, and ¼ tsp kosher salt, and mix until a thick, soft dough forms.
- Using a 1 tablespoon cookie scoop, scoop the dough into balls and place them on a parchment lined tray. Press a thumbprint into the center of each one. If the dough is too sticky, dip your thumb in flour first.
- Fill each thumbprint with 1 tsp cherry preserves.
- Chill the filled cookies in the refrigerator for 1 hour or overnight.
- Preheat the oven to 350°F and line baking sheets with parchment paper. Place 12 chilled cookies on each sheet, leaving plenty of room between them. The dough needs to go into the oven cold, or the cookies will spread too much.
- Bake one sheet at a time for 11 to 13 minutes.
- As soon as the cookies come out of the oven, scoot each one with a large round cookie cutter or an upside down glass to nudge the edges back into a perfectly round shape.
- Let the cookies cool completely on a wire rack. Melt the ¼ cup chocolate chips, then drizzle the chocolate all over the cookies. Repeat with the remaining cookies.