5 Reasons a Cake Sinks, Plus 3 fixes
Have you ever been disappointed when you open your oven only to see your cake sinking? Why cakes sink in the middle and how to stop them from sinking are both important things to know. Read on to understand why this happens and learn 3 ways to stop a cake from sinking!
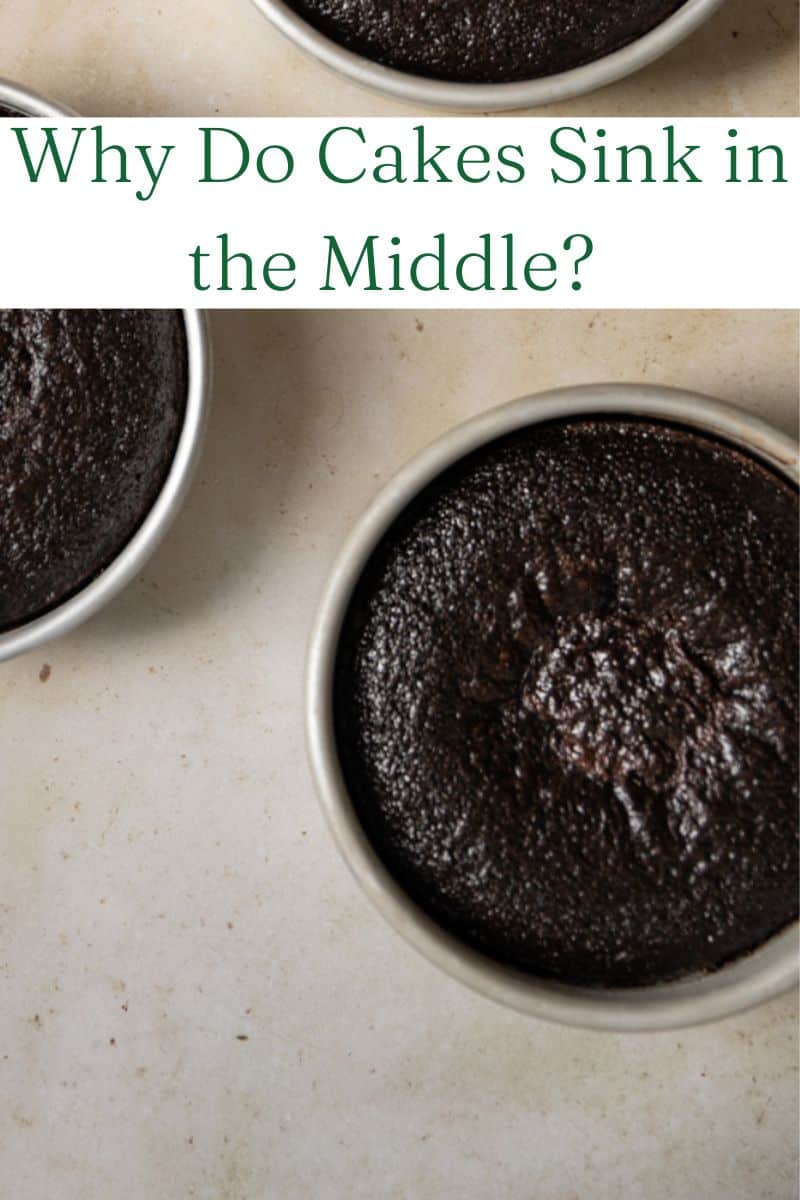
There is quite a science to baking! In my 12 years of being a pastry chef, I’ve seen it all. There are so many things that can affect the overall texture and shape of a baked treat. One of the most common problems when baking is cakes sinking.
A sunken cake can be a big problem. It can be tricky to decorate cakes that aren’t level, and cakes with a dip in the middle don’t usually look as nice as cakes that are perfectly round. This is not ideal when you spend so much time and energy trying to make the perfect homemade cake recipes!
Luckily, there are many solutions to this issue you can use to make a cake that rises evenly and looks great!
When using these troubleshooting tips you can easily make this chocolate cake with sprinkles, a confetti cake or even a delicious vanilla bundt cake without worry!
So stop asking yourself “why did my cake sink in the middle” and instead read on to learn why and how to fix it!
The Cake Is Underbaked
When baking a cake in the oven, it needs a certain amount of time at the perfect temperature for all of the chemical reactions to happen.
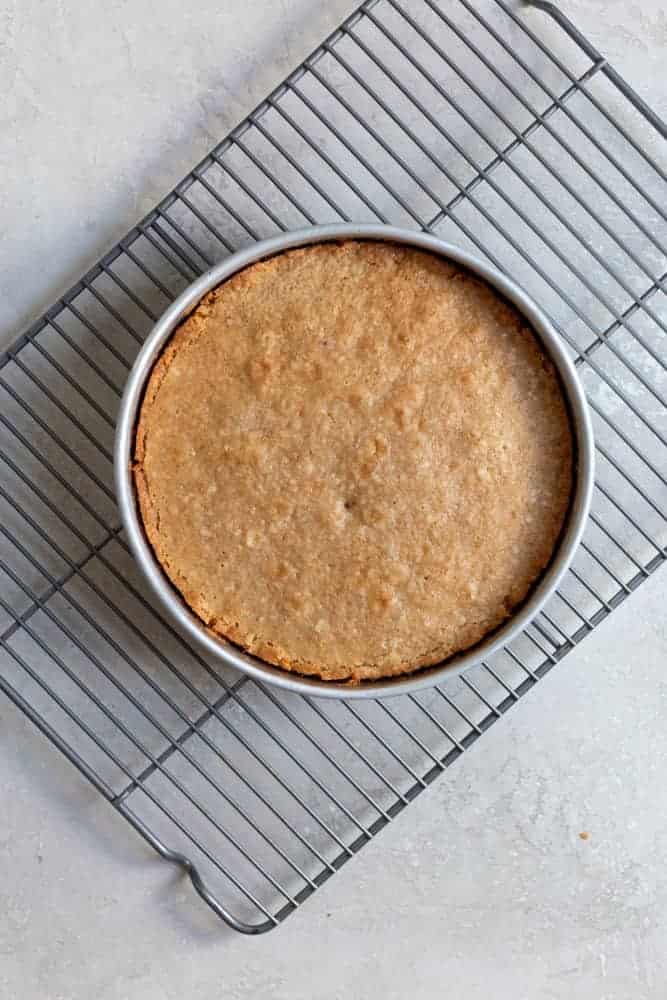
A cake bakes from the outside in, so if the cake is not baking for a long enough time, it can cause a dip in the middle. This is because the center of the cake is not cooked enough, and it can cause cakes to sink once they are removed from the oven and has time to set and rest.
How to avoid- Make sure to fully bake your cake before it comes out.
These are the classic signs of a fully baked cake that you should be looking for:
- Edges with start to pull away from the sides of the pan
- The top will be firm, not jiggly
- If you stick a toothpick in the center and it comes out clean, or with a couple moist crumbs, its ready!
Your Oven Isn’t Calibrated
Most ovens have a thermostat that controls the temperature, but sometimes it’s inaccurate. If your oven’s thermostat is off, your cakes may not cook evenly and can cause cakes to sink. To ensure that your cake is baking properly, double check the temperature of your oven with an oven thermometer.
How to avoid- Buy an oven safe thermometer and keep it on your oven to check the accurate temperature.
Problems with Baking Soda or Baking Powder (Leavening Agents)
Leavening agents help cakes rise by producing carbon dioxide, which makes cakes light and fluffy. When cakes are over-leavened, cakes can rise too quickly and then fall. The best way to ensure cakes get the perfect amount of leavening is to measure them out accurately, according to your recipe.
Also if you are using older baking powder or baking soda it may not be active any more.
How to avoid- check to see if your baking powder is still good by pouring 1/2 tsp into a bowl. Add a little hot water to it, if it bubbles it’s still good. If not, you need a new one.
To check if your baking soda is still active, pour 1/2 tsp into a bowl. Add hot water and a little vinegar. If it bubbles up it is still good to use. If not, toss it and get a new one.

The Oven Door Was Opened Too Soon
It may be tempting to open the oven door while the cake is baking to check on it, but if it hasn’t been at least 25 minutes, you can risk getting a sunken cake.
If you open the oven door the rush of cool air will change the temperature inside the oven. This can alter the chemical processes going on, which could cause the cake to sink. If you want to open the door, be sure to do so within the last 2-3 minutes of bake time.
How to avoid– Don’t open the door for at least the first 25-30 minutes of baking.
The Oven Door Slammed When You Closed It
Slamming the oven door may not seem like a big deal, but to a cake, it can be!
When the door slams on the oven, the fast rush of air can actually deflate the bubbles that the leavening agents are making. This can cause cakes to sink in the middle and ruin all your hard work.
How to avoid- Be sure to close the oven door gently so cakes will rise evenly!
How To Fix A Cake That Sunk In The Middle (3 Ways!)
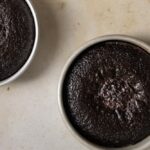
If you happen to have a cake that sunk in the middle, don’t fret! There are some easy ways to fix cakes that have sunk, even though no amount of baking can fix it.
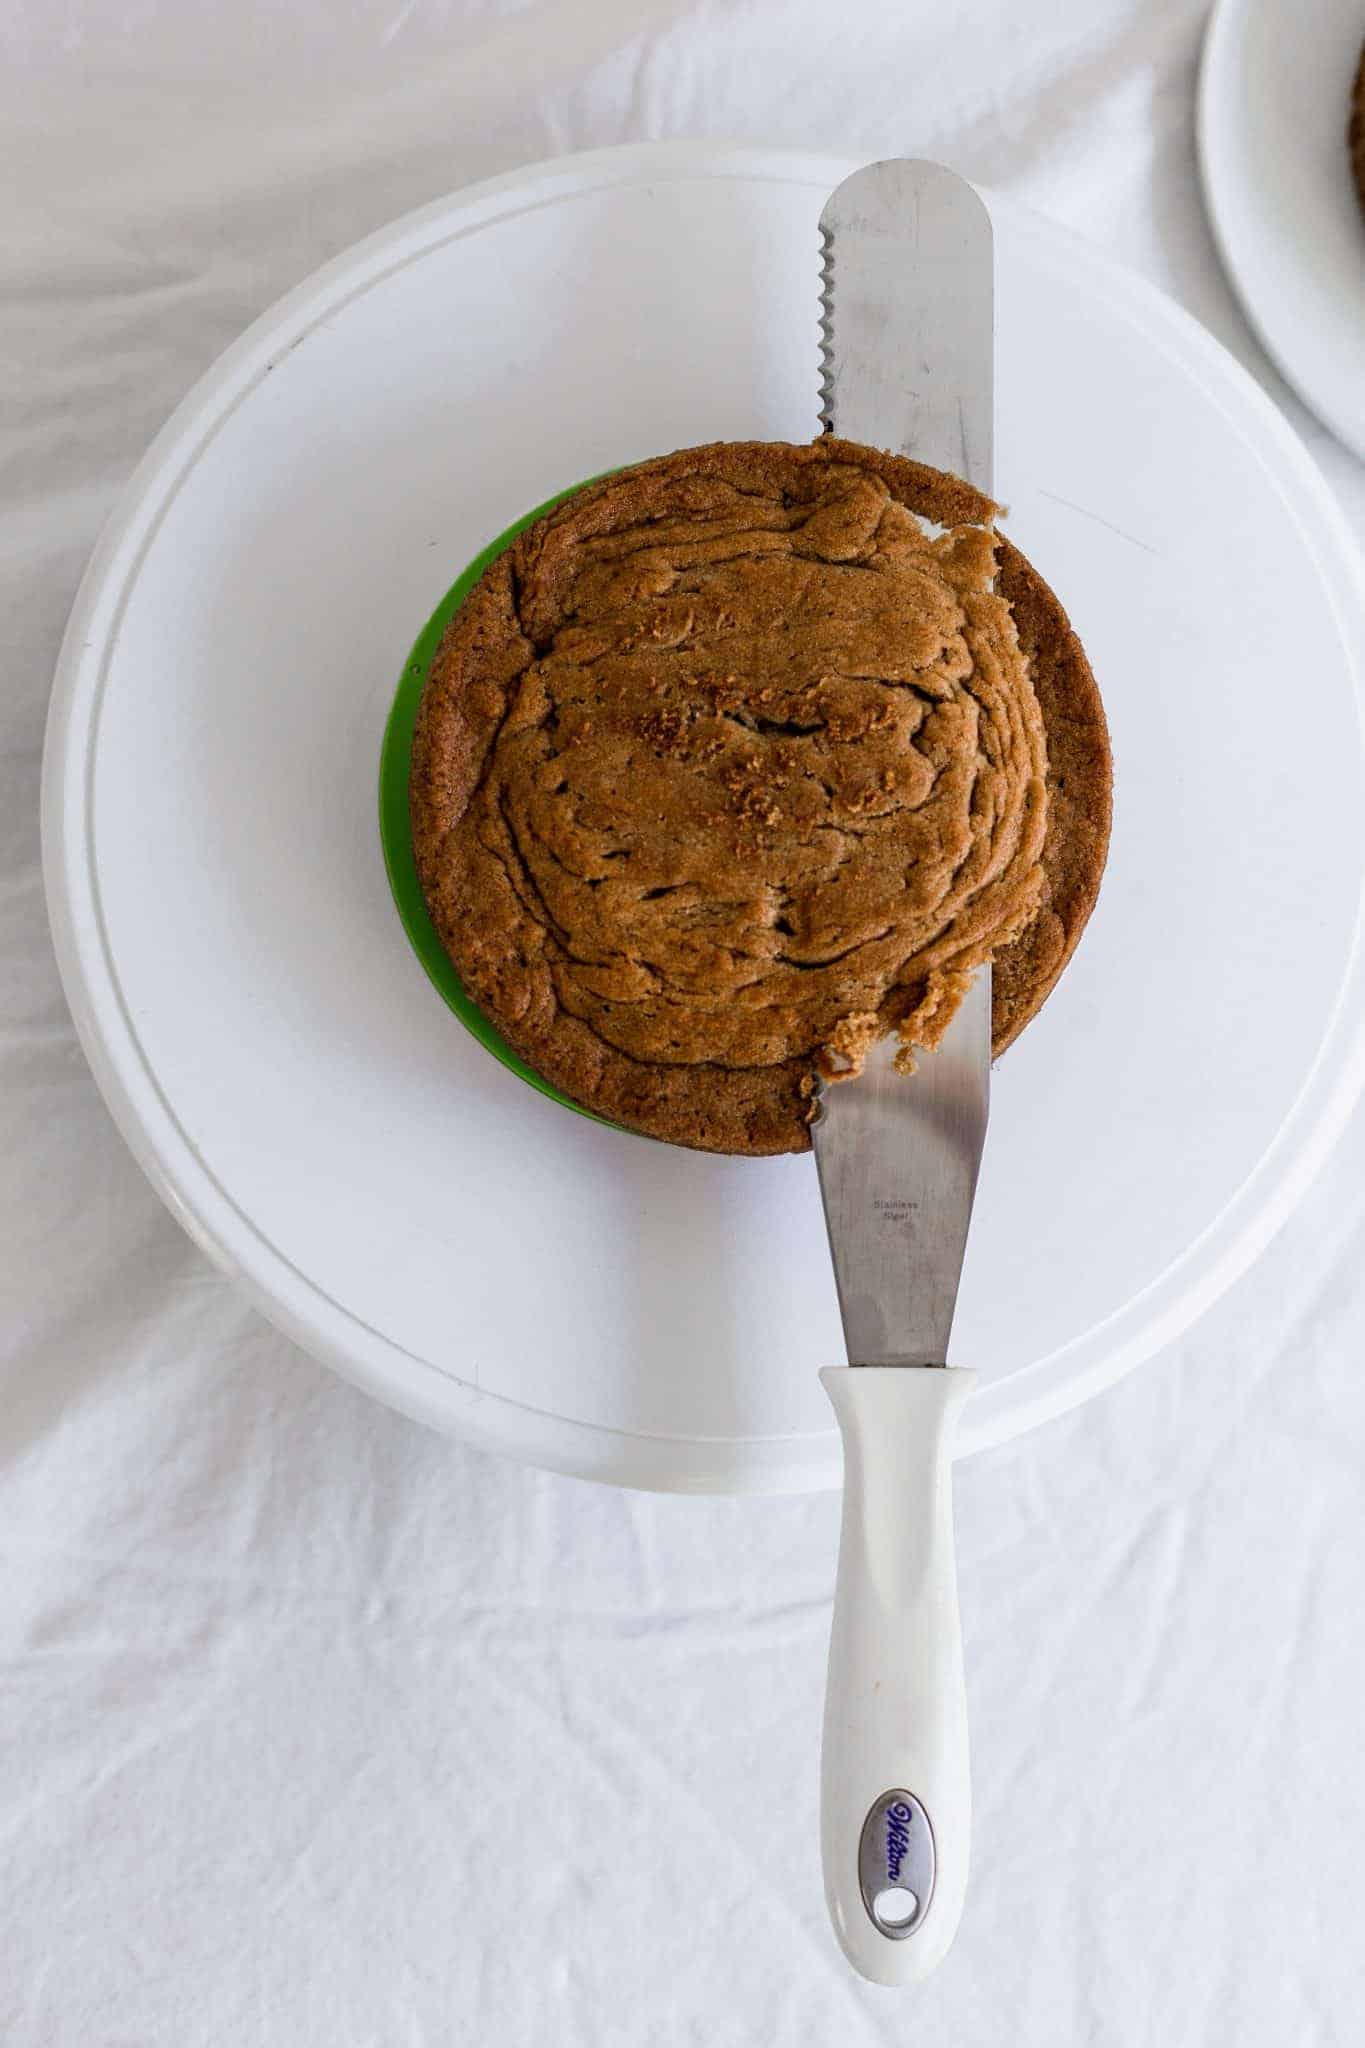
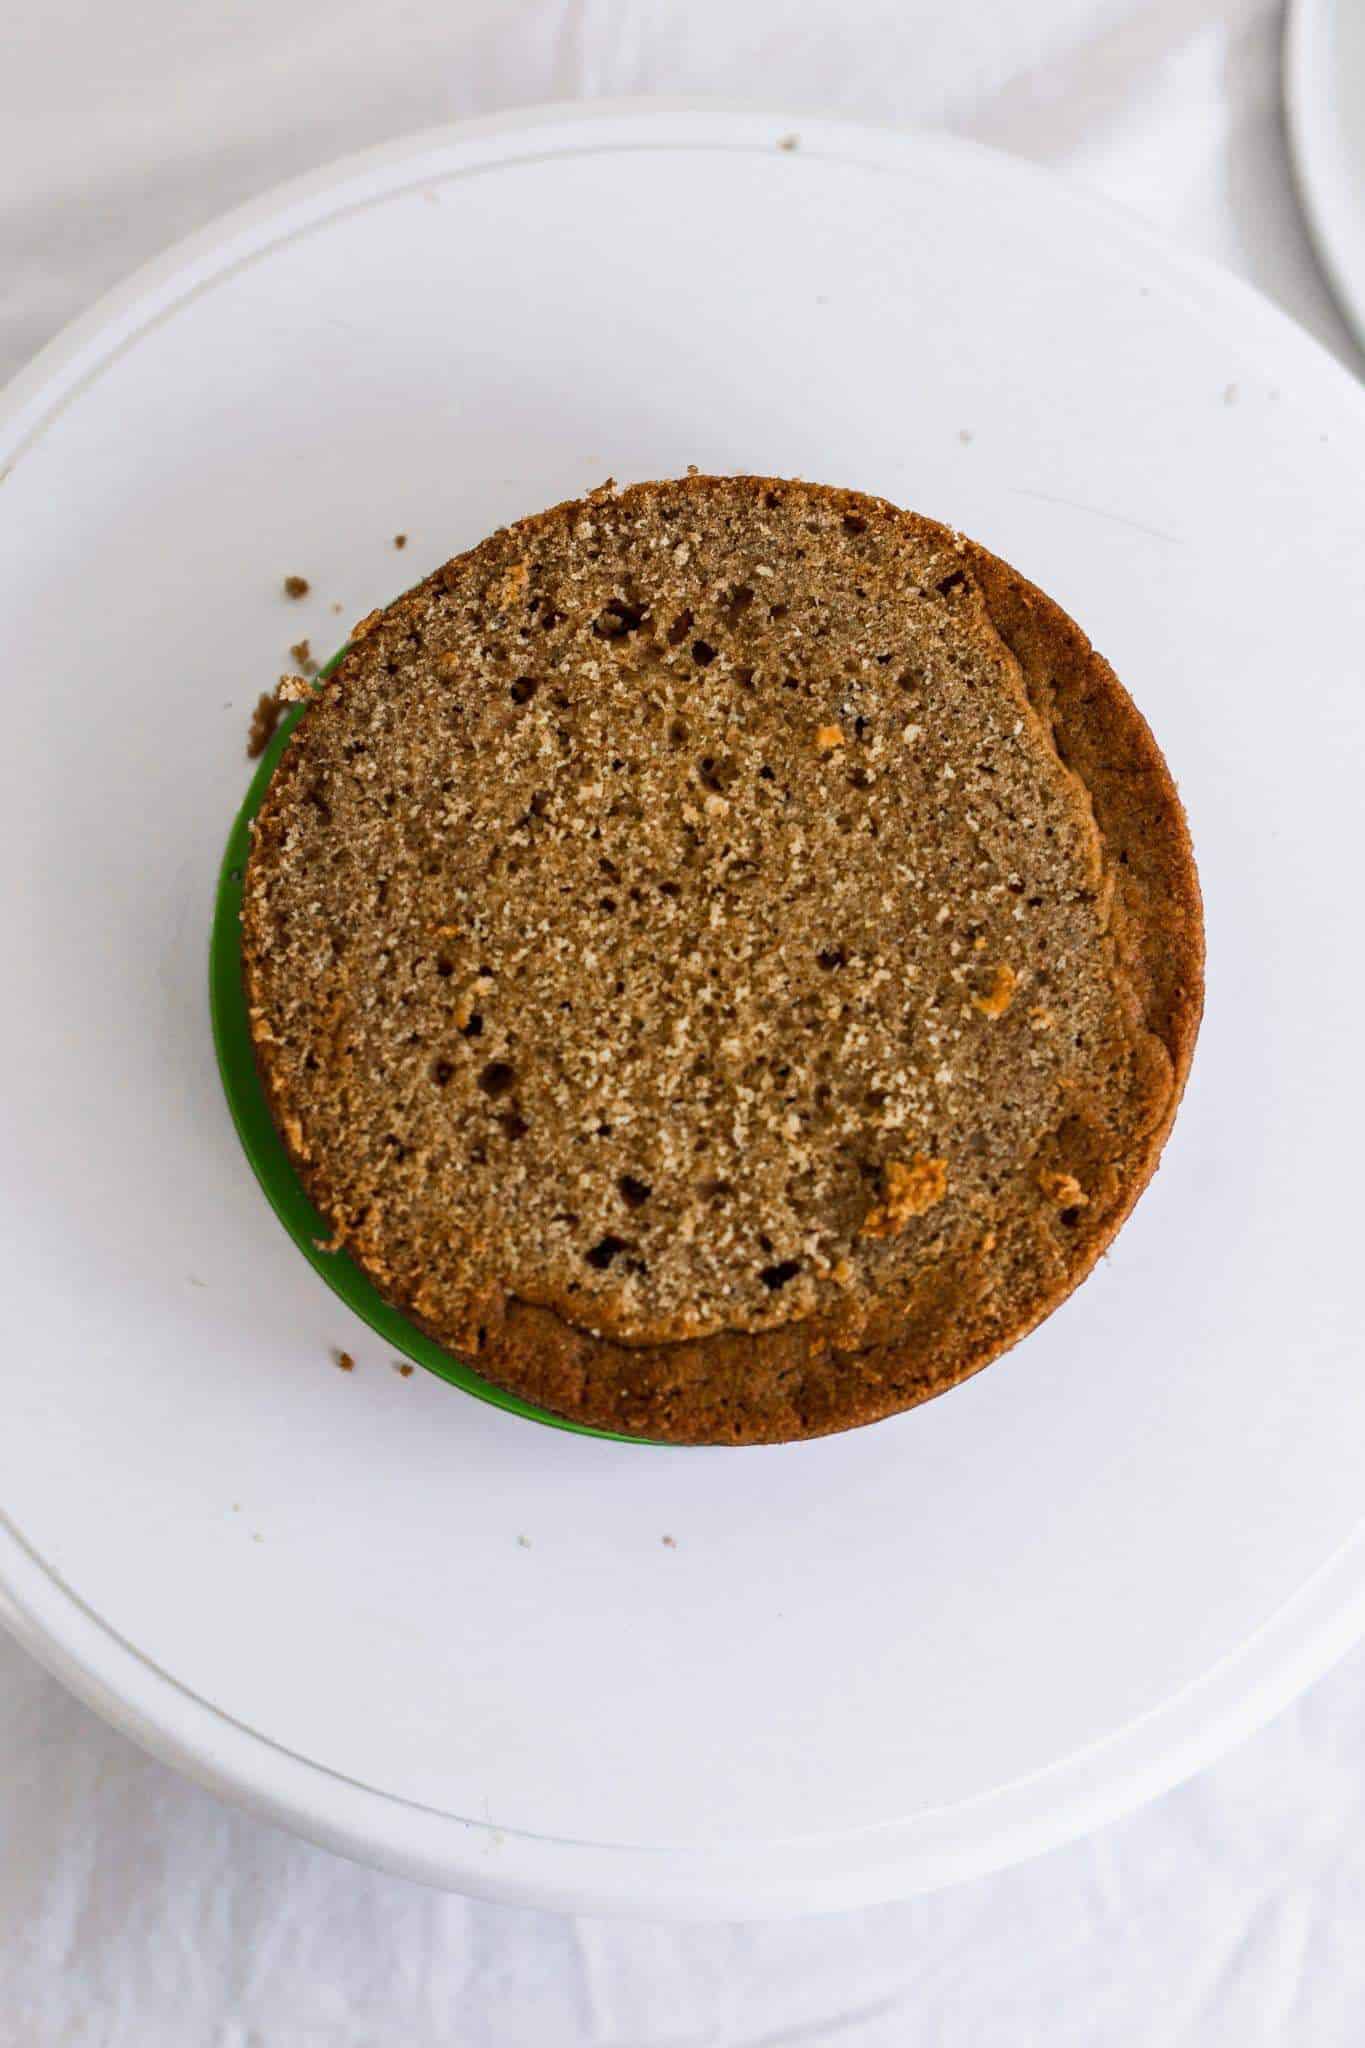
Level off with a serrated knife or cake leveler:
Use a serrated knife or cake leveler to cut off the top of cakes that have sunk in the middle. This will make cakes even and flat, so cakes can be frosted without any bumps or dips. Sometimes it’s just the top that is underbaked, and the bottom is still ok, making it easier to save.
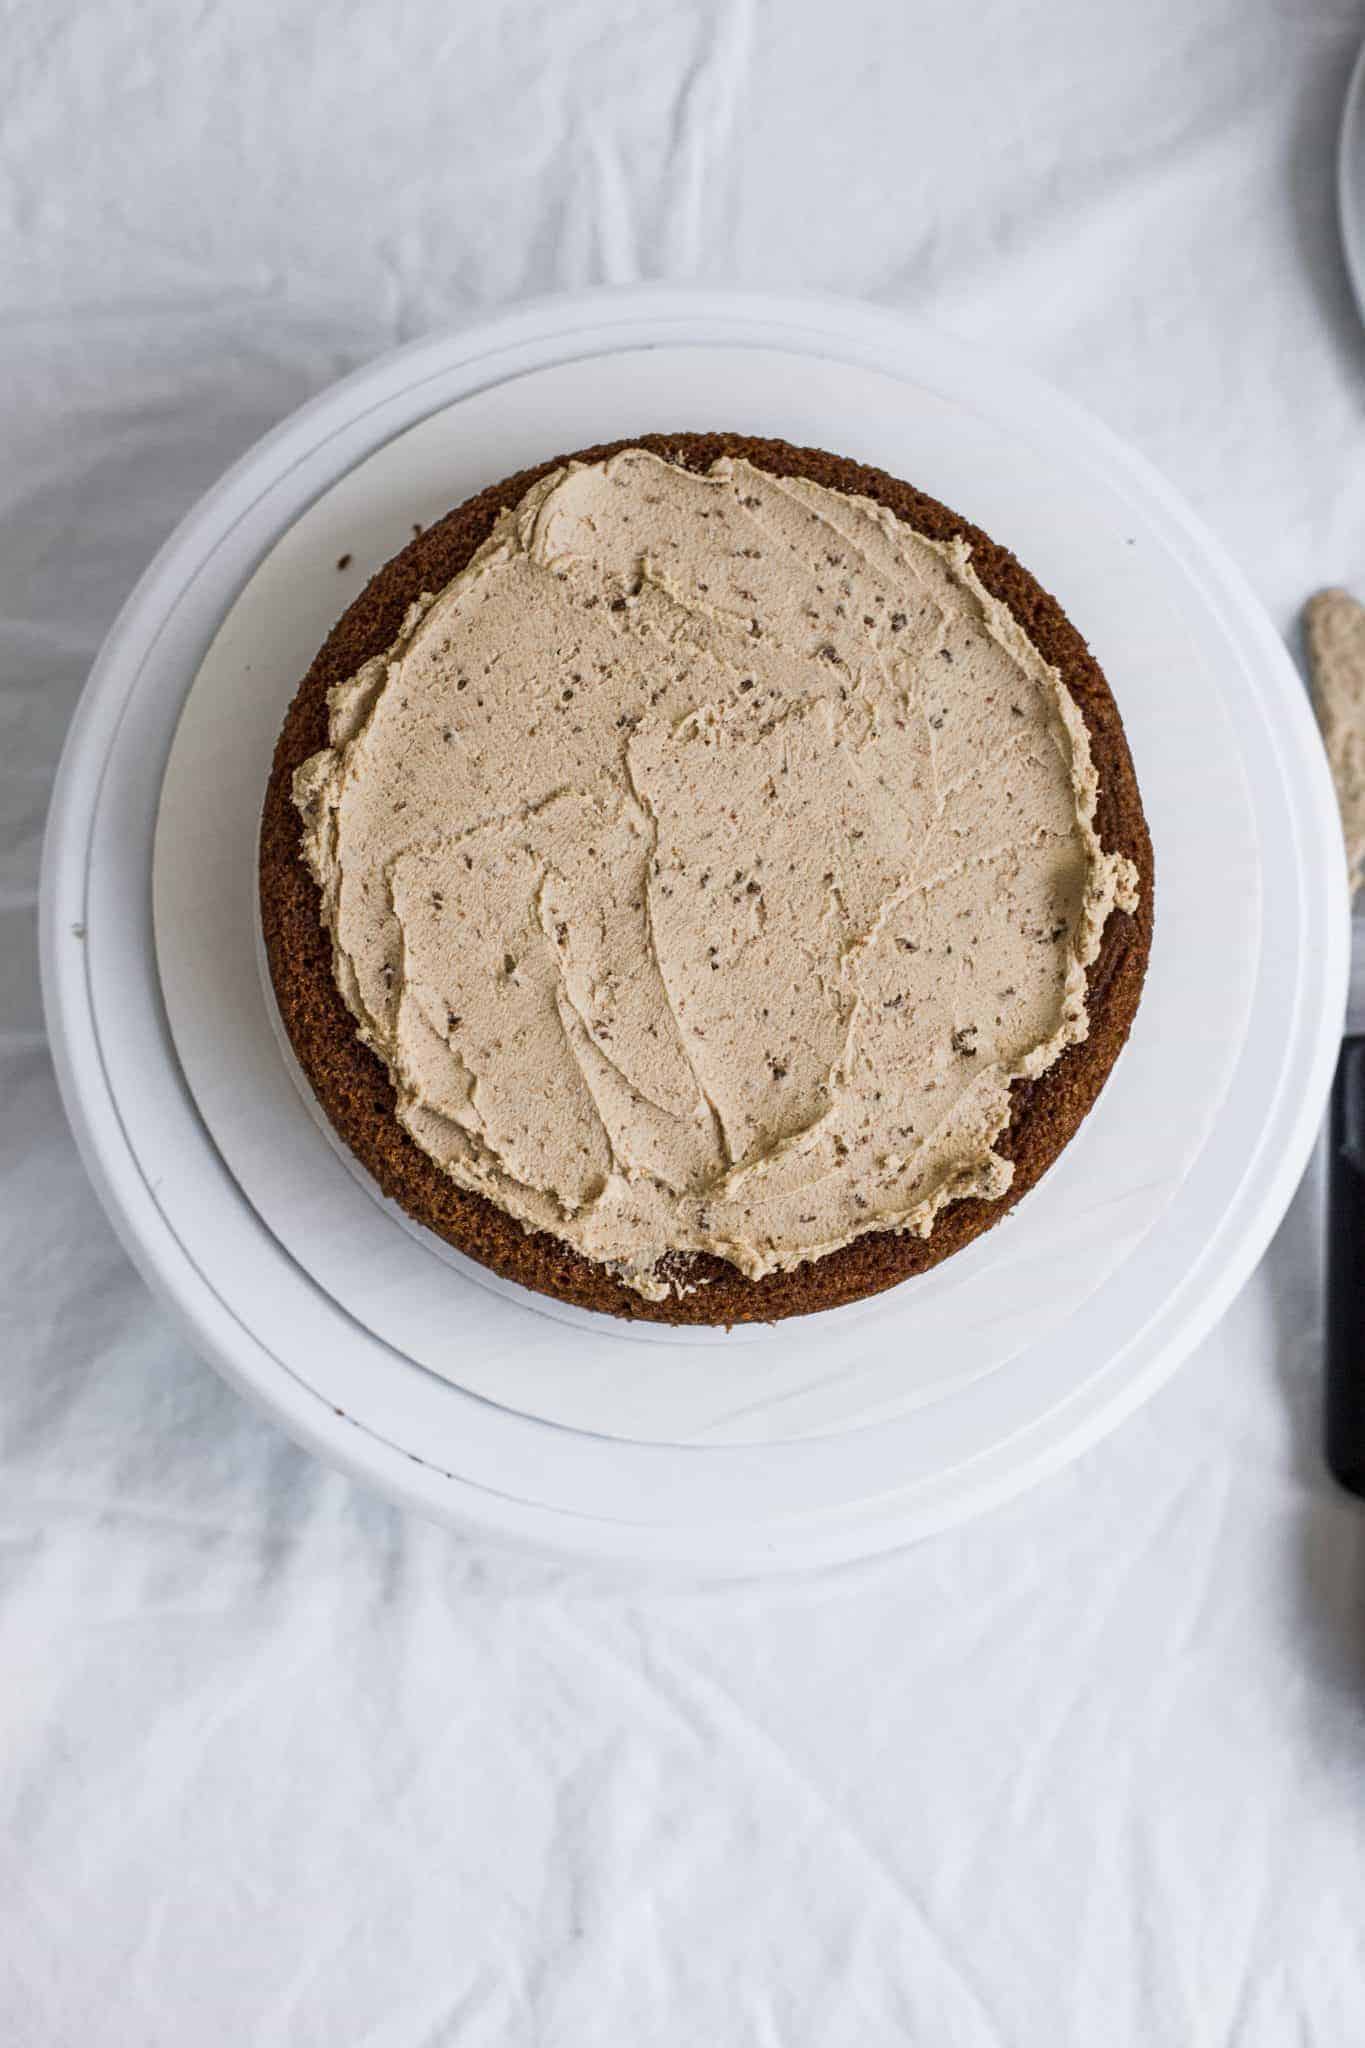
Frost away the imperfection: You can level the cake using one of my homemade frosting recipes. Simply spread it around the cake and make sure the cakes are level. There may be more frosting in one spot than another, but it will be hard to tell the difference!
This can help cakes look perfect while also adding flavor to cakes.
Add a filling: If cakes are too far sunken, you can fill them with jam, custard, or fruit before icing. This will bring cakes back up to their original shape and provide an extra burst of flavor too.

Remember cakes can sink in the middle for a variety of reasons, but thankfully there are ways to fix them!
You can level cakes off with a knife or cake leveler to using frosting and fillings to disguise cakes, sunken cakes don’t have to be wasted!

5 Reasons a Cake Sinks, Plus 3 Fixes
Equipment
- cake leveler optional (you can use a knife instead)
- extra frosting
Materials
- 1 layer sunken cake
Instructions
How To Fix A Cake That Sunk In The Middle (3 Ways!)
- Level off with a serrated knife or cake leveler: Use a serrated knife or cake leveler to cut off the top of cakes that have sunk in the middle. This will make cakes even and flat, so cakes can be frosted without any bumps or dips. Sometimes it's just the top that is underbaked and the bottom is still ok making it easier to save.

- Frost away the imperfection: You can level the cake using your favorite frosting recipe. Simply spread it around the cake and make sure cakes are level. This means there may be more frosting in one spot than another, but it will be hard to tell the difference! This can help cakes look perfect while also adding flavor to cakes.
- Add a filling: If cakes are too far sunken, you can fill them with jam or custard before icing cakes. This will bring cakes back up to their original shape and provide an extra burst of flavor too.


Hello, I have a question. I baked a cake in a half sheet pan. It sunk in the middle, how can I fix it without taking it out of the pan
Hi Novella, I would cover the sides of the cake with aluminum foil and continue baking and see if that helps.
The last two cakes I’ve made have sunk in the middle. It was a new recipe to me so I thought maybe I had over beaten it or I had chosen the wrong pan this time. I used taller cake pans they are 3 in deep that were less than half filled with batter. I thought I was going to have more better than I ended up having I’m still learning to know how much a recipe will make. The second time I made the recipe I used shower cake pans that were I guess about 2/3 full I also use baking strips. They still sunk. I can trim everything I’m just sad that the outside part of the cake that got more done is more fluffy and the inside of course is a little more dense. I should have trusted the eye test that even though a toothpick came out clean it wasn’t quite brown enough. I’m also going to replace my baking powder. It didn’t make big bubbles when I tested it but I could hear it bubbling. I don’t get to bake a lot from scratch so I don’t use my baking powder very often; therefore I don’t use it up very quickly. Also this recipe is a reverse creaming method so I didn’t know if my attempt to incorporate the eggs into it before the liquid may have caused me to overbeat.
Hi Joy! It can be super frustrating trying to trouble shoot when you dont know whats going on. It doesnt sound to me like you were doing anything wrong with either size of the baking pans- I would get an oven proof thermometer and check to see if youre oven is set on the right temperature. Sometimes our ovens can be off so even though it says 350 it could be more like 325. Or the cakes could have just needed more time. Replacing the baking soda is a good idea too! Please let me know when you figure it out!