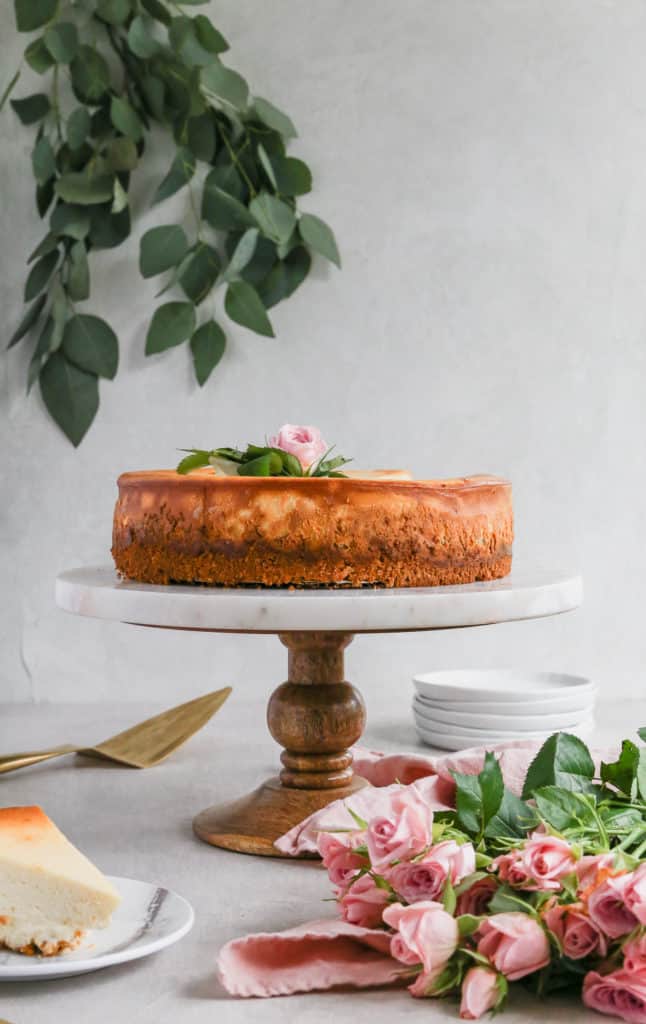
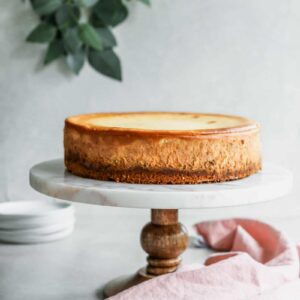
5 Tips To Make Perfect Cheesecake
Making cheesecake doesn’t have to be scary, follow these tips on how to make the perfect homemade cheesecake!
Making your own homemade cheesecake can be daunting.
You get all your ingredients together, pour it into the springform pan, put it in the oven, water bath or not (we’ll get to that), and cross your fingers you don’t get the dreaded crack.
But it doesn’t have to be that way!
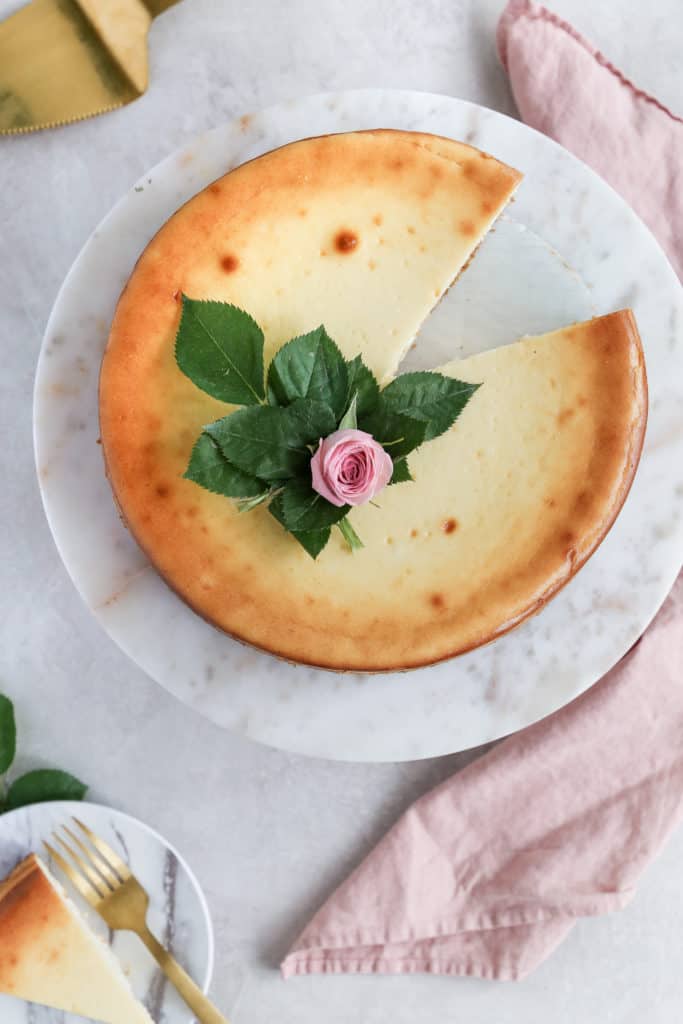
Today I’m sharing with you a bunch of tips for how to make homemade cheesecake. And as a bonus- how to cover it up if it doesn’t come out perfect- because crack (insert other word here) happens.
So here we go!
Room temperature ingredients:
This may seem like a no brainer, but for a creamy consistency you need to have room temperature ingredients.
If you forget to take everything out of the fridge and need to bake asap, then you can fill a bowl with lukewarm water and place the cold ingredients in there to help it along.
Add flour to the batter:
Some cheesecake recipes call for a little bit of flour. The reason for this is that it helps to firm up the batter a little and will also help in crack prevention. Hee Hee.
Water Bath Hack:
Oh the dreaded water bath. I can’t even tell you how many times I’ve either spilled the water everywhere and/or burned myself when I was taking the cheesecake out (rookie mistake).
A lot of recipes say to wrap your springform pan with tin foil and then bake it on a sheet tray with water poured in.
I tried. I spilled. I cried.
Try this water bath hack instead!
Instead of putting the water on the same tray as the cheesecake, put a separate sheet tray on the bottom rack of the oven (or a 9×13 inch pan) and fill that with an inch or so of water. Then put the cheesecake on the oven rack on top of that.
This fixes two things:
1) There is no chance of any water seeping into the springform pan.
2) I don’t have to freak out about spilling the water everywhere because most of the water has evaporated by the time I take the cheesecake out.
Do you have to use a water bath?
I think yes.
The steam from the water will rise and make sure your cheesecake is extra smooth and creamy. Some people will say no if you already have the flour in there, but I haven’t found a reason not to now that I’m not terrified of it.
Cooling:
That rookie mistake I mentioned above? That was me not letting the cheesecake cool for an hour in the oven after baking. To prevent cracks, the cheesecake needs to be cooled properly. If you take it out of the oven right after its finished, then it will most certainly crack because of the drop in temperature.
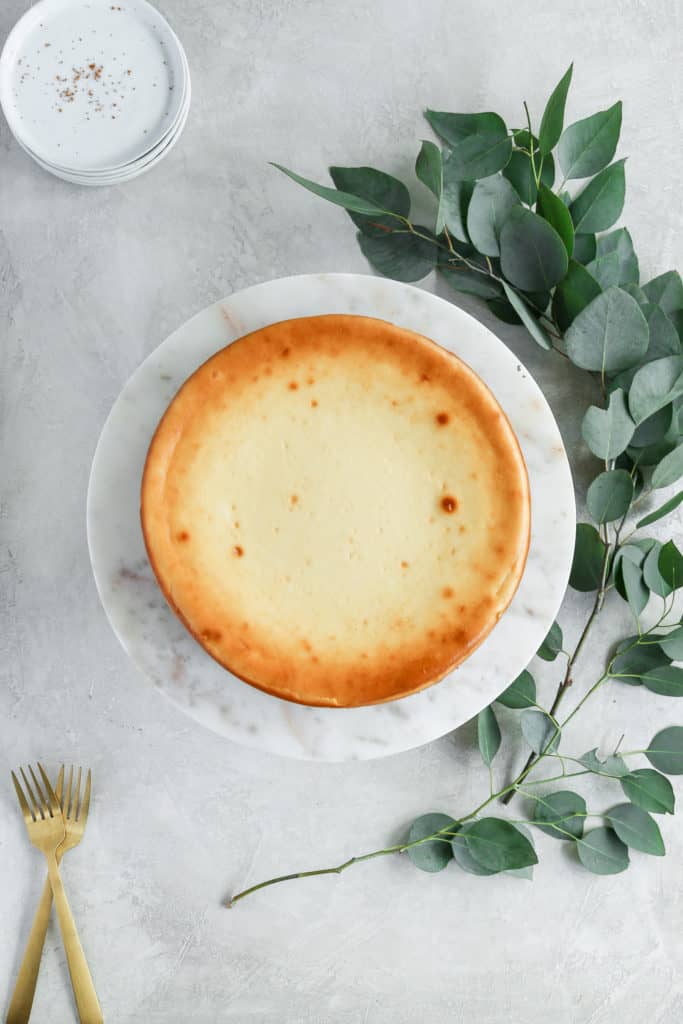
Crack Prevention:
To prevent the cheesecake from cracking, turn the oven off when it is done baking and leave the oven door slightly open. Do not take the cheesecake out.
Cool it like this for at least an hour and then move it to your counter to continue cooling.
Then move it to your fridge to chill. You want to chill it for at least 4 hours or overnight. If you cut into it before its completely chilled, you will have an ooey gooey mess.
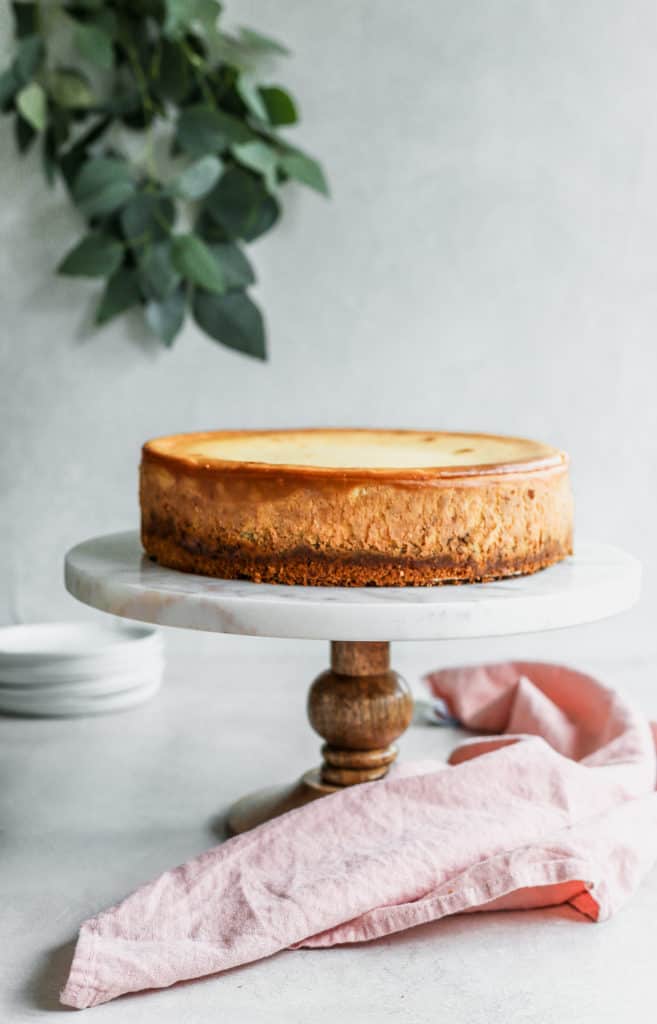
Releasing the cake from the pan:
Ok so now that you have a beautiful crack free cheesecake, you need to take it out of the springform pan to present it in all its glory to your family, your guests, or your mouth.
I have unfortunately gotten to this step easily, and then sadly unlocked the spring form pan only to crack my cheesecake in half.
More tears.
To help with this, take a knife or an offset spatula and run it along the edges of your pan to loosen the cake up.
This is a super simple tip, and I used to do it on all my cakes before I found my love of bakers joy baking spray.
Clearly I forgot about it and I’m happy it made its way back into my life.
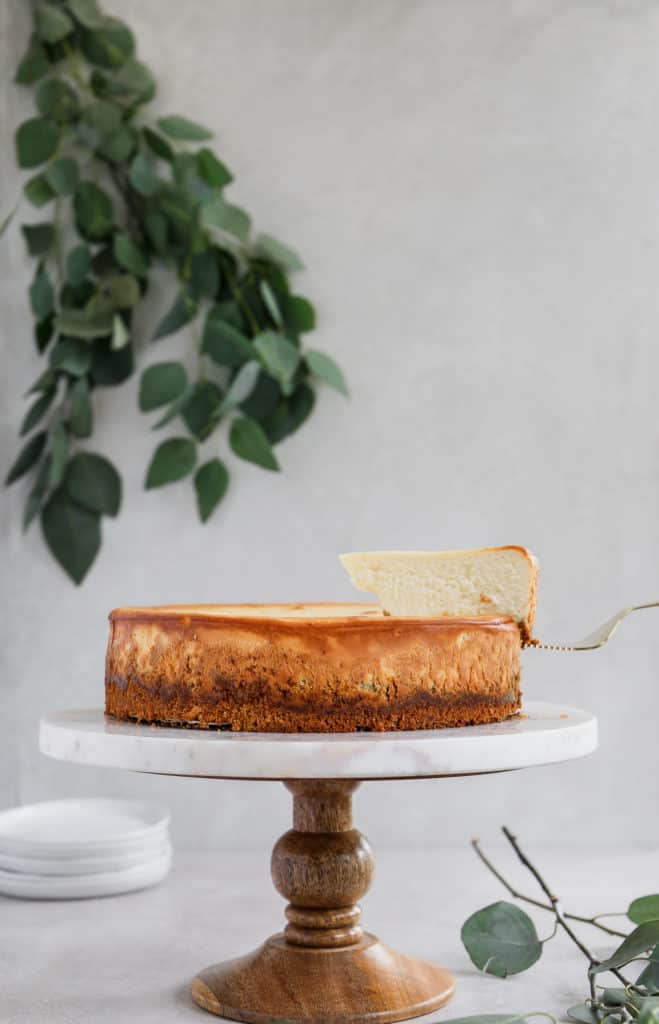
How to tell when a cheesecake is done baking:
The cheesecake is done when the outer edges are set but there is still a little jiggle in the middle.
This is important because most cakes need to be set in the middle before it is done but cheesecake is the opposite. If the cheesecake is set in the middle it is over-baked and will likely crack.
Don’t worry about that jiggle in the middle, it will firm up in the fridge!
I’m not so worried about my jiggle in the middle either haha I would rather have this cheesecake!
5 Tips To Make Perfect Cheesecake
Ingredients
For the crust:
- 9 graham crackers/1 package, crushed or about 1 1/2 cup crumbs
- ⅓ cup butter, melted
- 2 tablespoons granulated sugar
For the Cheesecake:
- 4 8 oz. cream cheese packages, at room temperature
- 1 cup granulated sugar
- 1 cup sour cream
- 4 large eggs
- 1/2 cup half n half
- 2 teaspoons vanilla extract
- 1/3 cups all purpose flour
Instructions
For the crust:
- Preheat your oven to 375° F.
- Place the graham cracker crumbs in a medium sized bowl.
- Add the sugar and melted butter and stir to combine. The mixture should resemble wet sand.
- Spray your 9″ springform pan with baking spray and press the graham cracker mixture into the bottom and sides. You can use the bottom of a measuring cup to help press it down hard and evenly.
- Bake for 8-10 mins until it smells like heaven from your oven and the crust is golden brown.
Meanwhile make the cheesecake:
- Lower your oven temperature to 350° F.
- In the bowl of a stand mixer fitted with the paddle attachment, add your cream cheese.
- Mix on low-medium speed for 1 minute, then add in your sugar and sour cream.
- Continue mixing on low-medium speed, then add 1 egg at a time, mixing for a few seconds in between additions.
- Stop the mixer and scrape down the sides of the bowl.
- Start the mixer again on low speed and add in the half n half and vanilla.
- Mix for 30 seconds.
- Add in the flour slowly then move your speed up to medium and mix for 2-3 minutes.
- Scrape down the sides and bottom of the bowl to make sure everything is mixed evenly.
- Pour the batter into the spring form pan, then place it on a sheet tray.
- Take a second sheet tray and put it on the lower rack of your oven.
- Fill it with 1 inch of water. Alternatively you can use a 9×13 in pan and fill it with water.
- Place the cheesecake on the upper rack of the oven.
- Bake for 45-55 minutes.
- The cheesecake is done when the edges start to brown and break away from the sides of the pan. It will still be jiggly in the middle- you want that!
- Turn the oven off and crack the oven door open a little bit.
- Leave the cheesecake to cool for one hour, then remove to finish cooling on the counter.
- Chill in the refrigerator at least 4 hours or overnight.

amazing recipe and you have really explained it beautifully thanks for sharing, I will definitely try it on coming holiday to surprise my love one
Thank you so much! I’m so happy you found it helpful, I hope you both love it!
Hi Sam,
I have made cheesecakes before and had great success, but I am making one for a friend’s son’s birthday and don’t want to lose the bottom to my springform pan. I am going to take your advice and stick a cardboard cake pad in the pan, I have a couple of questions about this.
1) Do I need to adjust the oven temperature? Or bake longer? Or does the cardboard not affect that much?
2) I feel stupid asking this because it seems like common sense– I still use the metal bottom right? It seems like it wouldn’t cook and might be a huge mess if I didn’t use it.
Thanks! And I am excited to try it out and use a couple of your other tips too!
Hey Christa! Gahhh so excited you are trying this! No you don’t need to adjust any time or bake longer- the cardboard won’t affect anything, and yes you still use the bottom. If the cardboard is a little bit smaller than the bottom of the springform pan thats ok too! It doesn’t have to be completely snug next to the sides. Let me know how it turns out! Happy birthday!
Hi Sam!
I actually ended up making 2 cheesecakes and tried your cardboard trick and freezing the other for about 30 minutes before transferring it to a cake pad. Both worked well! But I think freezing is what I will stick with because cutting the cardboard circle was annoying with my dull scissors (maybe I just need new scissors). I am so glad that I tried it though!
This was absolutely perfect. Thank you so much for sharing your recipe and all your tips. I covered it with maple syrup roasted pear slices, and made the base with ginger biscuits. It looked fantastic, and my friend was absolutely delighted with her birthday cake (so was I!). Hashtagged you on Instagram (@bowhaus1). It can be a risk using recipes from the internet, but your detail and your beautiful cake made me trust this one, and I was absolutely right.
Hi Cesca! Thank you so much for your kind comment and review! I am so happy you were able to make the cake easily and ahppy bday to your friend! You sound like a good friend to have 🙂
What can i do to prevent the cheesecake from sliding on the card board in the box
Hey Sonia! You can lightly dampen a paper towel and put it under the cake board so it wont slide around 🙂
Hey!
Can you use any cake boards? I never thought you could bake a cake board. I have Wilton ones and I am a bit fearful since it’s pretty much cardboard.
Yes! Those are the ones that I use for this. Since it is completely covered in these crust and the springform pan it will be fine!
This was my first time making cheesecake, so I definitely wanted to start with one of your recipes. It was amazing. I don’t know what I was so afraid of all these years. The family couldn’t stop saying how good it was too.
There was still a big crack in the middle (I think maybe I left it in the oven a little too long), but I made a quick lemon glaze that hid it. Is it normal for the cheesecake to puff up like over an inch taller than the pan while it’s cooking?
Thank you for the great instructions and recipe!
Yay Christina! So glad you conquered your cheesecake fears! Thank you for making this recipe! Totally normal for it to puff up like that but if there is a big crack in it it could be a little bit over baked, so next time I would decrease the time just a little bit!
Hi Sam
This recipe is the bomb!! Everyone loved it and surprisingly it didn’t crack, yea!!
Thank you so much for your thorough instructions I took every bit of that info into heart. And resulted in a delicious and beautiful cheesecake. I made a strawberry topping for it.
YESSSS!!!! Thank you Nancy! I am so glad it all worked out! Way to go! Thank you so much for the 5 star review!