How to Make Flaky Pie Crust
Today we’re talking all about how to make a flaky pie crust. I’m here to tell you that it is not scary, and you can do it. There’s only a few simple rules and techniques you need to follow.
This recipe is so easy that you can even make it in your stand mixer. YES I said stand mixer! I have found that it yields the same results as if I used a food processor or made the dough by hand. This recipe makes 2 pie crusts, one bottom and one top!
Let’s start with the ingredients you need.
Ingredients
These are all simple and basic pantry ingredients but they all offer something special for the pie crust. This recipe uses a combination of butter and shortening for maximum flavor and flakiness!
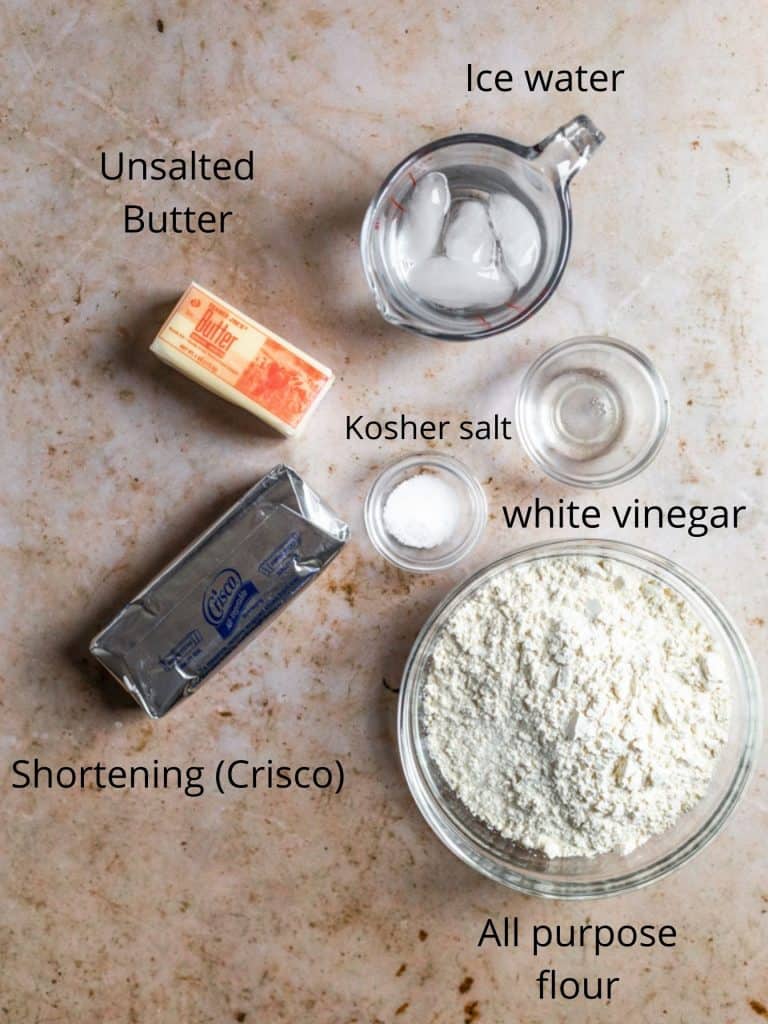
Butter– This is gonna give you that great buttery flavor that we all love in a pie crust.
Shortening– I normally don’t use shortening in my desserts but shortening is what is going to give the pie it’s extra flakiness. It will not leave a waxy feeling on your tongue!
All purpose flour– If you can, use a high quality flour, I like using Bob’s Red Mill.
Salt– I always use kosher salt, not table salt!
Ice water- This helps bring it all together and keep the ingredients cold.
White Vinegar– say whattt? Yes vinegar! The vinegar helps to keep the pie crust from overmixing and keeps it from turning a dull grayer color
Butter Vs Shortening
There’s a lot of debate about this subject on the blogosphere.
I think if you are new to pie baking that it is easier to achieve a flaky pie crust using both shortening and butter. Some people use all butter but the risk of it melting is less because you have the shortening (Crisco) there to help!
Pro tip: Keep the fats cold
This is probably one of the most, if not the most important thing to remember when making pie crusts.
You need to keep your butter and shortening cold to have the best results.
Why is this so important?
The flakiness of the crust depends on the coldness of the fat! When the fat is kept cold it creates these small lumps in the pie crust. When placed in the oven, those lumps start to melt and release steam.
Cold fat is what creates flaky layers in your pie dough.
BUT if the butter melts before it hits the oven, you wont have those little lumps (insert Fergie song here) to melt. Instead of a flaky crust you will have a greasy and heavy pie crust.
For best results I keep shortening in the freezer and use butter straight from the fridge. I also place my mixing bowl and paddle in the freezer for 20 minutes or so before making pie crust.
Ok so now that we got that covered, let’s start making pie crust!
How to make it
Use your stand mixer to make this recipe, you don’t need to whip out your food processor hooray!
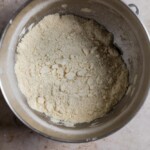
First add 2 1/2 cups of all purpose flour and 1 teaspoon of salt to your mixing bowl. Cut up the 1/2 cup butter and 1/2 cup shortening into small cubes and add it to the flour.
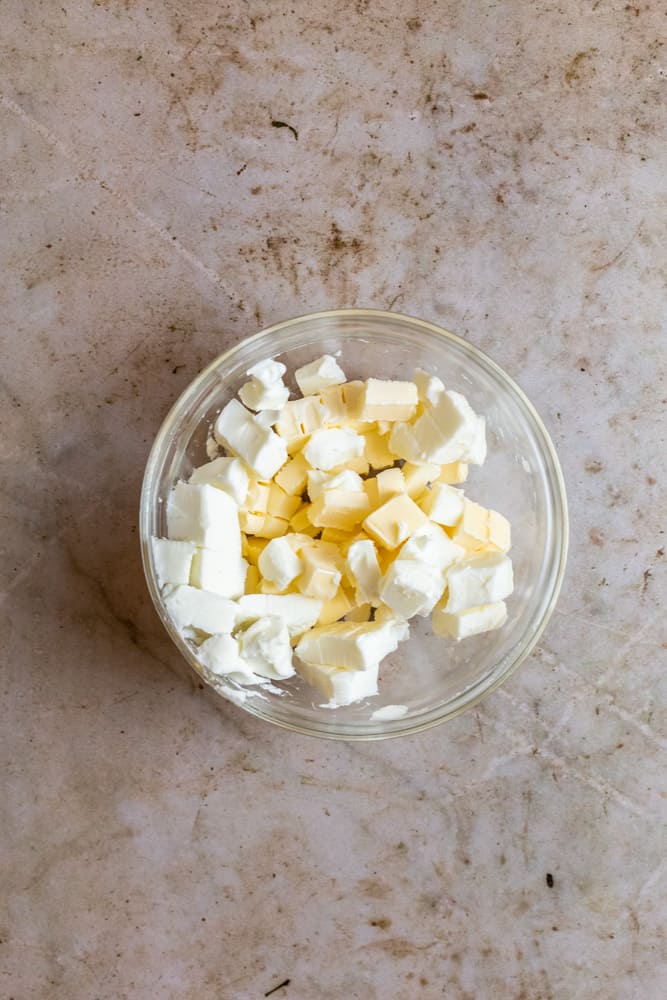
This is the part where you “cut in” the fat. This just means combining the flour and fat. The flour will create a coat over the little pieces of butter and shortening.
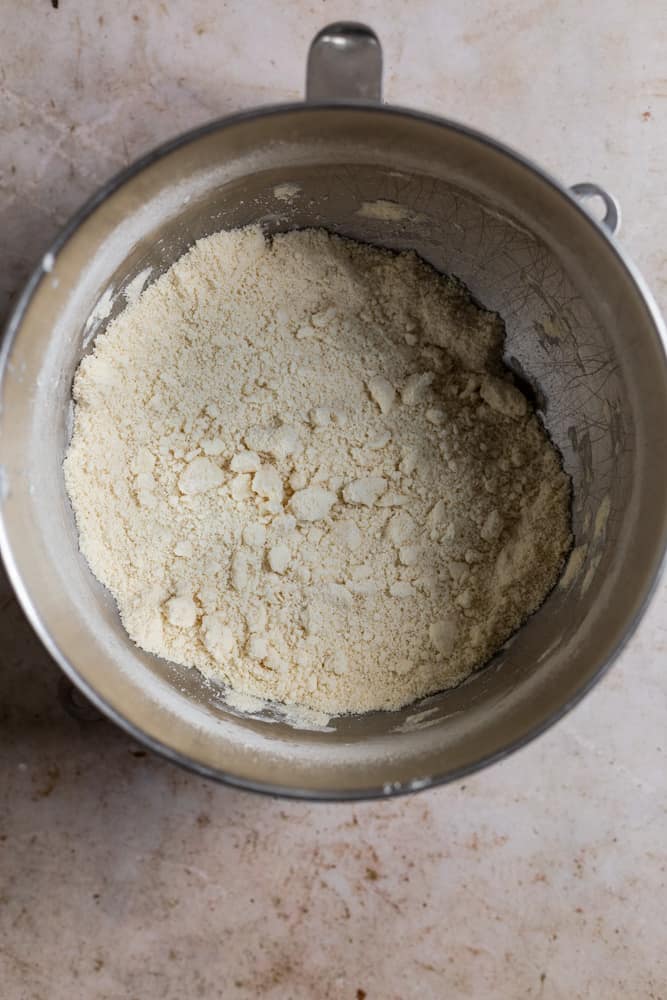
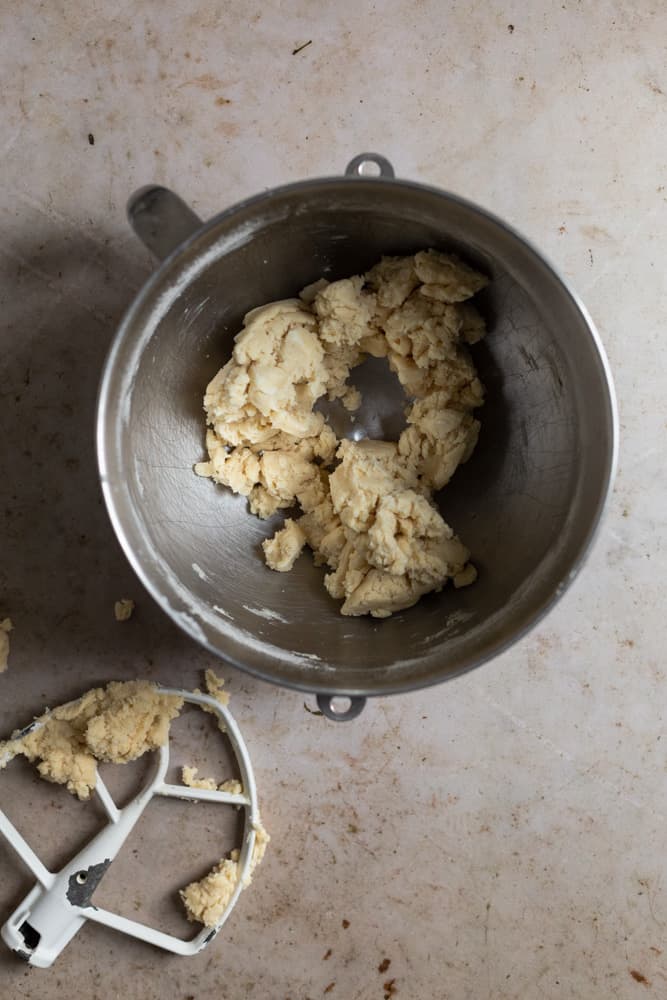
Connect the paddle attachment and mix on low- medium speed until you have crumbs the size of peas and smaller. About 2 minutes.
In a measuring cup add 1/3 cup water and 2 ice cubes. This equals about 5-6 tablespoons.
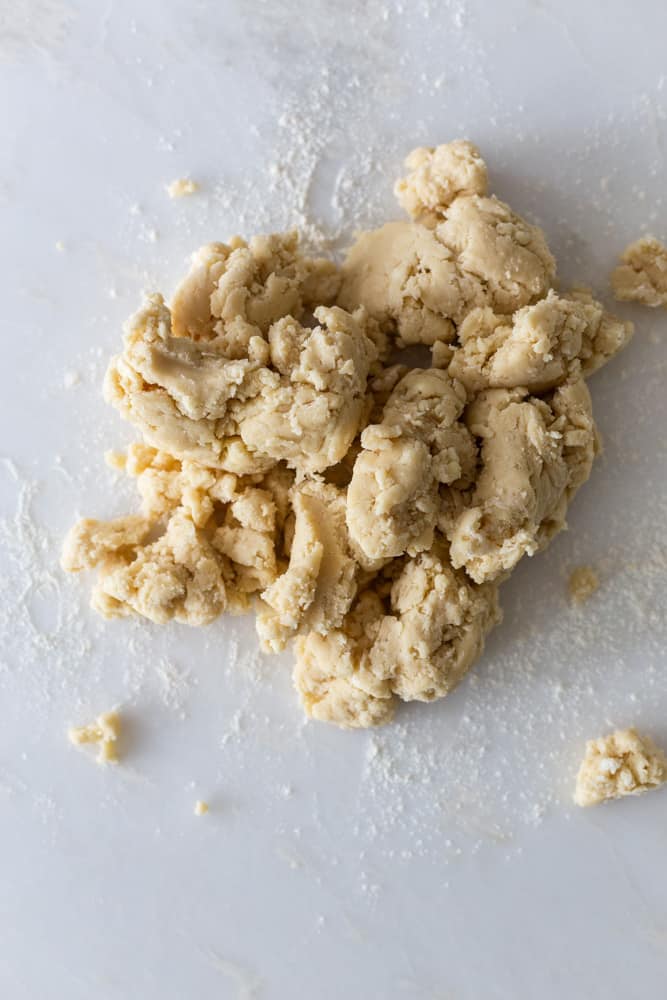
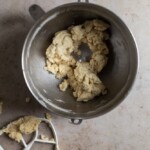
Add the vinegar and then ice water 1 tablespoon at a time until the dough forms large clumps but not as a whole. Usually this comes together for me in about 4 tablespoons but might be a little bit more for you.
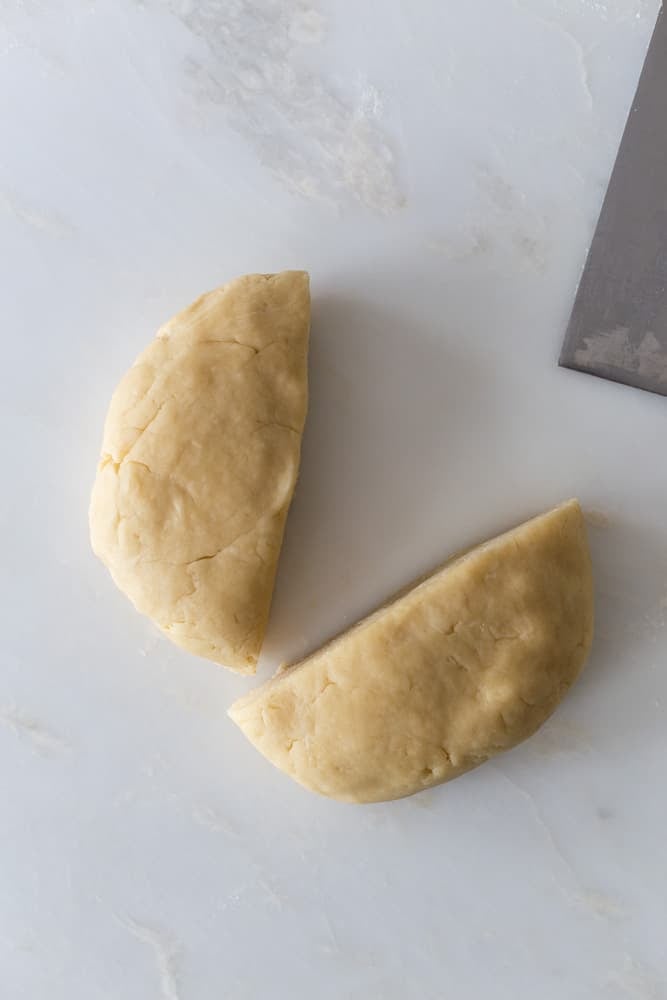
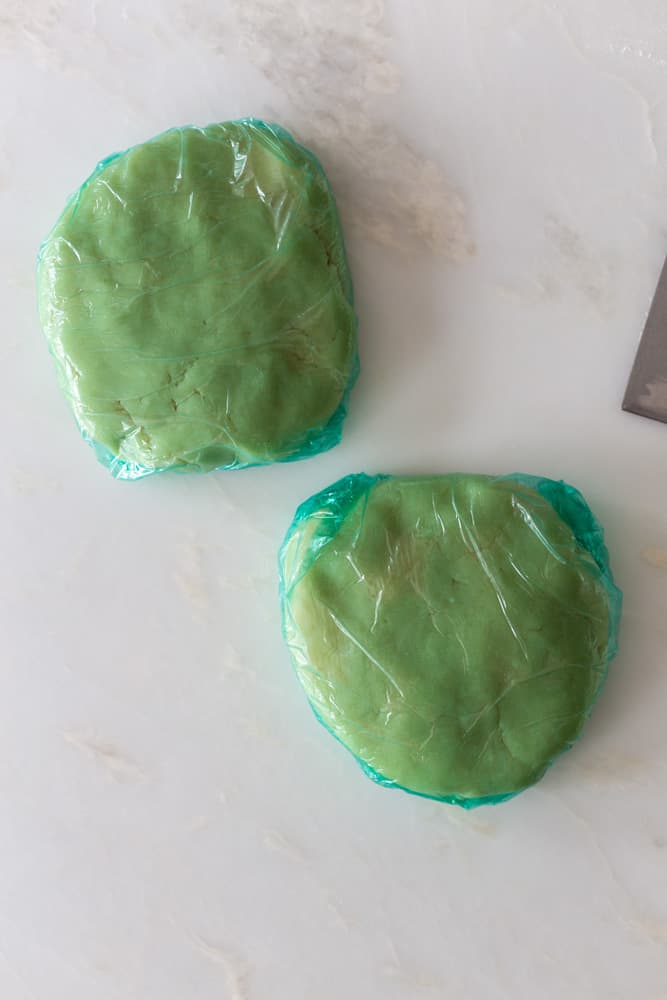
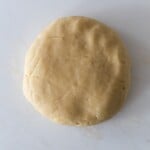
Turn the dough out onto a lightly floured surface and knead lightly until it comes together into a ball. Using a bench scraper or large knife, cut the dough in half.
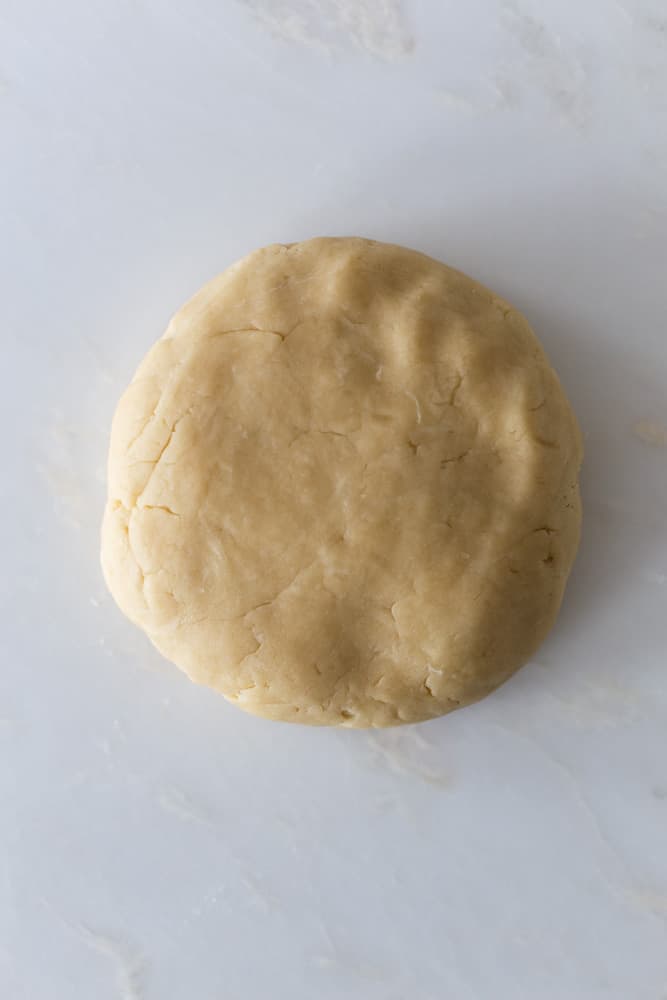
Wrap each half in plastic wrap and chill in the fridge for a minimum of two hours or up to 3 days. Alternatively you can freeze it for up to 3 months.
Chilling
Do not skip this part!
The gluten in the dough that you just created needs some time to chill out and rest. Chilling will also help the butter specks and lumps stay cold so they will release their flakiness when baked.
Rolling
Take only one piece of dough out of the fridge to work on at a time. Unwrap it on a lightly floured surface.
If the dough is too hard, give it 5 minutes at room temperature. If it is sticking too much to your surface, it needs to go back in the fridge.
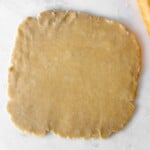
Starting rolling from the center of the dough, rotating it as you go around. If your rolling pin is sticking to the dough, dust it also with flour.
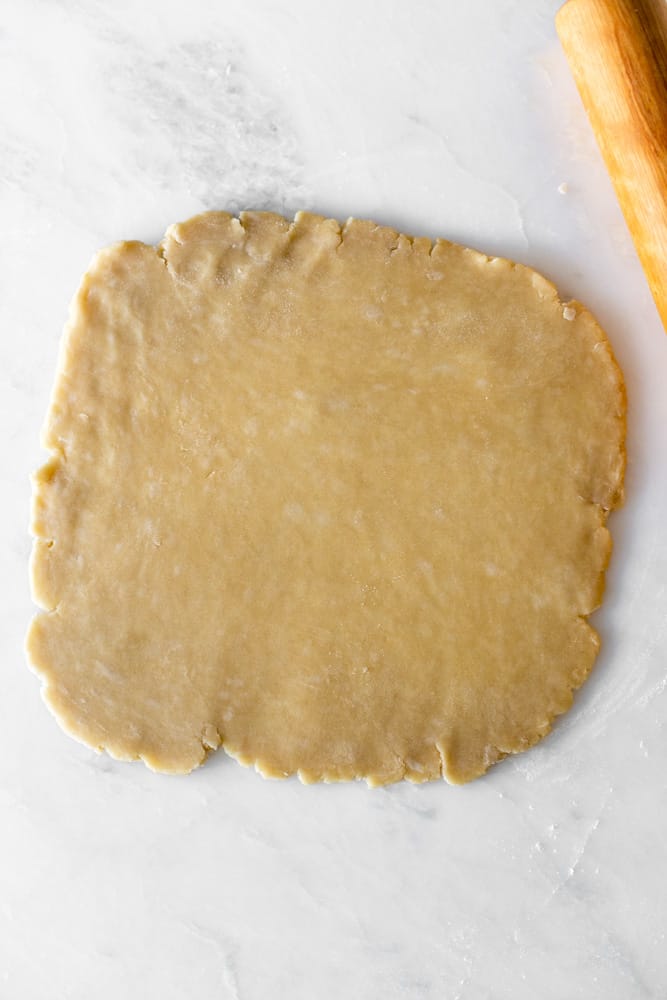
Roll it about 1/4″ inch thick. The pie crust should lift easily from your work surface. If it doesn’t, add a little more flour. Continue rolling and rotating the crust into a 10″ circle.
Getting the pie crust in the pan
Do not stress out about this.
If the pie crust cracks its ok, you can press it back together. Luckily this pie crust is super easy to use and should allow you to get it into the pan easily.
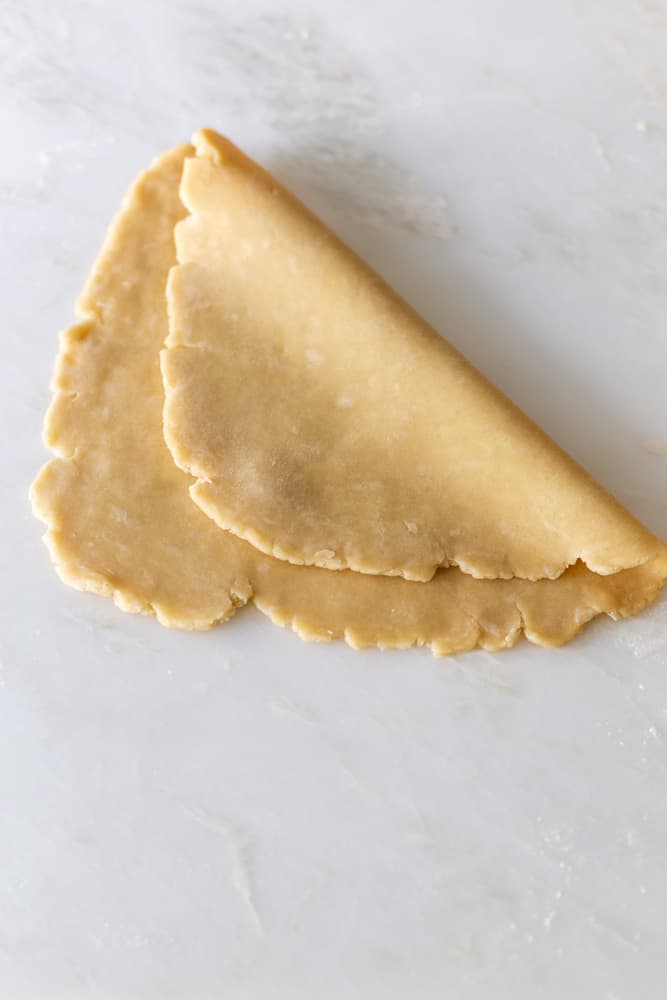
Lightly fold the pie crust over in half. Lift it up and unfold it into the pan. It does not have to be perfect!
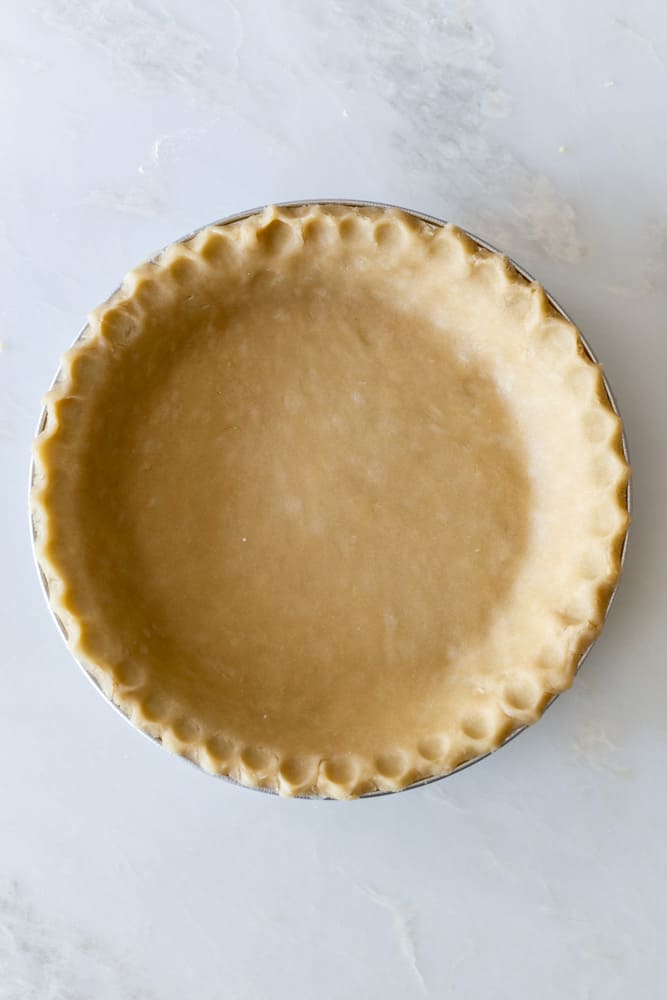
Best pan to use
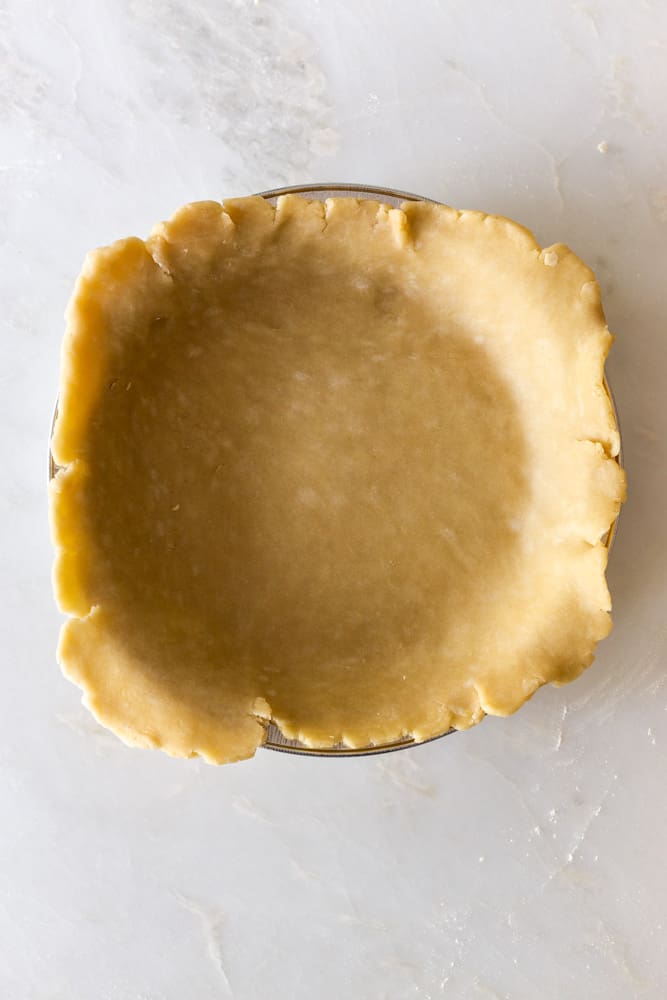
I have found that the best pan to use and bake your pie crusts in is a metal or aluminum pie plate with sloped sides.
I always have a much harder time getting pie crusts into a pie plate that has straighter sides.
See the difference between these two pie plates?
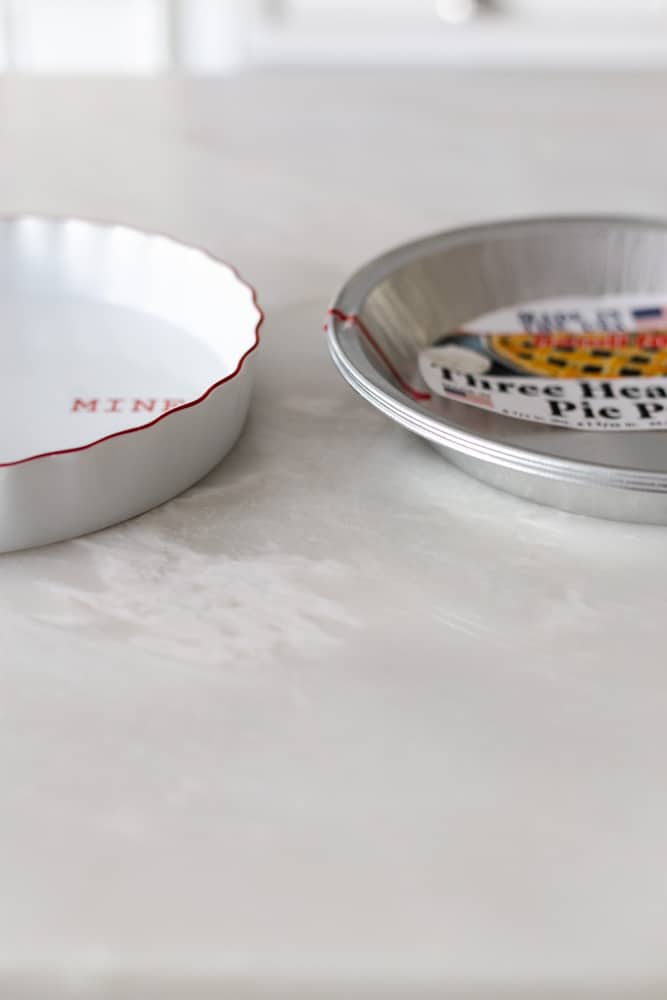
Because the metal one has sloped sides, it will be so much easier to drape the crust into.
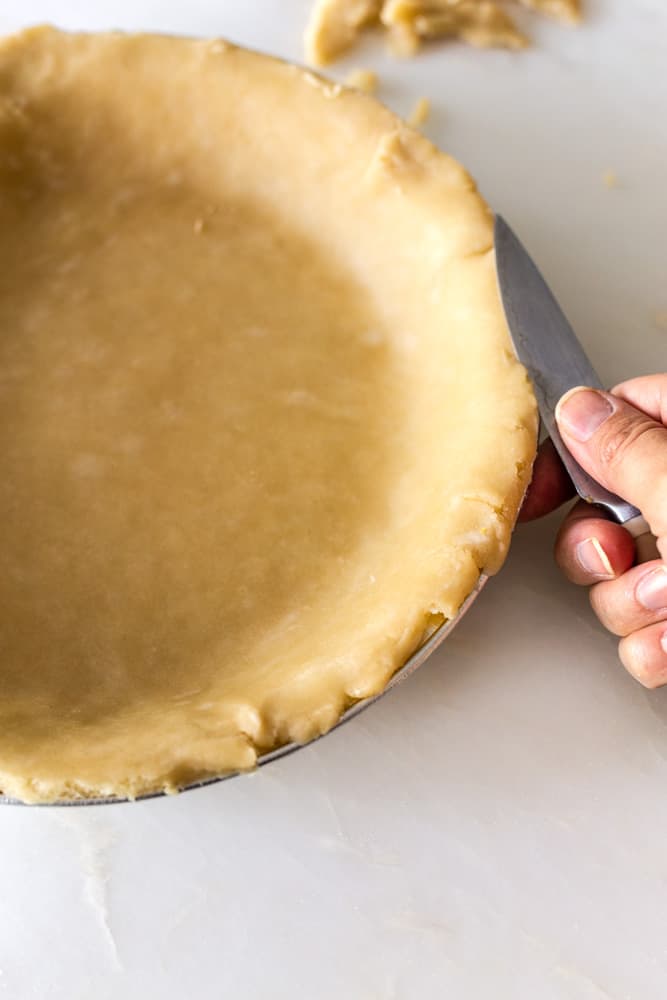
Trimming and crimping
To trim the edges of the pie crust all you need is a sharp pairing knife. Place the knife on a diagonal against the pie plate and press down to trim off the excess crust. Repeat this all around the crust.
You can also use the tines of a fork to create a pretty edge or crimp the edges with your fingers!
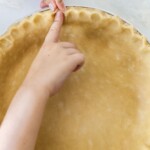
To crimp the edges of the dough just use your fingers in a pinching motion.
Place your pointer finger down onto the edge of the crust. Using your other hand, pinch the dough from the other side.
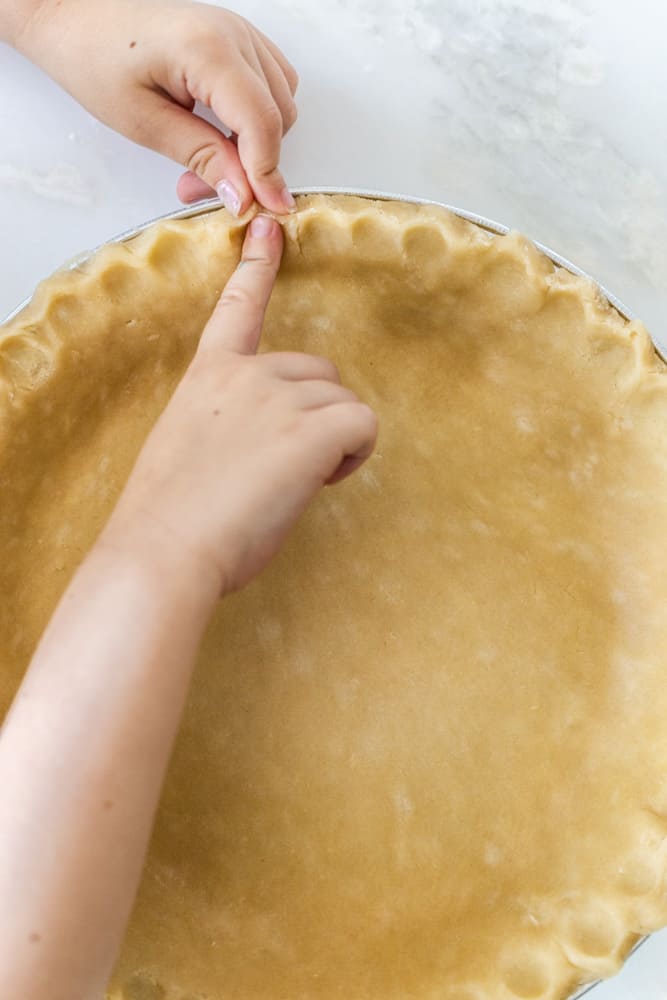
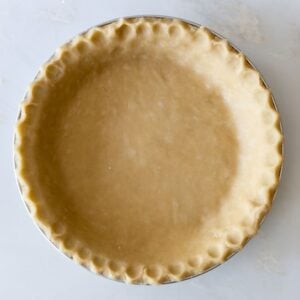
If my 5 year old can do it, so can you! Continue all around the pie.
Depending on the recipe you are following you are now free to bake!
Tips on baking
- If you are making a double crust pie with a filling that needs to be baked– lightly sprinkle the bottom of your pie crust with a mixture of 1 teaspoon flour and 1 teaspoon sugar. This will help prevent a soggy pie bottom. Fill the pie crust with the filling and repeat the rolling out process for the pie crust top. Beat an egg and brush the top of the pie crust. Preheat the oven to 375° and bake for 30- 35 minutes. Cover the edges with foil if they start to burn.
- If you have an already baked filling and need a pre baked crust– Prick the bottom of the crust with fork tines. Lay a piece of parchment on top and either use dry beans, dry rice, or pie weights to keep it down. Bake on 375° for 15 minutes, then remove the weights and bake for 5 minutes more.
- Create a pie shield to make sure the edges of the crust dont burn– Rip a large piece of tin foil big enough to cover the pie. Place it on the counter and put the pie on top. Crimp the foil up the sides of the pie so that it covers only the outer edges. Continue to bake.
Need a good pie filling? Try these recipes:
Flaky Pie Crust Recipe
Ingredients
- 2 1/2 cups all purpose flour
- 1/2 cup unsalted butter, cold, cubed small
- 1/2 cup vegetable shortening, cold, cubed small
- 1 tsp kosher salt
- 1/3rd cup ice water
- 1 tbsp white vinegar
Equipment
- Rolling Pin
- pie plate
Instructions
Mixing the dough
- In the bowl of a stand mixer add the 2 1/2 cups flour, 1 teaspoon salt, the 1/2 cup cold diced butter, and 1/2 cup cold diced shortening.
 With the mixer on low-medium speed mix with the paddle attachment until pea size lumps form.
- Add the 1 tablespoon of vinegar and then 1 tablespoon of water at a time and continue mixing until larger clumps form. I have used as little as 4 tbsp of water. You don't need to use all 1/3rd cup.
- Pour the dough out onto a lightly floured surface and knead together to form into a ball. Cut the ball in half, shape it into a disc, and wrap it in plastic wrap. Chill for 2 hours before rolling or keep in the fridge for up to 5 days. Freeze for up to 3 months.
Rolling out the dough:
- Take one pie crust out of the fridge and unwrap onto a floured surface. Lightly flour the rolling pin too. Roll from the center of the pie crust out, rotating after every roll to make sure it's not sticking. The dough should not be sticky. Continue rolling until the pie crust is about a 10" round.
- Fold the crust onto itself half way then lift and press it into the pie plate. Trim the excess with a knife and crimp the edges.
- Follow your recipe instructions to bake or see below for baking tips!
Notes
Please leave a rating and a comment below, I read and respond to them all! Also don’t forget to tag my on instagram @frostingandfettuccine with all your beautiful desserts!

The pie turned out great! Thanks for explaining the baking tips, very helpful.
So happy to hear that!! The baking tips are always worth the read! Thank you so much for the kind comment!