Easy Peppermint Cake with Peppermint Frosting
This peppermint cake is covered in a creamy white chocolate peppermint buttercream frosting and is the perfect cake to make for any holiday especially around winter time! It is moist and easy to make and topped with candy cane and peppermint candies.
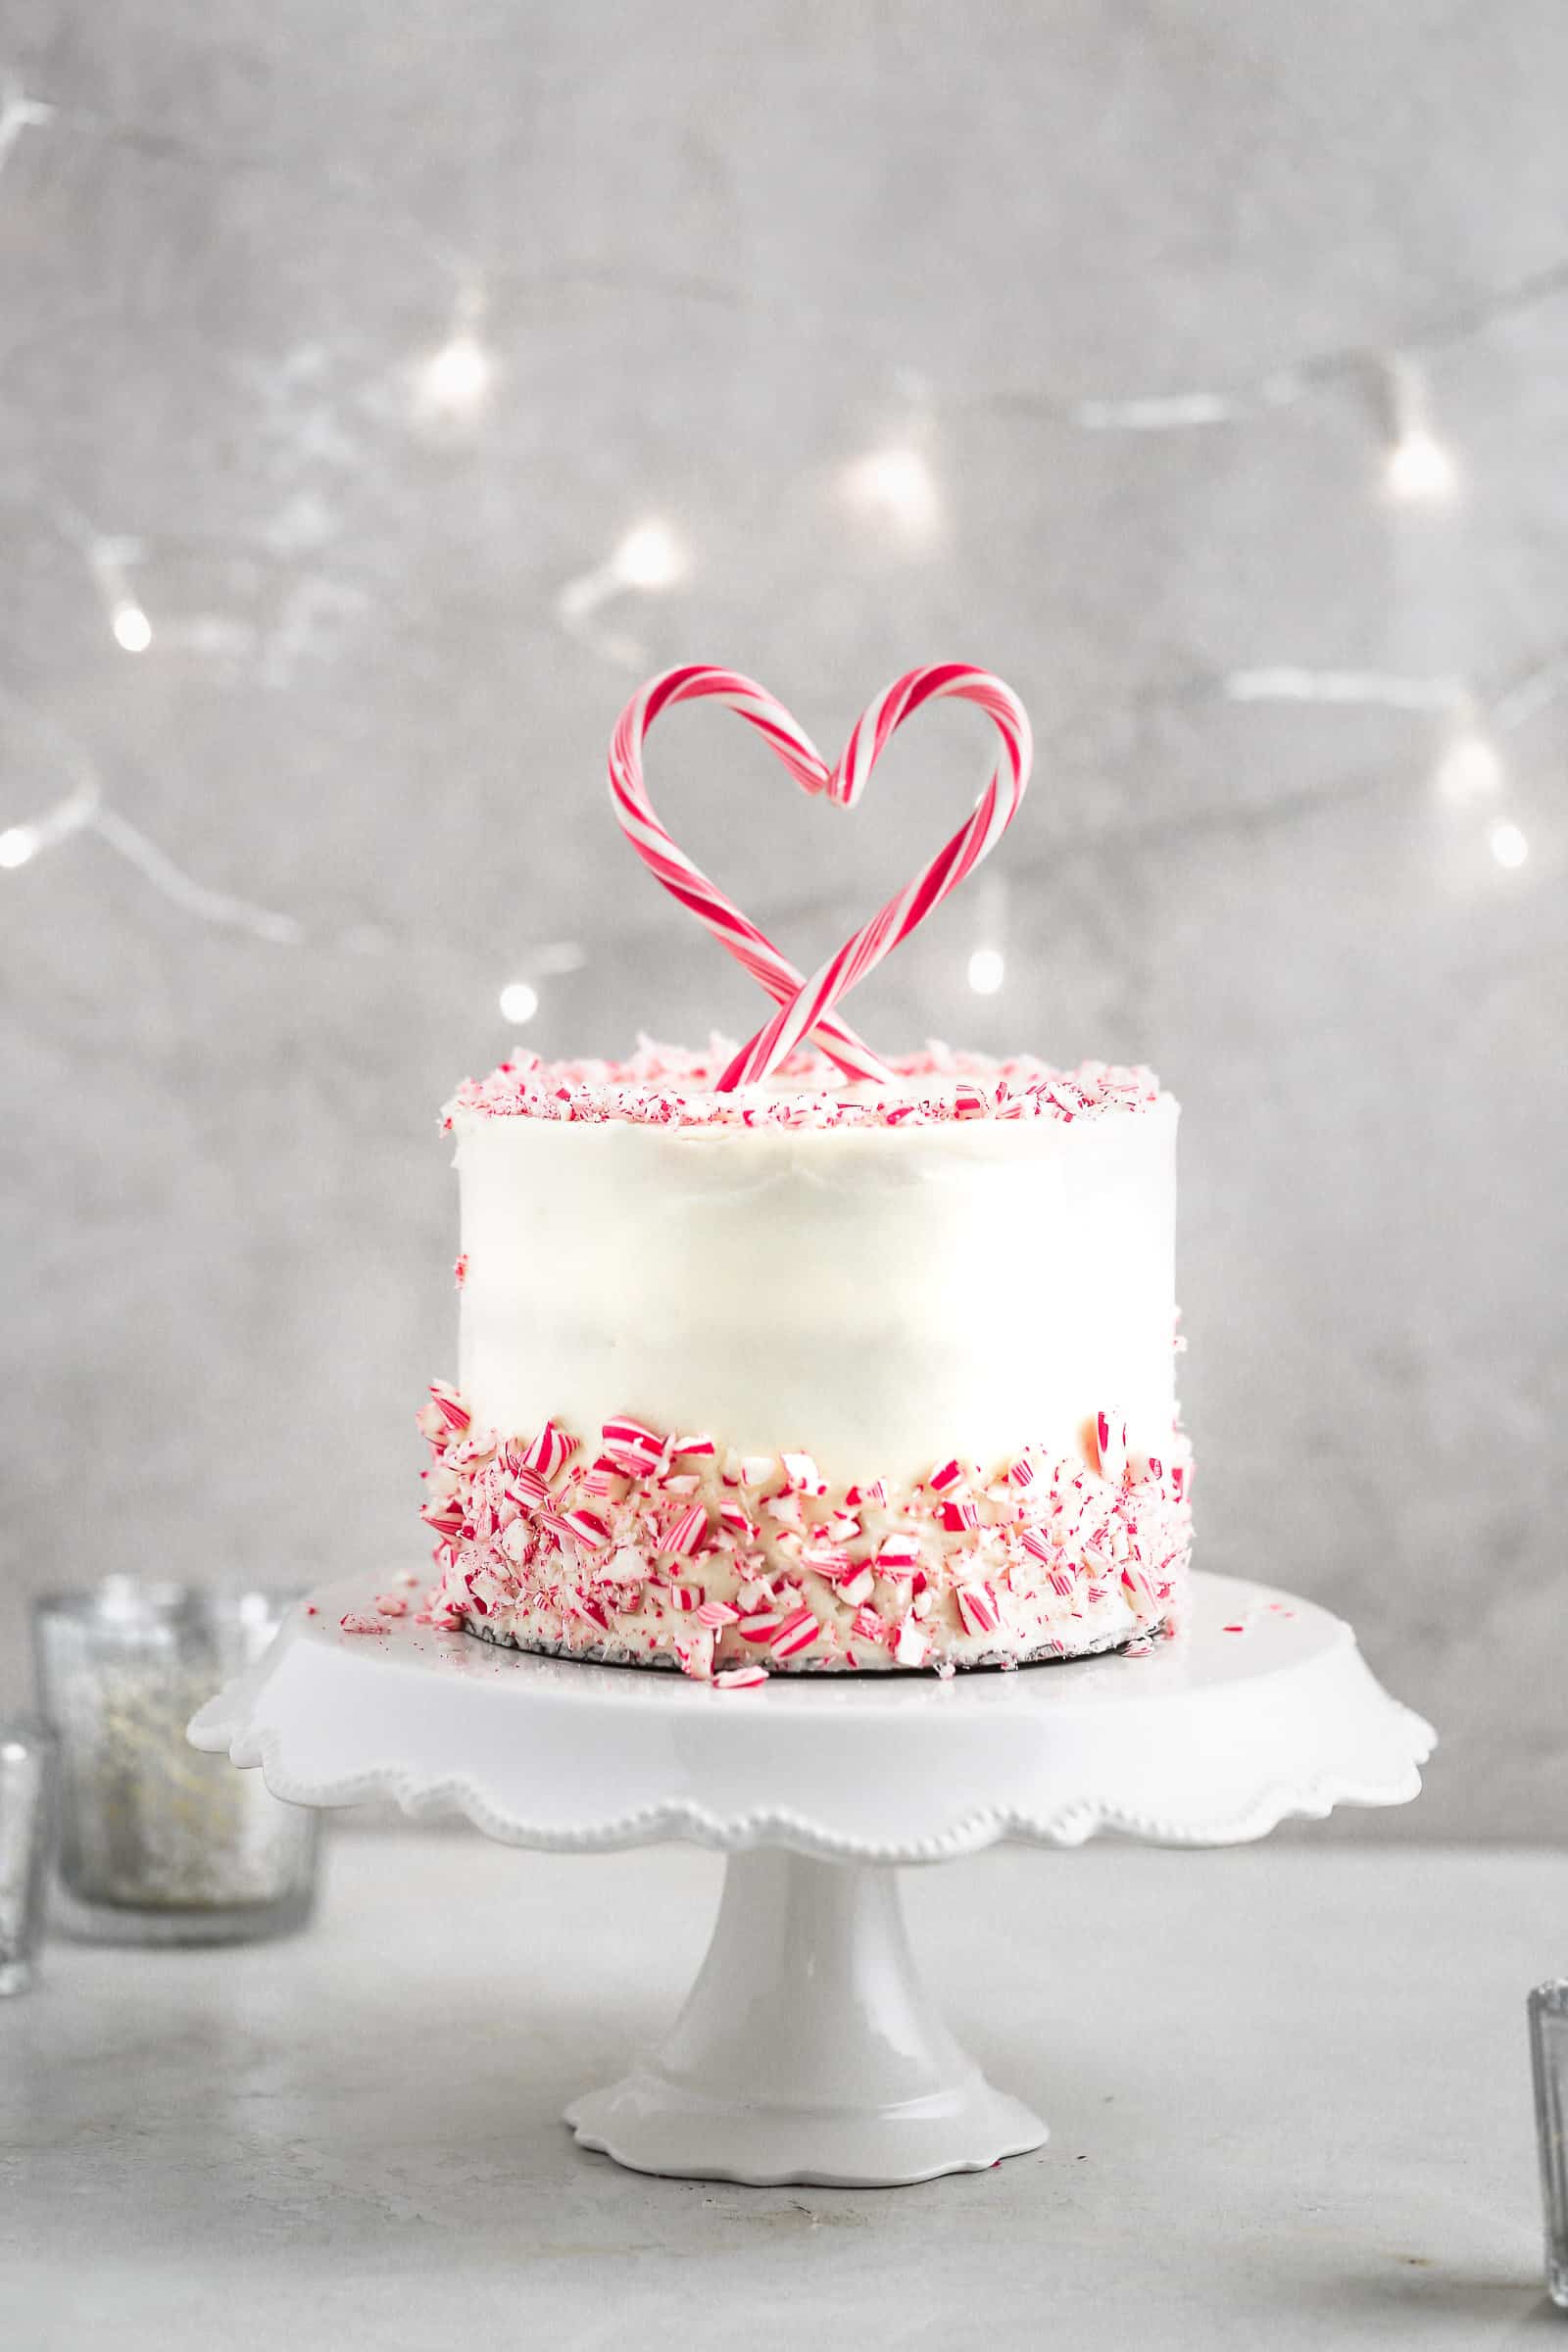
This peppermint cake is so much fun to make around the holidays! It is minty, and buttery and super easy to make. Plus you can decorate it with crushed peppermint or candy canes to make it even more festive.
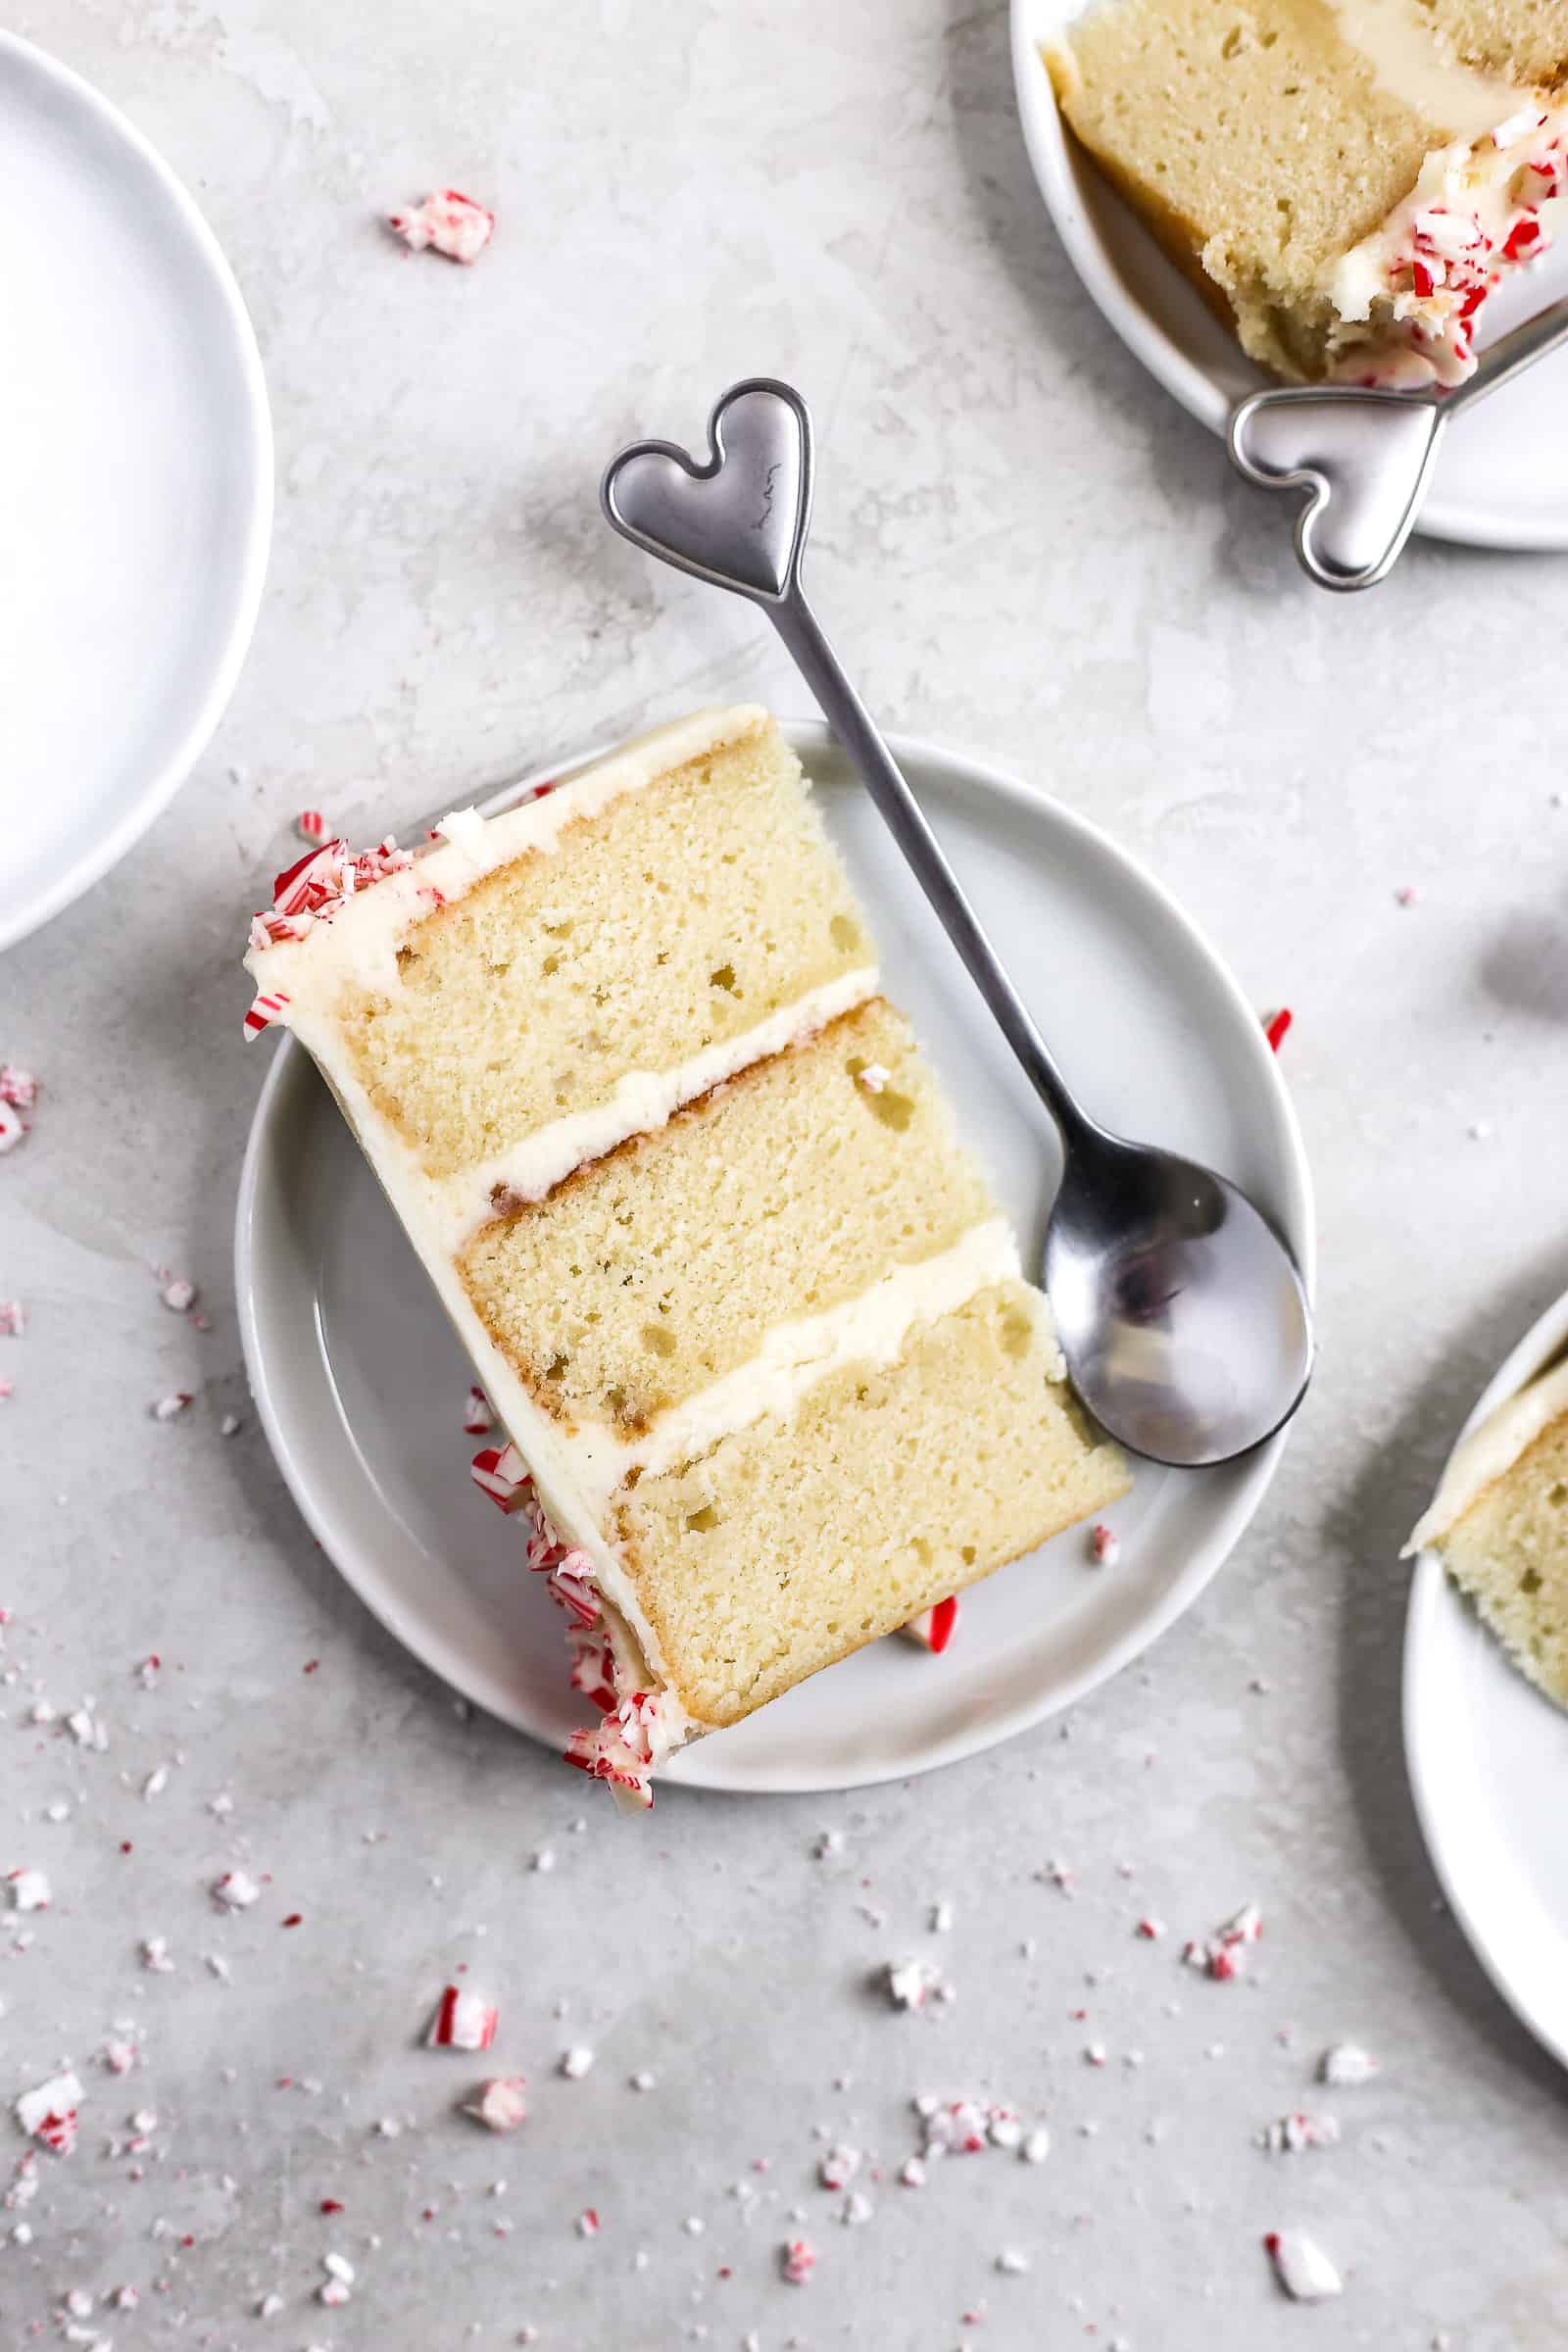
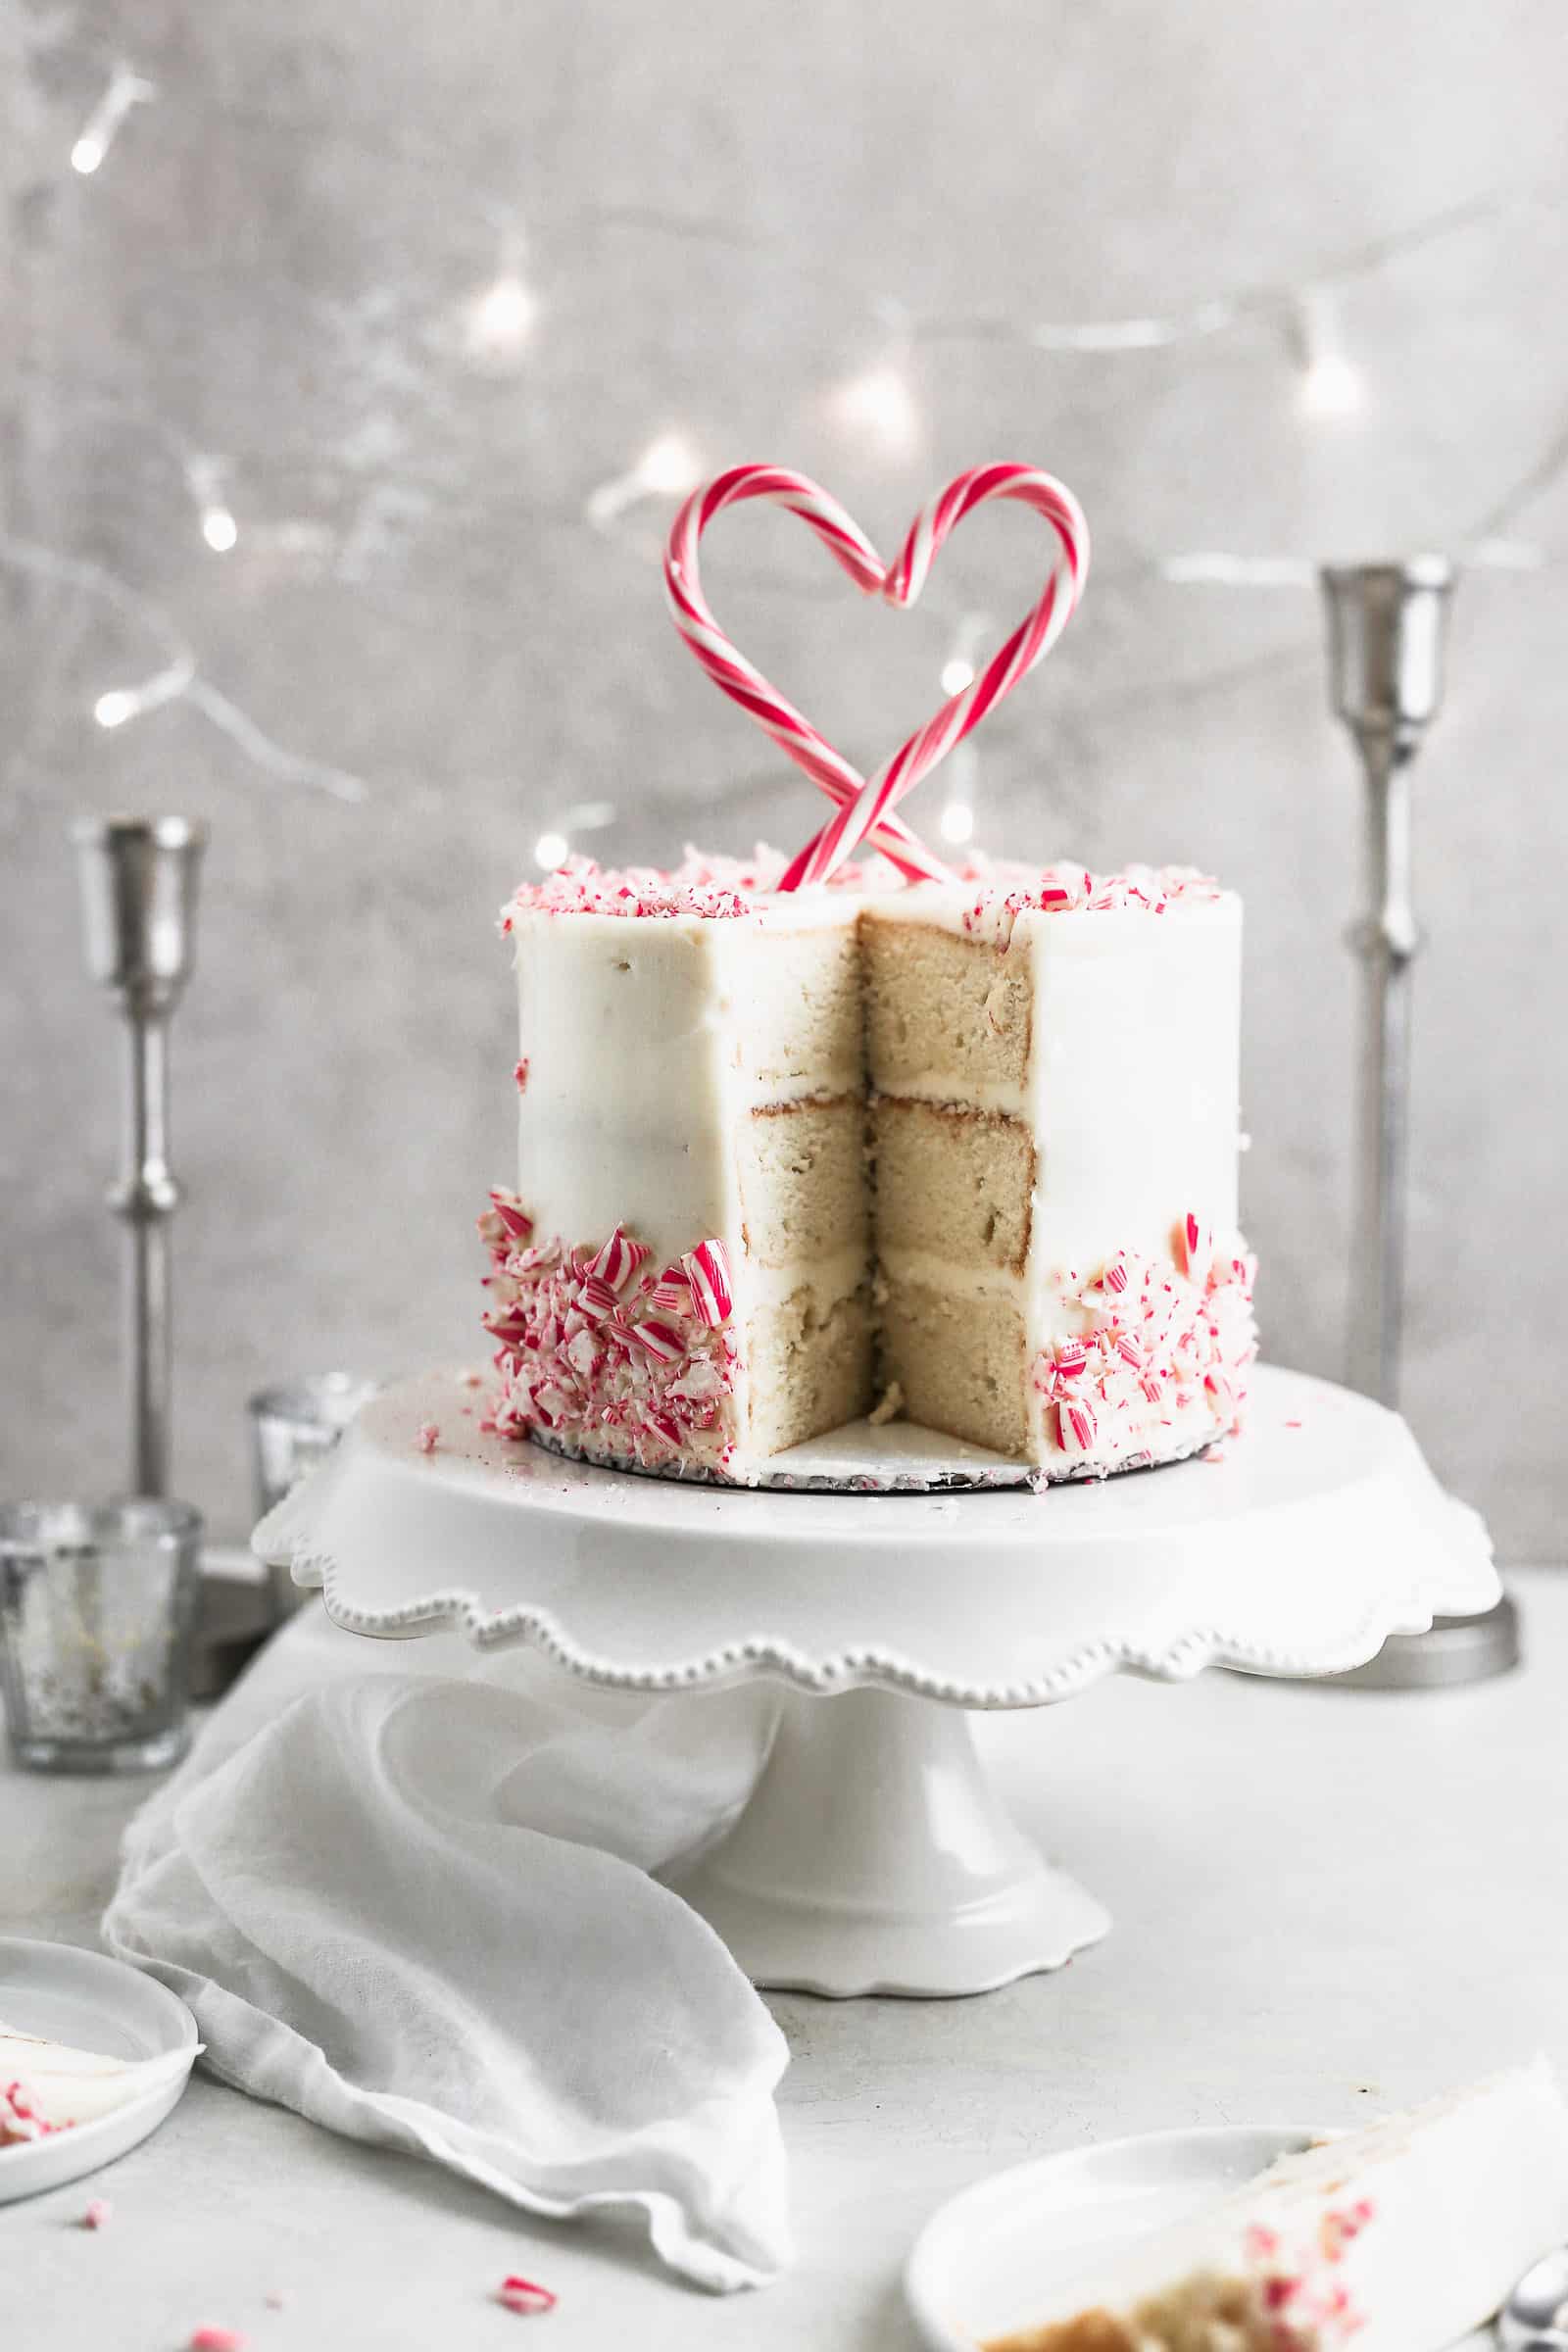
The cake is a bit more on the pound cake side, so it makes a great cake recipe to stack into tiers. Top it off with a white chocolate peppermint buttercream frosting, and all your guest will ask to take home a slice!
As a pastry school grad I love to come up with different flavors especially for holiday desserts! They just have a special place in my heart! If peppermint is up your alley don’t miss out on these double chocolate peppermint cookies, these mint cupcakes, or this mint frosting!
Why you’ll love this recipe
- It’s the perfect holiday peppermint cake to make!
- It’s delicious topped with white chocolate peppermint buttercream.
- This cake is an easy recipe!
- You can easily adapt this into a chocolate peppermint cake by adding 1/3 cup cocoa powder to the recipe and an extra 1/4 cup buttermilk.
Ingredients needed:
Cake ingredients:
- Unsalted butter at room temperature– Unsalted butter is used to control the amount of salt. You need to use it at room temperature so it mixes well into the batter. Learn how to soften butter quickly!
- Sugar– White sugar gives the cake structure and sweetness
- Eggs– Eggs build structure in the cake.
- All purpose flour– Flour is the binding agent and bulk of the cake.
- Baking powder– Baking powder helps the cake rise in the oven.
- Kosher salt– Salt brings out the flavor.
- Buttermilk– Buttermilk makes the cake super moist and gives it a tangy flavor.
- Vanilla Extract– Vanilla adds to the flavor.
- Peppermint Extract– Peppermint extract is needed for the minty taste.
- Candy canes for garnish- about 12-15 pieces– Peppermint candies or candy canes are used for decoration.
White chocolate buttercream ingredients:
- White Chocolate- This needs to be melted and cooled.
- Unsalted Butter- Again you will need to use softened butter so it incorporates well into the frositng.
- Powdered Sugar– Gives the frosting it’s bulk and sweetness.
- Peppermint extract– This gives the icing its minty flavor.
- Vanilla extract– Vanilla extract helps boost the flavor.
- Cream– Thins out the frosting.
How to make a peppermint cake:
Cream– Cream the butter and sugar together in a hand or stand mixer on medium speed until a paste forms about 1 minute. Then add the eggs one at a time mixing in between.
Dry Ingredients– In a medium sized bowl add the flour, baking powder and salt and whisk to combine.
Wet Ingredients– In a measuring cup add the buttermilk and both the vanilla and peppermint extract and whisk lightly.
Alternate- Alternate adding the dry and wet ingredients, starting and ending with the dry ingredients.
Bake- Pour the batter into 3 6″ or 2 8″ pans and bake at 350° F for 30-35 minutes. Make the buttercream.
White Chocolate Peppermint Frosting
To make the buttercream, melt the white chocolate in the microwave 30 seconds at a time, stirring in between. Cool for 3 mins.
In the bowl of a hand or stand mixer combine the butter and powdered sugar, and beat on medium speed until combined. Lower the mixer to low speed and drizzle in the white chocolate slowly. Mix until combined. Scrape down the bowl and add in the vanilla and peppermint extract along with the cream. Whip on high for 1 minute.
Decorate the cake
Fill and frost the cake with the white chocolate peppermint frosting. Then choose a way to decorate with the candy canes.
- Crush up some candy canes with a rolling pin, which by the way is an amazing form of stress relief, and press the shards against the top and bottom border of the cake.
- Make sure that you crush the candies before you frost the cake! If the frosting sets before the candies are ready they won’t stick to the cake.
- Two full candy canes inserted on a diagonal make a heart!
I only got the idea because as I was crushing up the candies, a few canes were just lying about and I noticed they made a heart shape- FUN!
Storage and freezing instructions
Storing the cake- This cake can be stored at room temperature for up to 5 days. You do not have to store it in the fridge.
Freezing the cake- First place the cake in the freezer on a plate for 30 minutes. When the cake is partially frozen, wrap it well in plastic wrap and freezer for up to two months.
Yield
This recipe will feed 12-15 people. If you make it in 6″ pans the cake will be taller. If you make it in 8″ pans the cake will feed the same amount of people but will be a shorter but wider cake.
Recipe tips
- You need to use room temperature butter for both the cake and frosting, otherwise it will be too cold and wont mix well into the batter or become super lumpy. Learn how to soften butter quickly if you forgot to leave it out!
- Make sure to measure the dry ingredients accurately. The best way to do it is with a kitchen scale. Otherwise spoon the flour into a measuring cup and then level it off. Never scoop flour with a measuring cup because it will pack in too much flour which will make the cake dense.
Recipe FAQ
Can I use milk instead of buttermilk?
You can but the cake will not be as moist. If you have lemon juice or vinegar you can make your own buttermilk by adding 1 tbsp lemon juice or vinegar to a measuring cup and then filling the rest with milk to the 1 cup line. Wait 10 minutes and the milk will turn to buttermilk.
Can I use milk instead of cream for the frosting?
Yes, but it wont be as creamy.


Easy Peppermint Cake with Peppermint Frosting
Ingredients
For the Peppermint Cake
- ¾ cup butter, or 12 tablespoons, softened
- 1 ½ cups granulated sugar
- 3 eggs, large
- 2 ¼ cups all purpose flour
- 1 ½ tsp baking powder
- ½ tsp kosher salt
- 1 cup buttermilk
- ½ tsp vanilla extarct
- ½ tsp peppermint extract
For the peppermint buttercream
- 6 oz white chocolate, melted
- 1 cup butter, softened
- 3.5 cups powdered sugar
- ¼ teaspoon peppermint extract
- ½ teaspoon vanilla extract
- 1 teaspoon cream, or milk
- Candy canes , or peppermint candies for garnish
Instructions
Make the peppermint cake
- Preheat your oven to 350° F and spray 3 6”inch or 2 8” cake pans with baking spray or alternatively line them with parchment paper.
- In the bowl of a stand mixer fitted with the paddle attachment, cream the butter and sugar on low-medium speed for 2 minutes or until it is a pale yellow color and fluffy. Add the eggs in one at a time, and mix until incorporated.
- In a separate bowl combine the flour, baking powder,and salt. Lightly mix to combine and set aside. Now prepare the buttermilk, vanilla, and peppermint extracts in a measuring cup.
- Alternate adding the dry and liquid ingredients in stages. Start by adding 1/3rd of the dry mix to the batter, mix on low- medium speed, then add in half the liquid, continue mixing, add in another 1/3rd of the dry ingredients, mix. Then add in the last of the liquid, mix, and add the last of the dry ingredients.
- Continue mixing on medium speed for another 30 seconds to make sure everything is combined.
- Stop and scrape the bowl. Fill the prepared pans up half way with batter and bake for 30-35 mins depending on size of the pans. You will know the cake is done when the edges start to pull away from the pan and the middle is springy.
Make the buttercream
- In a microwave safe bowl, microwave the white chocolate until fully melted, 30 seconds at a time. Let cool 3 mins.
- In the bowl of a mixer combine the butter and powdered sugar, and beat on medium speed until combined. Lower the mixer to low speed and add in the white chocolate. Mix until combined. Scrape down the bowl and add in the extracts and half n half and continue to mix until peaks form.
- Fill and ice the layers, then garnish with candy canes!
Notes
- To make this a chocolate peppermint cake add in 1/3 cup cocoa to the dry ingredients and add in 1/4 cup buttermilk to the wet ingredients.
- If you substitute milk for buttermilk, reduce the baking powder to 1 teaspoon
- If the buttercream is too thick, add a little more cream by the 1/2 teaspoon. If it is too liquid, add 1/3 confectioner at a time until your desired consistency.

I’m so amazing at what I saw on your blog,was searching for a nice site where I can get buttercream cake for my cousin’s wedding. Your buttercream cakes looks.
attractive and adorable .
I will like to you to bake a cake for my cousin’s wedding that is coming up next month.
Thank you so much Teegal!