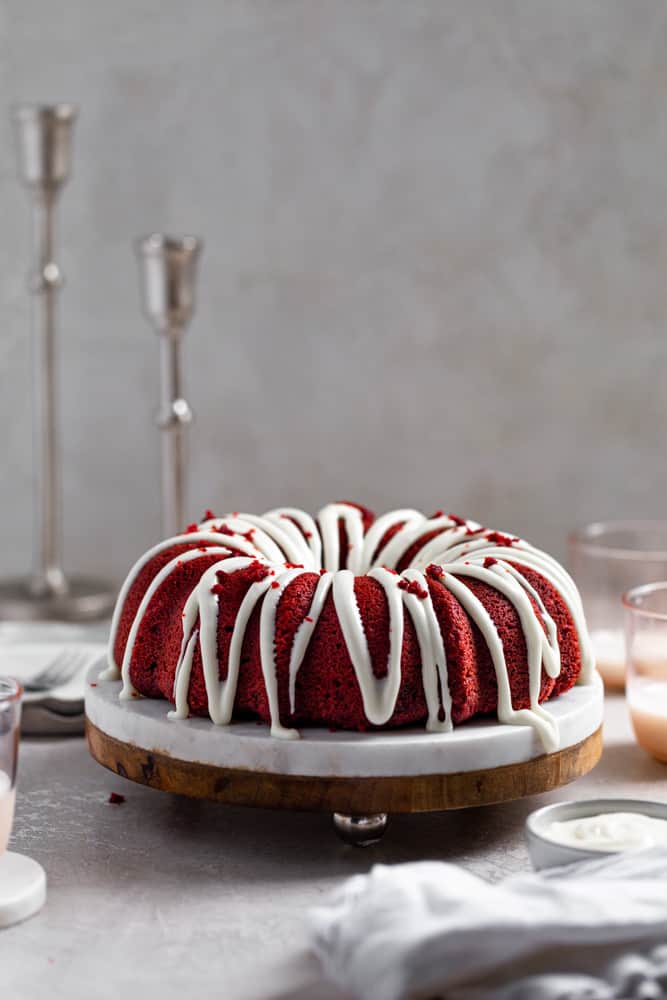
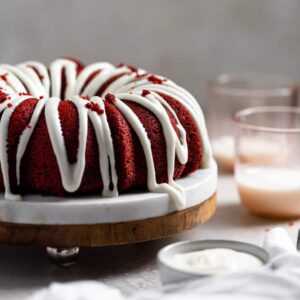
Fluffy and Moist Red Velvet Bundt Cake
The secret to this stunning, perfectly fluffy and moist red velvet bundt cake is in the ingredient ratios! Plus, it has half the amount of red food coloring than most red velvet cakes out there without sacrificing on color. A silky cream cheese frosting takes this homemade red velvet cake it over the top!
I made this red velvet bundt cake a total of 6 times. You heard me right- SIX times until I got it right. As a trained pastry chef, I love making bundt cakes because they are easy to make and come with a built in design, but sometimes it’s hard to get the ratios right.
But let me tell you- it was worth the wait! It is fluffy and moist (without being oily), and has a delicious bite to it especially with the cream cheese icing drizzled on top of the cake. It has the perfect red velvet flavor you want!
It’s just as good (if not better!) than my classic vanilla bundt cake, or my chocolate bundt cake. Plus its topped with my favorite cream cheese frosting that gives this it’s classic flavor combo. Want a thinner glaze? Try this cream cheese glaze recipe to frost. Or you can also top this with my cream cheese frosting without powdered sugar, if you’re low on it!
This homemade red velvet bundt cake is perfect for Valentine’s day or really any occasion that calls for cake! If you love red velvet recipes then don’t miss out on these red velvet brownies, red velvet cake mix cookies, or this red velvet cheesecake!
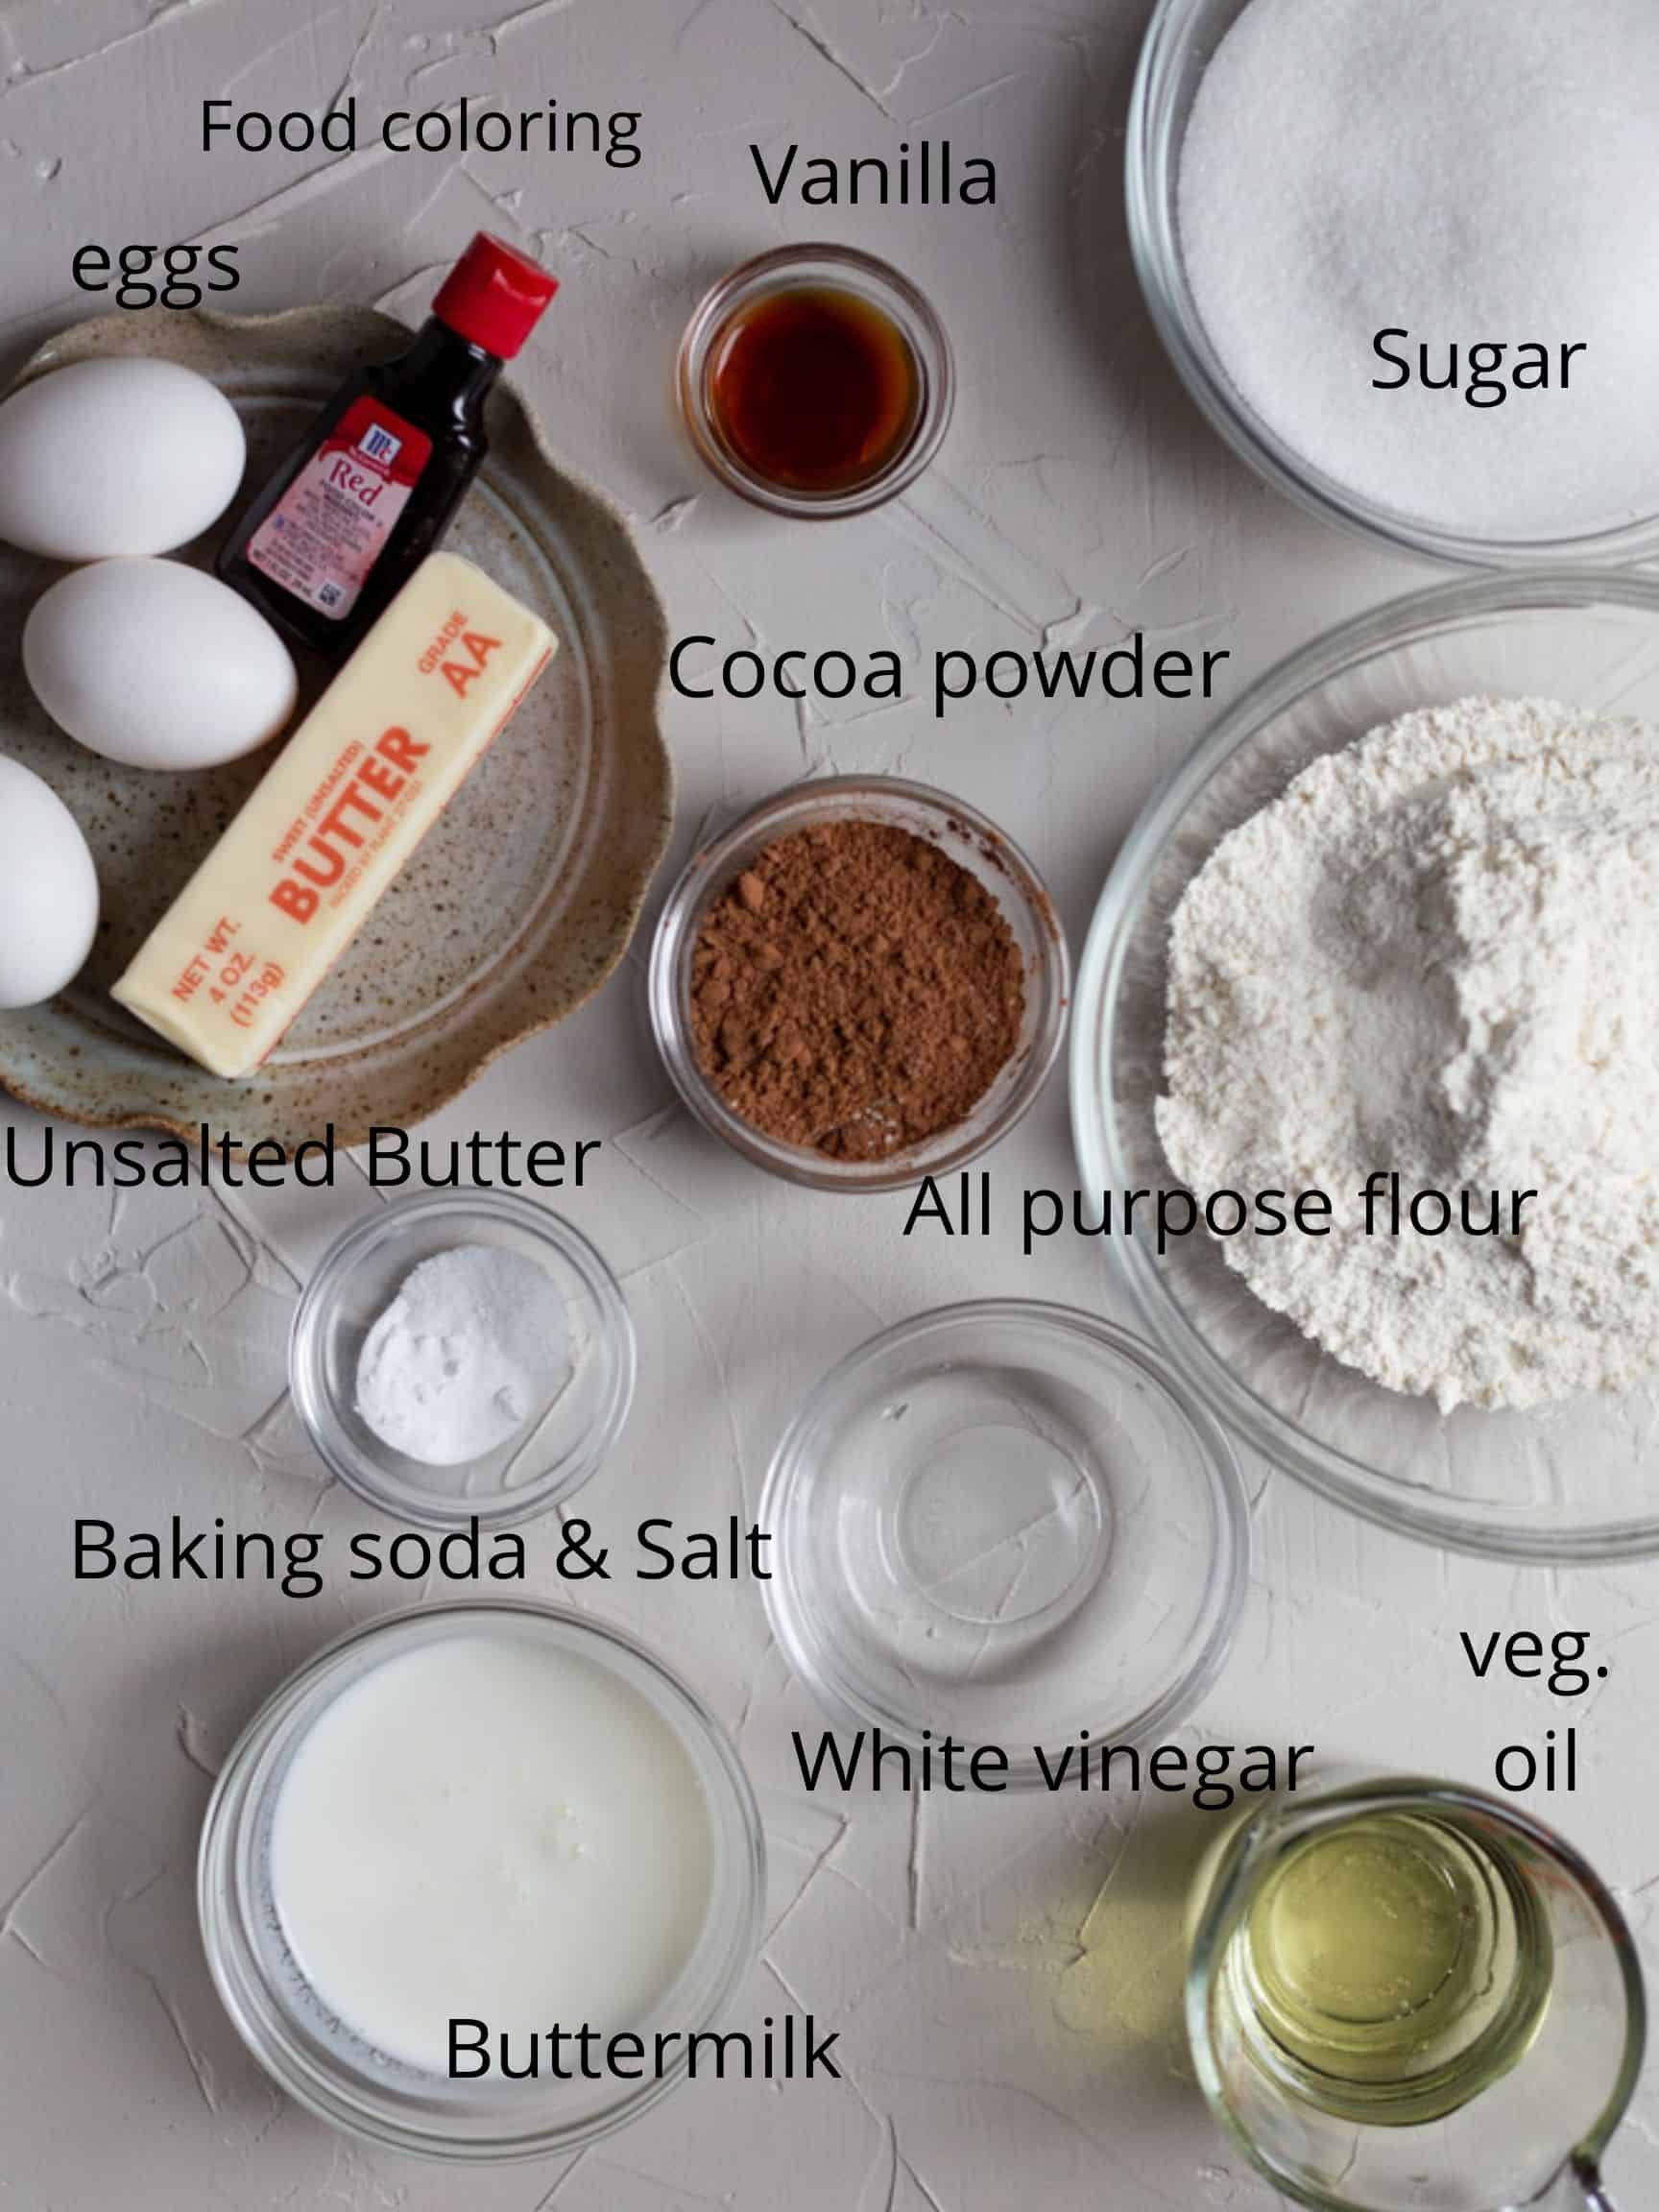
Ingredients
For the cake:
- Unsalted butter– this isnt a special ingredient but how you use it is important. Make sure it is at room temperature before starting. If you forget to soften the butter I have a whole post on how to soften butter quickly.
- White Sugar- This adds the sweetness to the cake!
- Vegetable oil– Oil combined with the butter creates a fluffier texture that stays moist for longer.
- Eggs- Use room temperature eggs for best results!
- Vanilla extract– Vanilla adds a hint of deeper flavor.
- White Vinegar– A teaspoon of white vinegar is added into the wet ingredients. You WILL NOT taste it! You do need it though, because it will react with the buttermilk to bring out a more red color in the cocoa- which is why they call this a red velvet cake!
- Red Food Coloring- You absolutely do not have to use this in your cake at all. This has no effect on the flavor but it just used for the color. I like to use a water based food coloring because I think the gel gives off a strong flavor if you use too much.
- All purpose flour – Flour is the bulk of this recipe.
- Cocoa Powder– A classic red velvet cake has just a little bit of cocoa powder added into the dry ingredients.
- Baking Soda- This is a leavening agent and reacts with the cocoa powder and buttermilk to deepen the color of red velvet cakes.
- Kosher Salt- Salt always enhances flavor.
- Buttermilk– this gives red velvet cake that classic tangy taste. I don’t suggest swapping it out for regular milk. In fact you can just make your own if you don’t want to go out and buy buttermilk.
For the cream cheese glaze:
- Cream cheese- softened at room temp. If you forgot to leave it out you can learn how to soften cream cheese quickly.
- Unsalted butter- You need to use softened butter here so it mixes in nicely. Learn how to soften butter quickly.
- Confectioners sugar- this is the bulk of the frosting.
- Milk or cream- This thins out the frosting.
- Vanilla extract- Adding vanilla helps being more flavor.
How to make a red velvet bundt cake
It’s best to first measure out all your ingredients and clean as you go! Make sure to check out this post on how to bake and get a bundt cake out of a pan perfectly before you start!
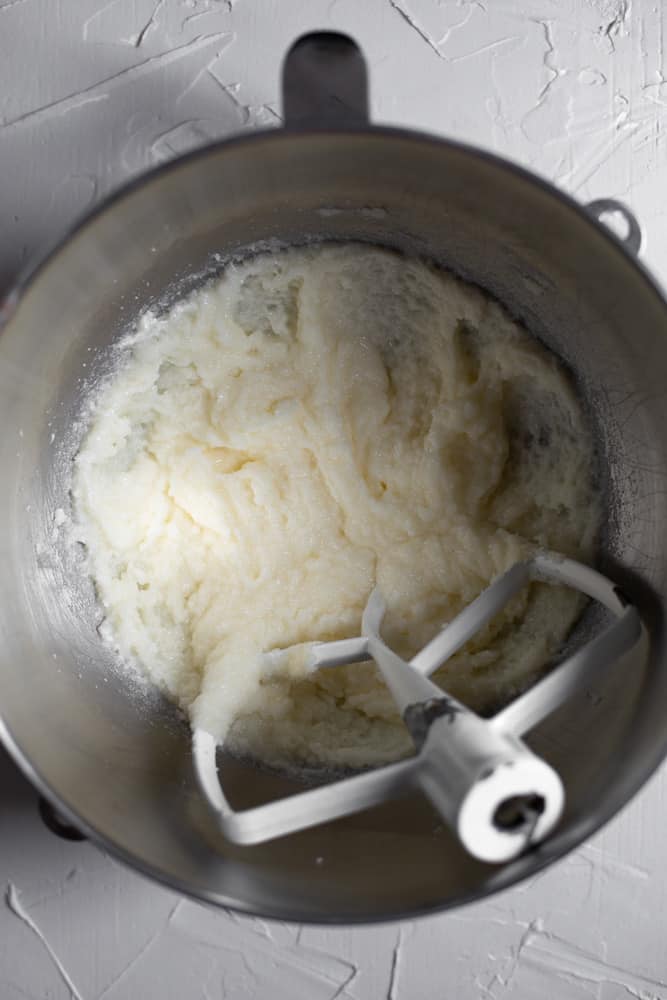
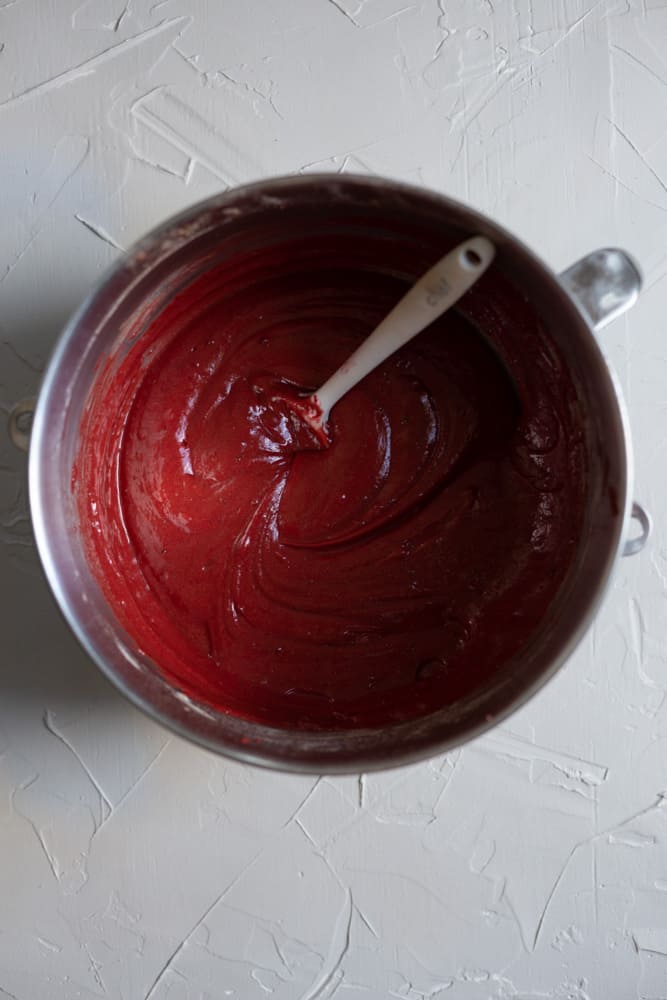
- Mix the wet ingredients– In the bowl of an electric mixer (either hand or stand mixer) fitted with the paddle attachment cream the softened butter and sugar together. Add the oil and beat 30 second more. Next add in the eggs one at a time and continue beating on low- medium speed. Add in the vanilla extract, the vinegar, and food coloring, and continue mixing until the batter is a uniform red color. Measure out the buttermilk in a measuring cup and set aside.
- Combine the dry ingredients– Combine the dry ingredients in a medium bowl.
- Mix wet and dry ingredients together– Alternate adding the flour mixture and wet ingredients 1/3rd at a time starting and ending with the dry ingredients.
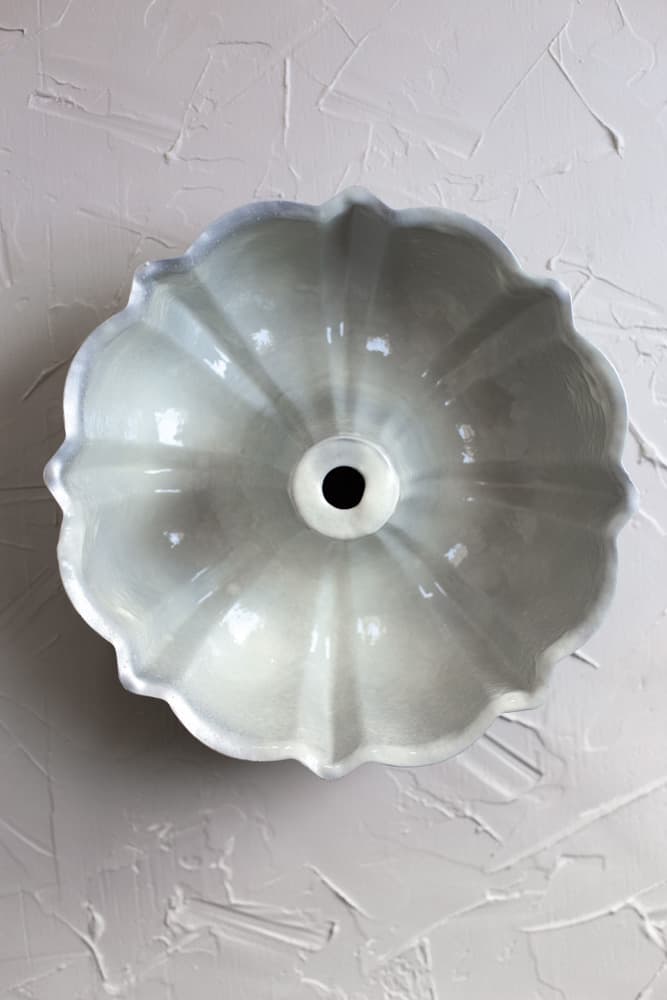
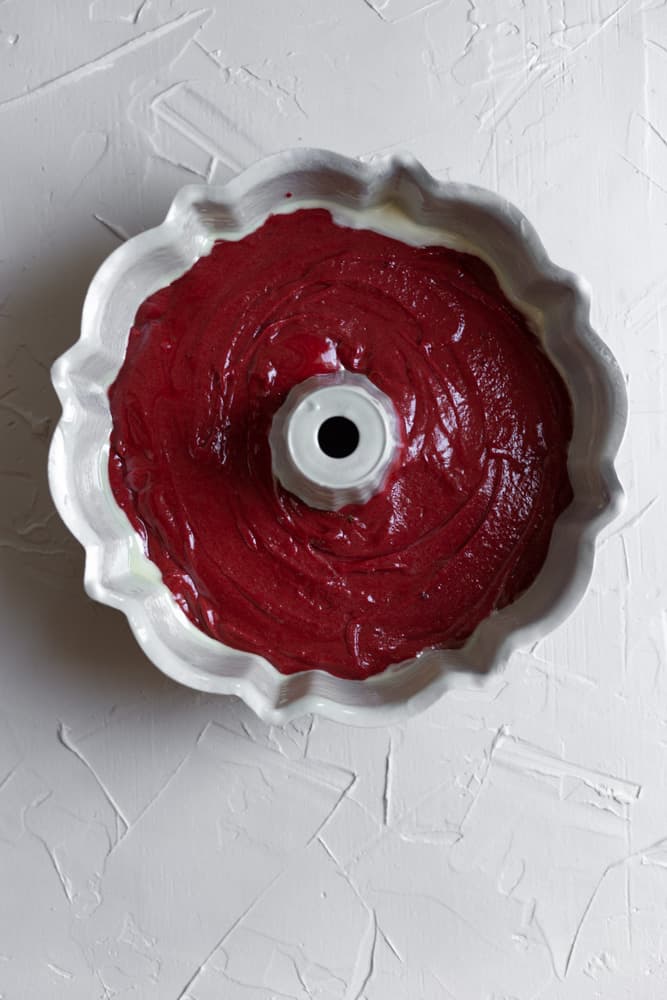
- Pour batter– Heavily grease a 10-cup bundt pan with nonstick spray, I like baker’s joy, but if you don’t have that then spray with any baking spray you have and then dust it with some flour. Pour the red velvet cake batter into the bundt pant and smooth out with a small spoon.
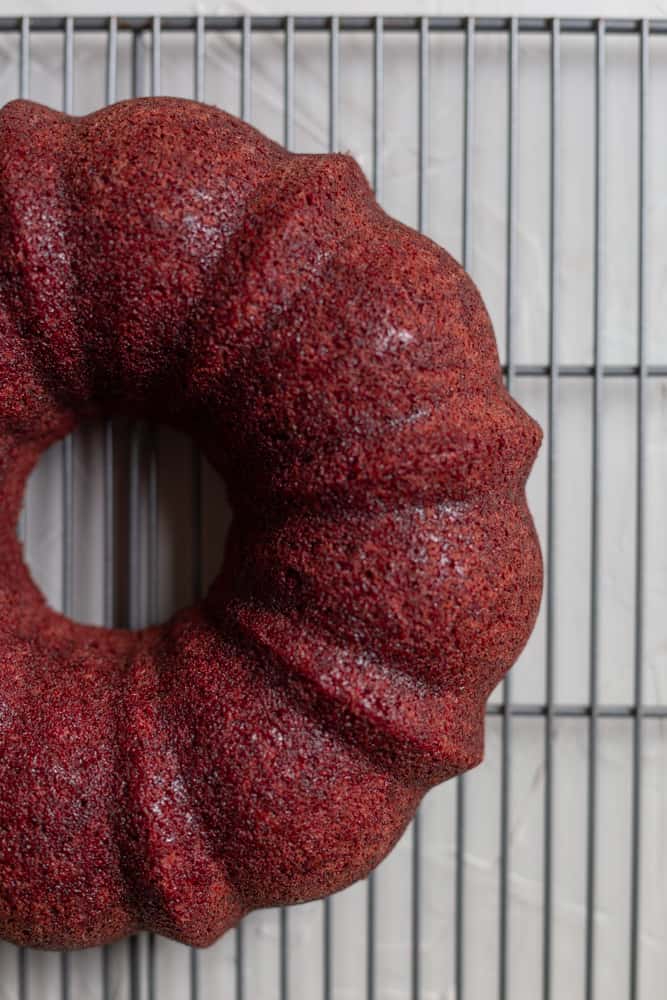
- Bake- Baking time for the cake is about 55-60 mins. You’ll know the cake is done when it is puffed up and the edges start to break away from the pan. You can also insert a toothpick into the center of the cake, and if it comes out clean it’s done!
How to make your own buttermilk:
If you dont have a bottle of buttermilk you can make your own!
Measure 1 cup milk (any kind but whole is best) and take out one tablespoon. Replace it with 1 tablespoon of lemon juice or white vinegar and let it sit for 10 minutes. You now have buttermilk!
Best red food coloring to use
Sometimes you need a lot of food coloring to get the right color red. For this reason I like using a water based food coloring instead of a red gel food coloring. I only use 1 1/2 tbsp so it wont mess with the texture of the cake. I prefer water based over gel because the gel can have a bitter taste to it if you add too much.
After running a custom cake shop for 5 years believe me I have had my fair share of playing with food colorings!
Cooling the cake
You have to make sure the cake is a little cool before turning it out. It needs about 10-15 minutes to cool.
Take a wire rack and place it over the bundt cake, then grip the rack with your thumb and hold on to the bundt with your other fingers, and FLIP. Remove the bundt pan.
Make the cream cheese frosting
- In a large bowl of a hand or stand mixer, cream the cream cheese, butter, and confectioners sugar on low speed. Do not mix this on a higher speed or the confectioners sugar will blow up into your face.
- Once creamy, add in the milk and vanilla. The consistency is really up to you. This frosting is kind of in the middle of a pipeable frosting and a glaze.
It’s not firm enough to hold a piping shape but it doesnt really drizzle either.
If you want to make it thicker to pipe, add another 1/2 cup confectioners sugar and add half the milk and vanilla. If you want to be able to drizzle this then use a little more milk to get to the desired consistency.
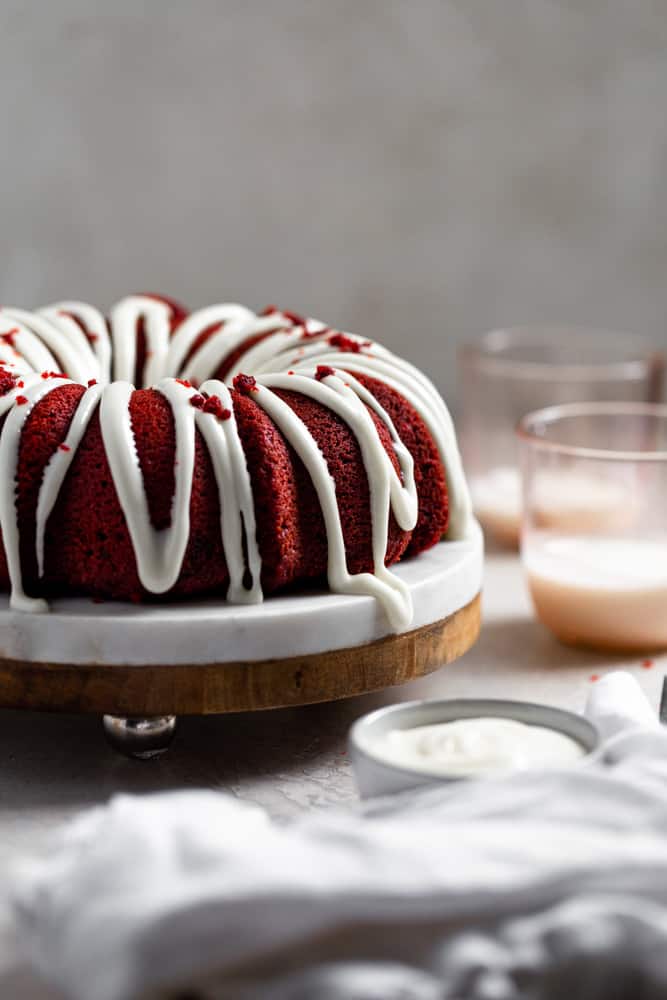
To frost I poured the icing into a sandwich zip top bag and snipped off the end, then went around the cake piping the lines over it.
Recipe Tips
- Make sure the cream cheese is at room temperature so it’s not lumpy when you make the frosting.
- Measure dry ingredients on a kitchen scale for the best accuracy. Scooping flour with a measuring cup can add too much flour to your cake.
- Take some crumbs from the cake and sprinkle them over the frosting for a fun decoration.

Fluffy & Moist Red Velvet Bundt Cake
Ingredients
For the cake
- 1 cup (227 g) unsalted butter, softened
- 2 cups (400 g) granulated sugar
- 1/4 cup (54.5 g) vegetable oil
- 3 (3) eggs, large
- 1 tbsp (1 tbsp) vanilla extract
- 1 tsp (1 tsp) white vinegar
- 1 1/4 tbsp (1.25 tbsp) red food coloring, water based
- 2 1/2 cup (312.5 g) flour
- 1/4 cup (21.5 g) cocoa, powder
- 1/2 tsp (0.5 tsp) baking soda
- 1/2 tsp (0.5 tsp) kosher salt
- 3/4 cup (180 g) buttermilk
For the cream cheese frosting
- 1 cup (227 g) cream cheese, 8 oz bar
- 1/2 cup (113.5 g) unsalted butter, softened
- 3 1/2 cups (420 g) confectioners sugar
- 1 tsp (1 tsp) vanilla extract
- 1 tsp (1 tsp) heavy cream, or milk
Equipment
Instructions
- Preheat the oven to 350° F.
- In the bowl of a hand or stand mixer fitted with the paddle attachment add the 1 cup unsalted butter and 2 cups of sugar. Mix on low- medium speed until light pale and fluffy looking. About 1 minute. Slowly add in the 1/4 cup oil and continue mixing until combined about 30 seconds.
- Add in the eggs one at a time on low speed. When they are fully mixed in add the 1 tbsp vanilla, the 1 teaspoon white vinegar, and the 1 1/4 tbsp red food coloring. Mix until combined then scrape down the sides of the bowl with a spatula to make sure all the food coloring is mixed in.
- In a medium sized bowl or on a large piece of parchment paper, combine the 2 1/2 cups flour, 1/4 cup cocoa, 1/2 tsp baking soda, and 1/2 tsp kosher salt.
- In a measuring cup, measure out 3/4 cup buttermilk and set aside.
- Turn the mixer on low and slowly add in 1/3 of the dry mixture. Mix for 30 seconds, then add in 1/2 the buttermilk. When combined add the next 1/3rd dry ingredients followed by the last half of the buttermilk. End with the last 1/3rd of the flour.
- Heavily spray a bundt pan with baking spray, fill with the batter and bake for 55-60 mins. The cake is done when the sides start to pull from the edges of the pan or when a toothpick inserted comes out clean.
- Let the cake cool for ten minutes, then invert onto a wire rack to cool completely.
Cream Cheese frosting
- You will need to wash out your hand or stand mixer for this. Combine the 1 cup cream cheese and 1/2 cup butter in the bowl of a hand or stand mixer fitted with the paddle attachment. Mix on medium speed till thick and creamy.
- Stop the mixer and add the 3 1/2 confectioners sugar. Beat on the lowest speed until the mixture is combined. Add in the 1 tsp vanilla and 1 tsp milk and mix on medium high speed until super fluffy.
- Fill a zip top sandwich bad with frosting and drizzle it over the cooled cake.
Notes
Storing
Store this cake on the counter in an air tight container for up to 5 days. It can also be storied in the fridge but will run the risk of drying out. To freeze double wrap the cake in plastic wrap and freeze for up to 3 months.Please let me know if you make this recipe! You can leave a star rating and a comment below, they help me so much! Thank you!!

Hi Sam…can I bake this Bundt recipe ( amount) and baked in 2 loaf Pan ?! How long does it need to bake for ?!
Hey Chris! If you want to bake this in a loaf pan you might have extra batter left over, I wouldnt fill it more than 2/3rd of the way full and check after 45 minutes on 350 degrees.
Just one word AMAZING recipe.The cake came out so moist and velvety in texture.I made it for a birthday party and everyone just loved it ..Thank you for creating this Magic.
OMG Thank you so much!!!! This totally made my day! I love this recipe too- so appreciate you coming back to let me know that everyone loved it and to give it a 5 star rating. Thank you!!
Next time, can you include the amount of each ingredient that we need to make it? Because it’s impossible to make a recipe without that! And after reading all I found that I wasted my time.
Hi Nora, the recipe card with the list of ingredients is at the bottom of the post as always. In fact, you had to scroll past it to leave this comment.
Hi. Thanks for the recipe. can I use this recipe for a round cake pan?
Yes! You will need 2 8-9″ round pans and I would check after 28- 30 minutes