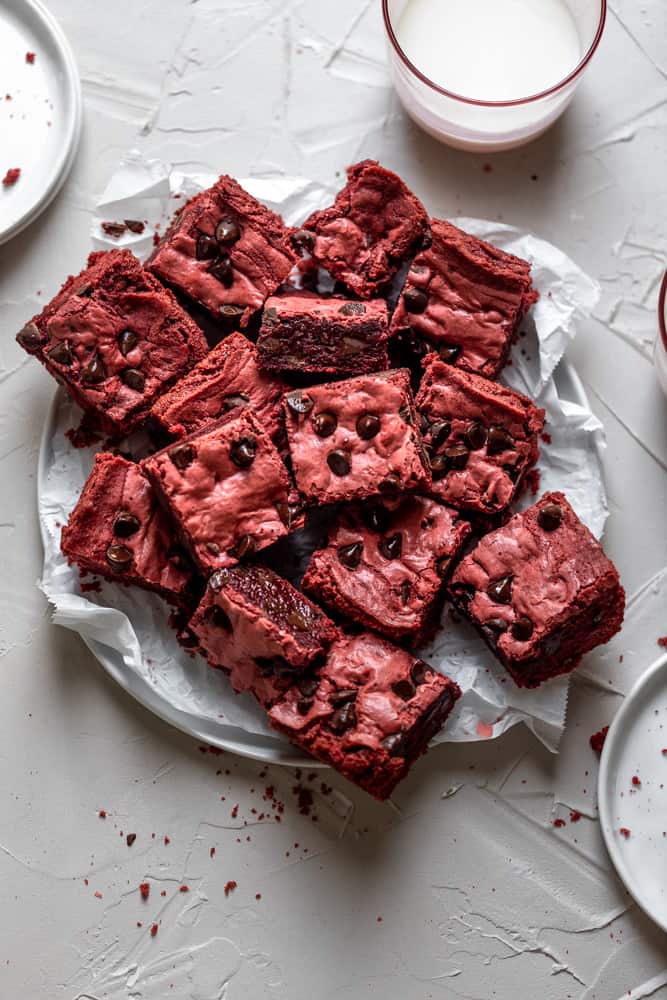
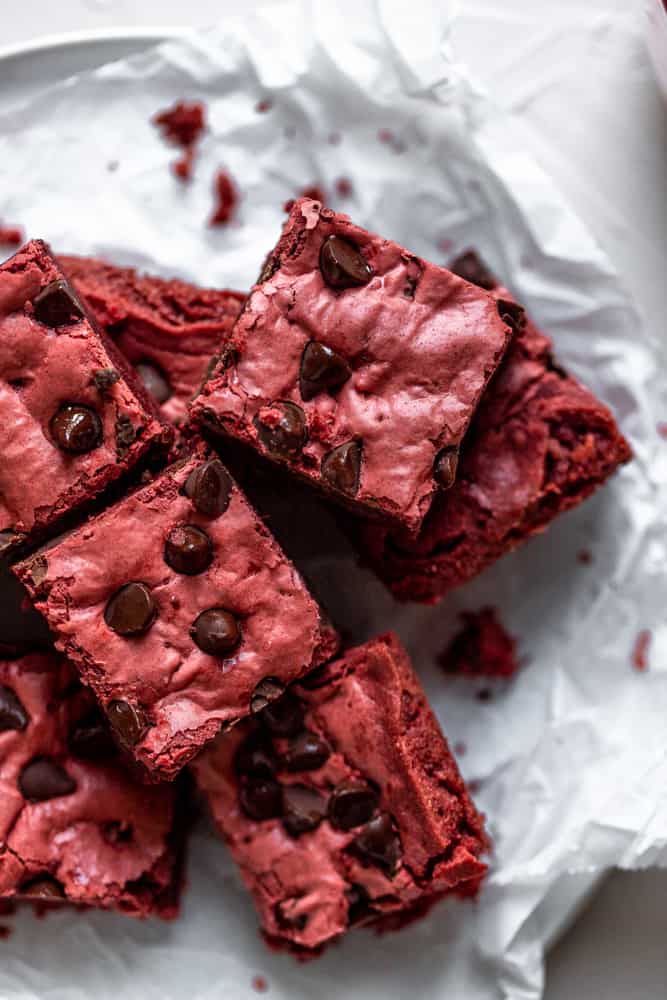
Fudgy and Easy Red Velvet Brownies
These fudgy red velvet brownies are so easy to make from scratch! They have the classic crinkly tops that brownies have, plus you can make them in one bowl! They are the perfect sweet treat to make for Valentine’s Day, to bring to a party, or for a date night dessert! These will become one of your favorite desserts!
I’ve always looked at red velvet desserts as fancy treats. The deep and bright red color is really something special and when you’re eating anything red velvet, it makes you feel like it’s a special occasion.
Pinkies up friends, we are getting fancy!
As a trained pastry chef I love to experiment with different takes homemade brownies. While I love these one bowl brownies, these brownies with cream cheese frosting, and my ultimate brownie cookies– these fudgy brownies are something special!
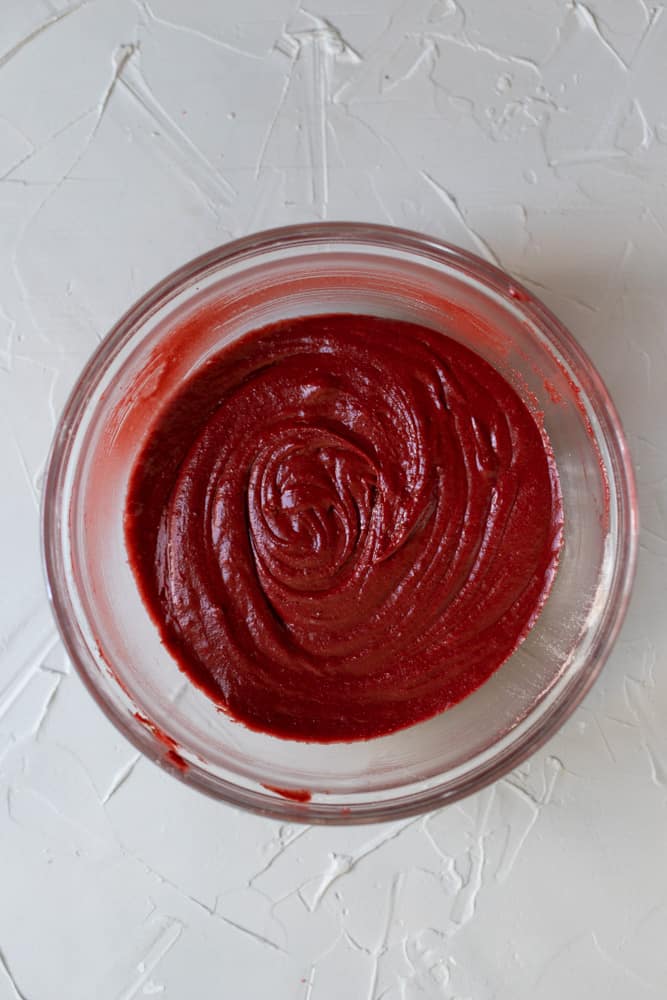
The best part about this red velvet brownie recipe is really how easy it is to make. You can make these either using a hand or stand mixer, or just by hand in one bowl. The batter turns this glorious red color, which is even prettier when it comes out of the oven. To make it even prettier you can drizzle them with this cream cheese glaze.
If you love red velvet recipes you can try these red velvet cupcakes, or this red velvet cheesecake, or make this 5 star red velvet bundt cake!
Classic Red Velvet Flavor
Classically red velvet desserts are made with special ingredients like cocoa powder, red food coloring, white vinegar, buttermilk and baking soda. When the cocoa, baking soda, buttermilk, and vinegar react it creates a smooth velvet like texture.
For this red velvet brownies recipe I left out the buttermilk because thats not an ingredient we need for brownies. You still get the classic vanilla/chocolatey taste you expect from red velvet.
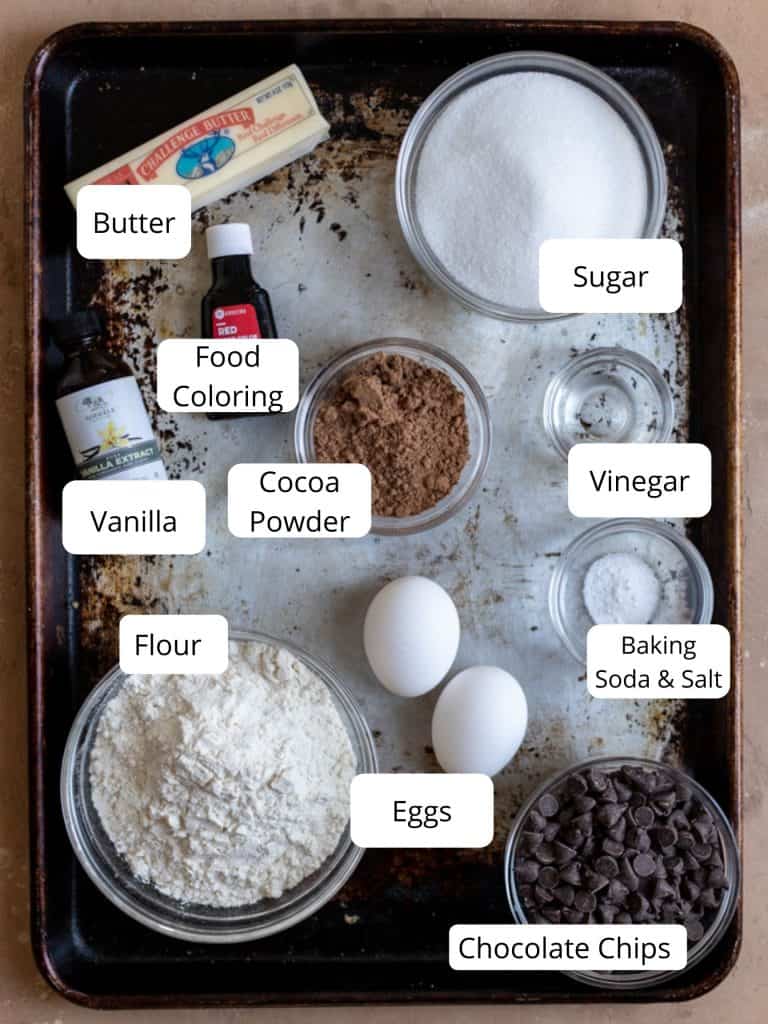
Ingredients You’ll Need
How To Make red velvet brownies from scratch
- Preheat the oven to 350 F and line or grease an 8×8 inch square pan with cooking spray or line with parchment paper. This will help releasing the brownies after they are baked.
- In a microwave safe medium bowl melt the ½ cup butter. Add the sugar and whisk.
- Next, add the eggs one at a time. Next add the vanilla extract, white vinegar and red food coloring. Mix to fully combine.
- Next add the dry ingredients and mix by hand with a rubber spatula or with an electric mixer on medium speed.
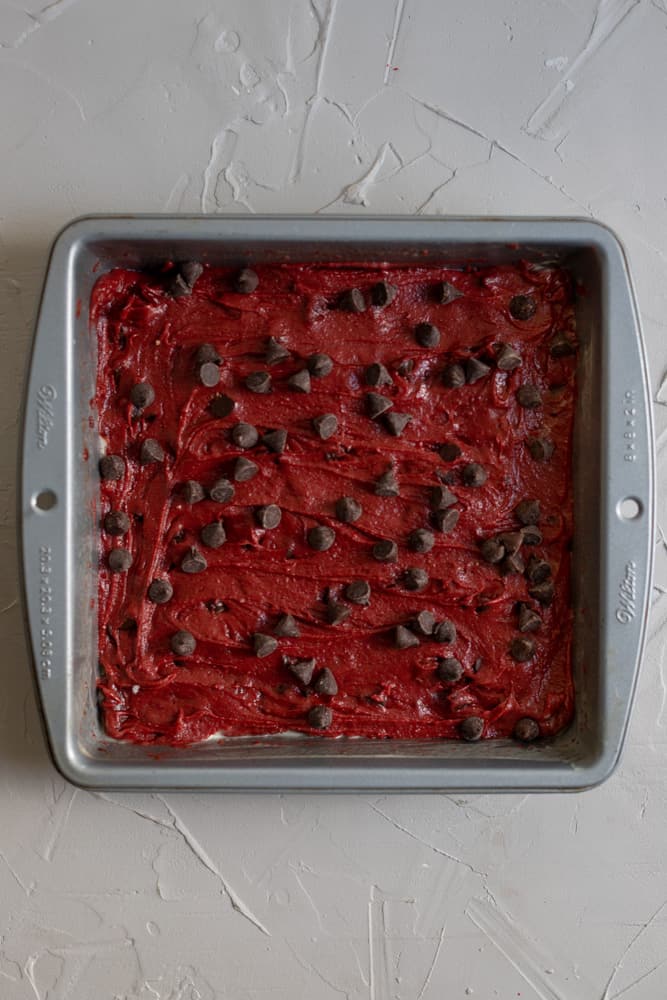
- Fold in the chocolate chips reserving some to sprinkle on top and pour batter into the pan. Top with the extra chocolate chips.
- Bake for 28-30 mins or until an inserted toothpick comes out clean. Let cool before removing from the pan and serving. For fudgy brownies bake for 28 minutes. If you like more dry brownies bake for longer.
Best food coloring to use
For this recipe I used a gel based food coloring because you dont need a lot and it will dissolve better into the batter. You can buy gel based food coloring at Michaels or other crafts stores!
Cream cheese frosting
You can totally top these brownies with a classic tangy cream cheese frosting. Just wait for the brownies to cool and then slather it on!
Recipe Tips
- For best results, make sure all of the ingredients are room temperature. This will make sure an even batter is formed.
- The chocolate chips can be completely left out if you don’t have any.
- A gel food coloring is best because it dissolves into the brownie batter better than liquid giving them a more even color.
- For a fudgy brownie, cook for 28 minutes. For a cakey brownie cook for 30 minutes.
- Let the brownies cool for about 10-15 minutes so that they slice well. I know! It’s hard! But they will be too gooey if you cut into them right away. They need a few minutes to settle.


Fudgy and Easy Red Velvet Brownies
Ingredients
- 1/2 cup (113.5 g) unsalted butter, melted
- 1 cups (200 g) granulated sugar
- 2 (2) eggs , large
- 1/2 tbsp (0.5 tbsp) vanilla extract
- ½ tsp (0.5 tsp) white vinegar
- 1/2 tbsp (0.5 tbsp) red food coloring, gel preferred
- 1 ½ cups (187.5 g) all purpose flour
- ¼ cup (21.5 g) cocoa powder
- 1/4 tsp (0.25 tsp) baking soda
- ¼ tsp (0.25 tsp) kosher salt
- 1 cup (236.59 g) chocolate chips, semi- sweet
Instructions
- Preheat the oven to 350 and line or grease an 8×8 inch baking dish.
- In a medium size microwave safe bowl melt the ½ cup butter. Add the 1 cup sugar and whisk until light and foamy for about 30 seconds.
- Add the eggs one at a time mixing in between each addition. Add the ½ tbsp vanilla extract, ½ tsp white vinegar, and ½ tbsp red food coloring. Mix to fully combine.
- Next you’ll add the dry ingredients by adding in the 1 ½ cups flour, ¼ cup cocoa, ¼ tsp baking soda, and ¼ tsp kosher salt.
- Mix with a hand mixer or a spoon by hand until a thick batter forms.
- Fold in the chocolate chips reserving some to sprinkle on top.
- Pour the batter into the pan and top with extra chocolate chips.
- Bake for 28-30 mins or until an inserted toothpick comes out clean. Let cool before removing from the pan and serving.

These look absolutely stunning! I was wondering if some of the sugar can be replaced with brown sugar for a fudgier brownies?
Hi! Thank you so much!I haven’t tried it but you totally can!
Is it a half cup butter or one cup?
It’s half! Thanks for catching that Erin 🙂 Hope you enjoy these!
hi! I just wanted to ask if it was ½ tbsp or tsp white vinegar? because it states tbsp in the ingredients section, but tsp in the instructions 🙂 thank you for clarifying!
Hi Bella! Thank you! It is 1/2 tsp (teaspoon) vingear 🙂
The nutrition information says a serving is 1 gram? Surely that can’t be right? Or is it supposed to be one brownies (1/16th of the pan) is one serving?
Hey Katy, thats totally not right lol. I just corrected it to one slice and not 1 g! Thanks for catching that!