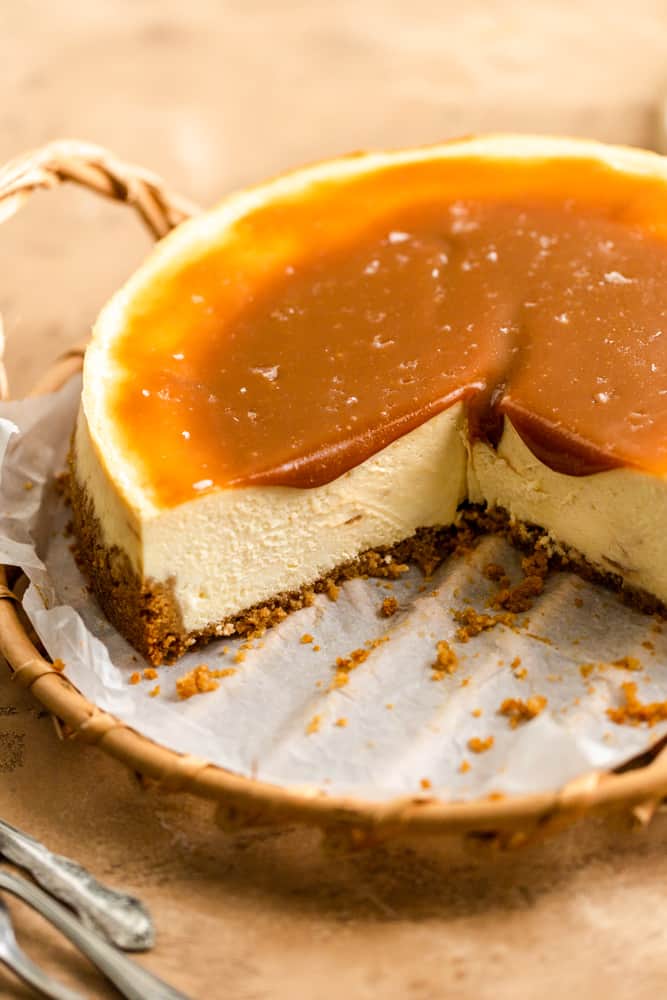
Baked Double Salted Caramel Cheesecake
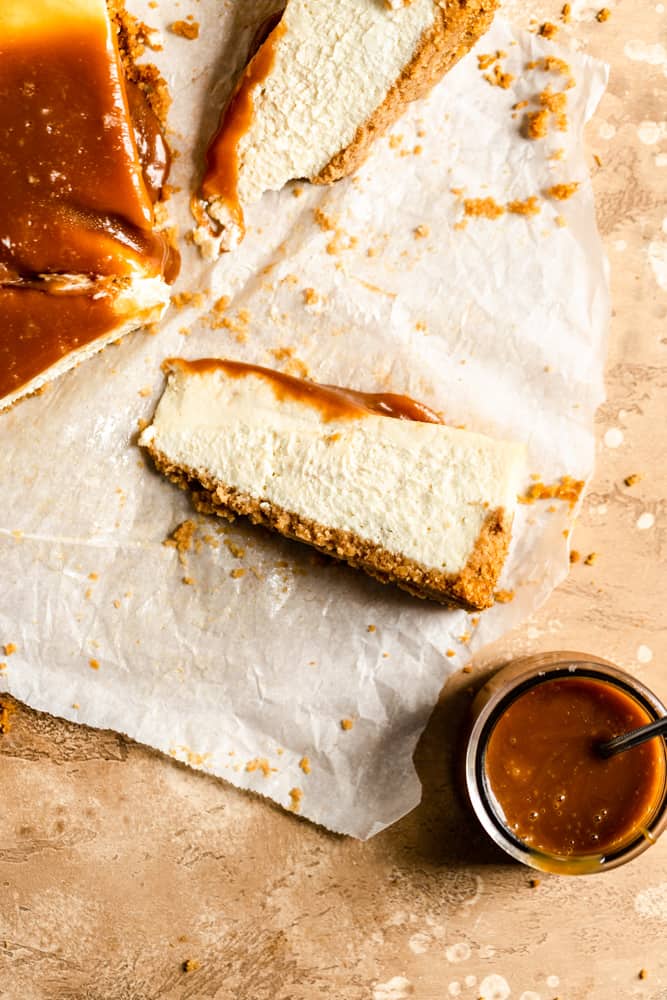
Golden caramel sauce is baked into this caramel cheesecake and then drizzled on top for a silky and smooth dessert that everyone will enjoy. Make this simple cheesecake base and use homemade or store bought caramel and take it to a party or enjoy as a treat right at home!
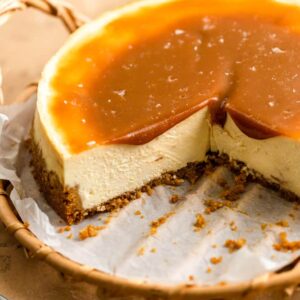
There is really NOTHING like a homemade cheesecake! Smooth, rich and creamy, a good homemade baked cheesecake is a recipe you want to have in your back pocket.
As a trained pastry chef, I’m telling you it’s a lot easier to make than you think. I know it can seem scary with the water bath and all but I came up with a hack that makes it so much easier and wayyyy less scary. You’ll see it below!
But first- this cheesecake with caramel sauce is like a step up from your regular classic cheesecake recipe. It’s got caramel sauce swirled into its filling and then topped with more caramel on top.
You can use store bought or try this bourbon caramel sauce recipe instead, I have done both depending on how much time or patience I have.
Hot Tip: You need to use soften cream cheese for this and really any cheesecake recipe so that the batter is smooth, creams well, and is not lumpy. If you forget to leave out your cream cheese to soften you can learn how to soften cream cheese quickly!
Wanna branch out even more into elevated cheesecakes? Try this apple pie cheesecake. It’s a mix of apple pie and cheesecake, when you can’t decide between the two- I also drizzled it with caramel!
Making the cheesecake
The cheesecake should bake for around 45-55 minutes but when it’s ready it will still be jiggly in the center (only)- you want that! It will firm up in the fridge. If its still jiggly all over and the sides arent set, let it bake a few more minutes but keep an eye on it.
If the cheesecake is firm when you take it out it is over baked.
To cool, turn the oven off and crack the oven door open a little bit. Leave the cheesecake to cool for one hour, then remove to finish cooling on the counter.
Chill in the refrigerator at least 4 hours or overnight. Once chilled pour the remaining ½ cup caramel over the cheesecake and serve!
Tips On Making The Perfect Cheesecake
- Removing the cheesecake: It is extremely important to make sure the cheesecake cools fully before removing it from the pan. To help with this, take a knife or an offset spatula and run it along the edges of your pan to loosen the cake up then release the edges of the springform pan.
- If you’re giving the cheesecake as a gift: Put a cardboard cake board in your springform pan before making the crust. Once the cheesecake is cooled you can slide it into a cute box for baked goods and become someone’s best friend.
- To prevent the cheesecake from cracking: Turn the oven off when it is done baking and leave the oven door slightly open. Do not take the cheesecake out. Cool it like this for at least an hour and then move it to your counter to continue cooling. Then move it to your fridge to chill. You want to chill it for at least 4 hours or overnight. If you cut into it before it’s completely chilled, you will have an ooey gooey mess.
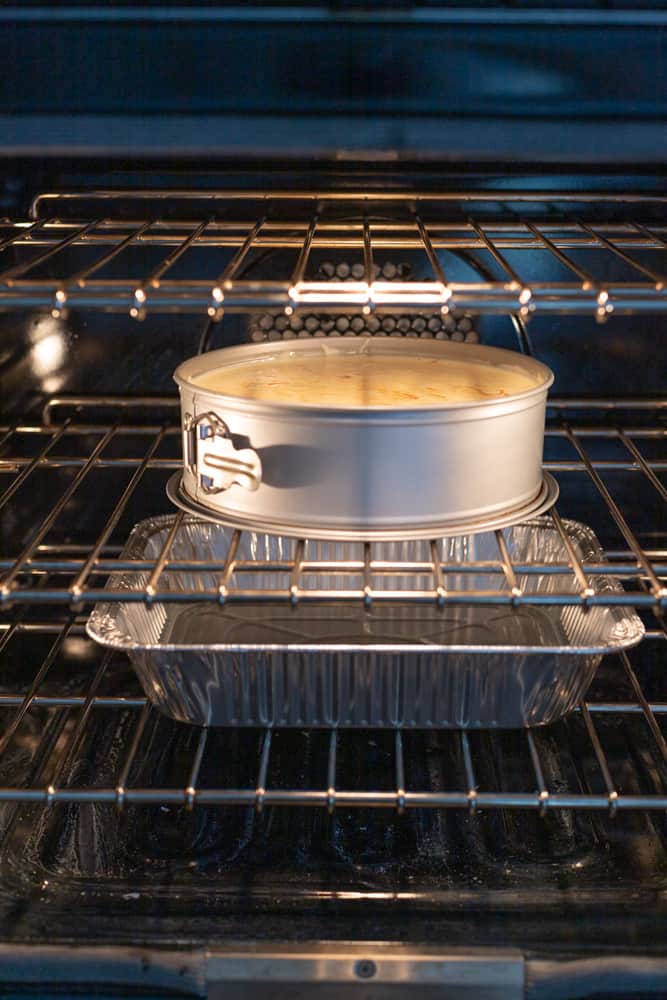
- Use my water bath hack: My technique is a little different. There’s no wrapping the pan and dunking it in water. Instead place the cheesecake on the top rack of the oven, then fill a 9×13 inch pan with an inch of water and put it on the lower bath. Voila! That’s it! Don’t skip this step in making the perfect cheesecake. The steam from the water will rise and make sure your cheesecake is extra smooth and creamy.

Baked Double Salted Caramel Cheesecake
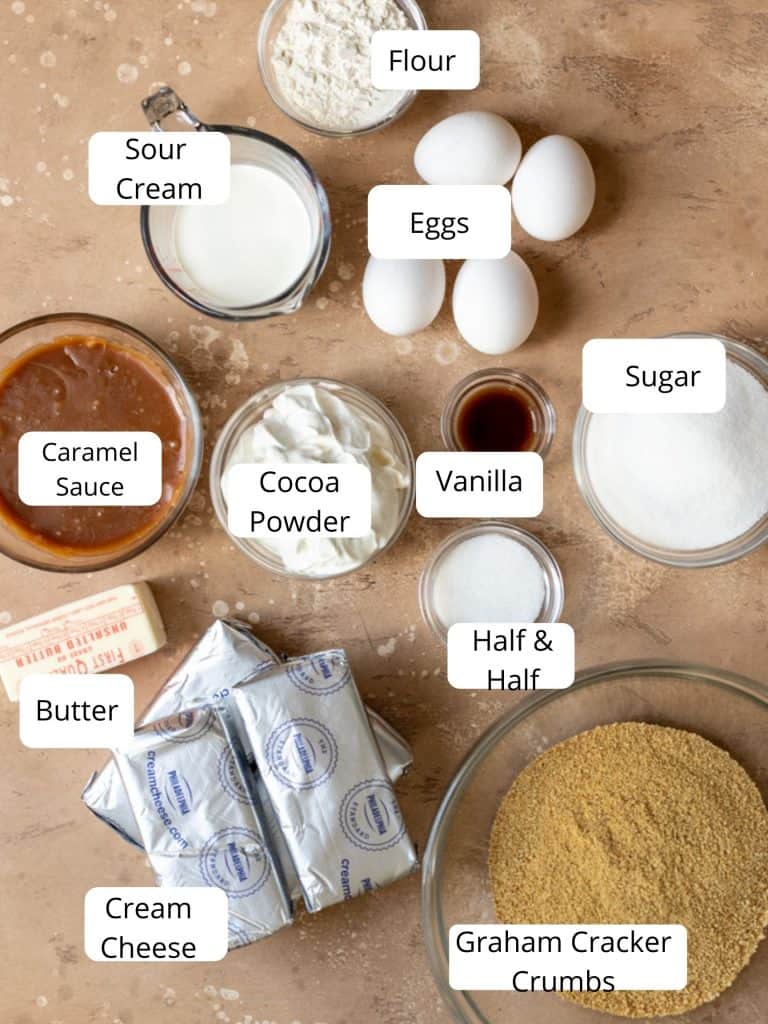
Ingredients
For The Crust
- 9 Graham Crackers, 1 package crushed or about 1 1/2 cup crumbs
- ⅓ cup Butter, Melted
- 2 tablespoons Granulated Sugar
For The Cheesecake Filling
- 4 8 oz. Cream Cheese, room temperature
- 1 cup Granulated Sugar
- 1 cup Sour Cream, room temperature
- 4 Eggs, large
- 1/2 cup Half & Half
- 2 teaspoons Vanilla Extract
- 1/3 cups All Purpose Flour
- 3/4 cup Caramel Sauce, divided (homemade or store bought)
Equipment
Instructions
For The Crust
- Preheat your oven to 375° F.
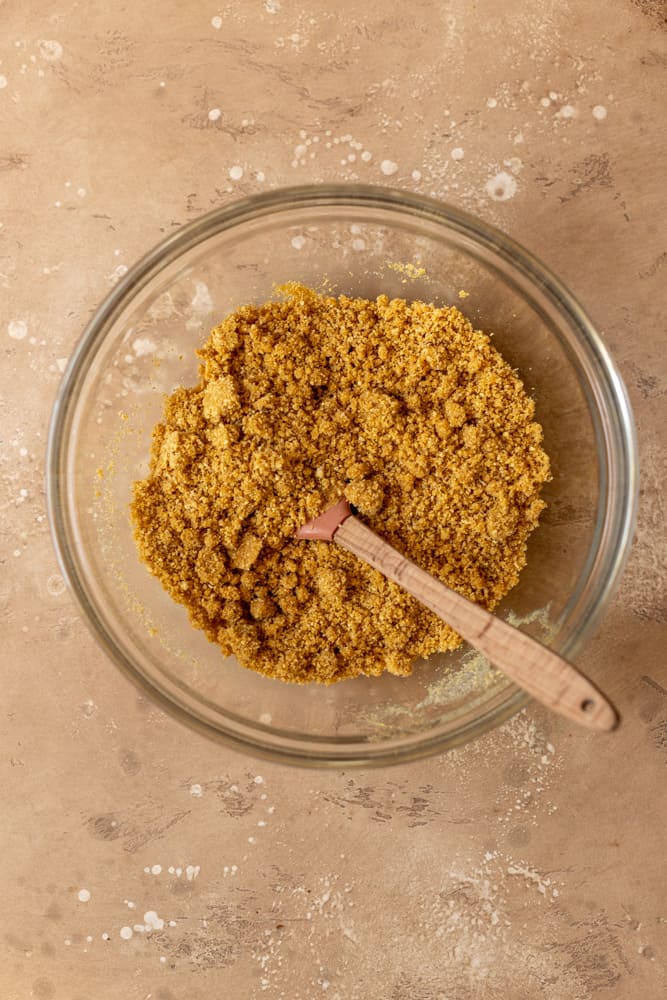
- Place the 1 ½ cups graham cracker crumbs in a medium sized bowl. Add the 2 tbsp sugar and 1/3rd cup melted butter and stir to combine. The mixture should resemble wet sand.
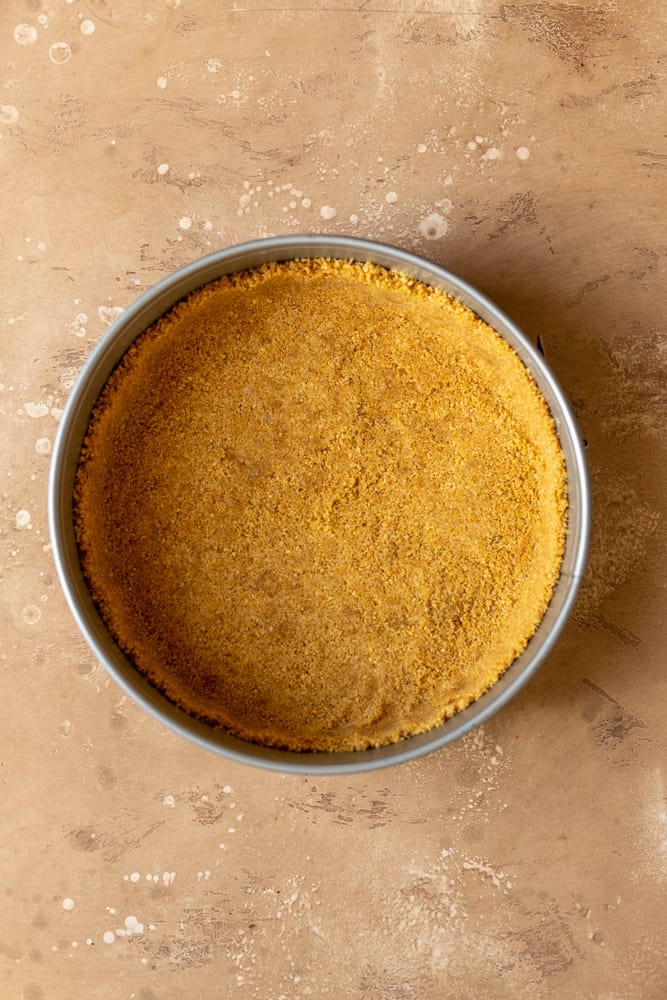
- Spray the 9″ springform pan with baking spray and press the graham cracker mixture into the bottom and sides. You can use the bottom of a measuring cup to help press it down hard and evenly.
- Bake for 8-10 mins until it smells like heaven from your oven and the crust is golden brown.
For The Cheesecake Filling
- Lower the oven temperature to 350° F after pre-baking the crust.
- In the bowl of a stand mixer fitted with the paddle attachment, add the 4 blocks of cream cheese. Mix on low-medium speed for 1 minute, then add in the 1 cup sugar and 1 cup sour cream.
- Continue mixing on low-medium speed, then add 1 egg at a time, mixing for a few seconds in between additions. Stop the mixer and scrape down the sides of the bowl.
- Start the mixer again on low speed and add in the ½ cup half n half and 2 tsp vanilla. Mix for 30 seconds. Add in the ⅓ cup flour slowly then move your speed up to medium and mix for 2-3 minutes.
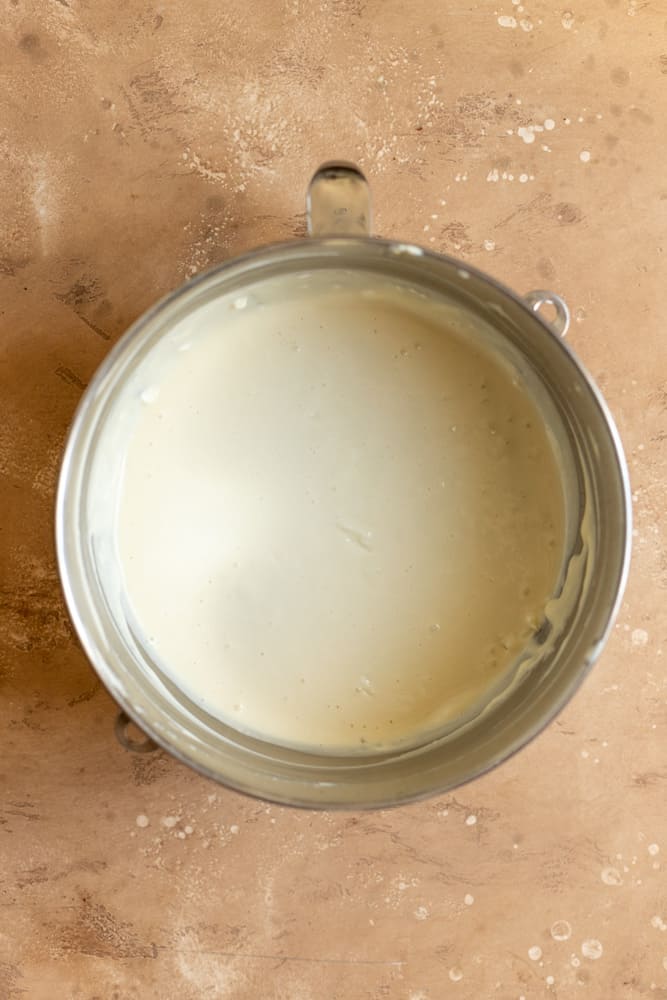
- Scrape down the sides and bottom of the bowl to make sure everything is mixed evenly and pour the batter into the graham cracker crust.
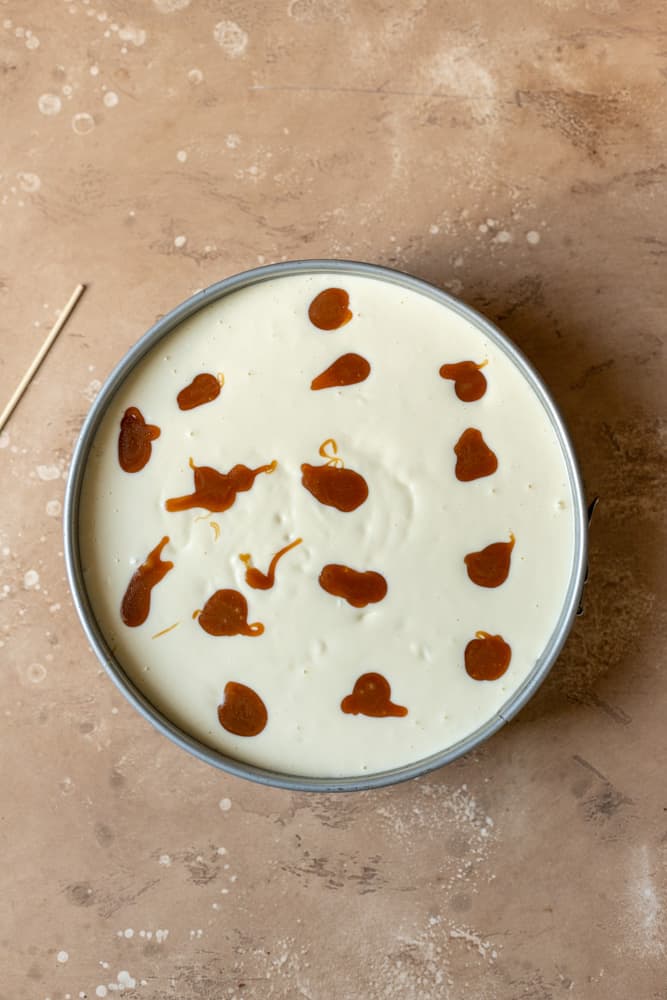
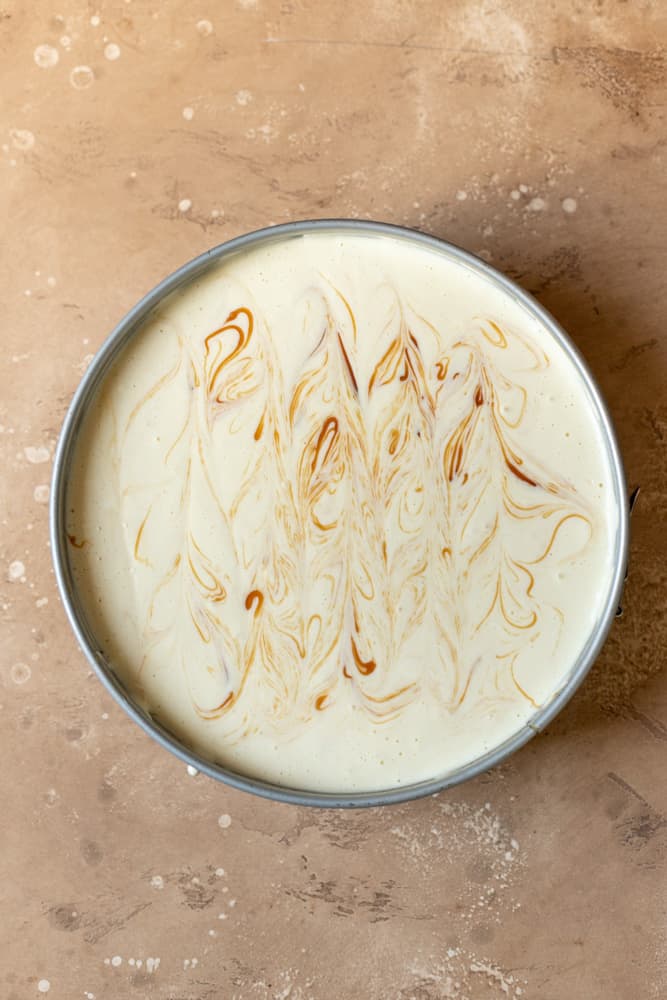
- Take 1/4 cup caramel sauce and dollop it all over the cheesecake. Swirl the batter with a knife to distribute.
- Take a sheet tray or a 9×13 inch pan and put it on the lower rack of your oven, fill it with an inch of water to create the steam in the oven.
- Place the cheesecake on the upper rack of the oven. Bake for 45-55 minutes.
- The cheesecake is done when the edges start to brown and break away from the sides of the pan. It will still be jiggly in the middle- you want that! Turn the oven off and crack the oven door open a little bit. Leave the cheesecake to cool for one hour, then remove to finish cooling on the counter.
- Chill in the refrigerator at least 4 hours or overnight. Once chilled pour the remaining ½ cup caramel over the cheesecake and serve!
Notes
Storing & Freezing
- Storing: This cheesecake can be stored in the fridge for 4-5 days. Use a cake plate with a lid to retain as much moisture as possible.
- Freezing: Carefully wrap the cheesecake in plastic wrap then seal in an airtight container or bag for up to 3 months. Either wrap the whole cheesecake or wrap the individual slices carefully. Make sure the cake is chilled before wrapping.

So good! My second time making a cheesecake, and this was fantastic! Please post a chocolate cheesecake recipe without the fruit, or reply back how I could tweak this one. I paired with homemade whipped cream and strawberry instead of the caramel as a personal preference.
Delicious! I dont think I have a chocolate one on my site but I can for sure work on it! Glad you loved this one!
This cheesecake was scrumptious! I made it for Christmas and everyone loved it. I will definitely make this again. It was so creamy 😋 and delicious 😋
So glad to know Tracy, thank you so much for making this and reporting back!