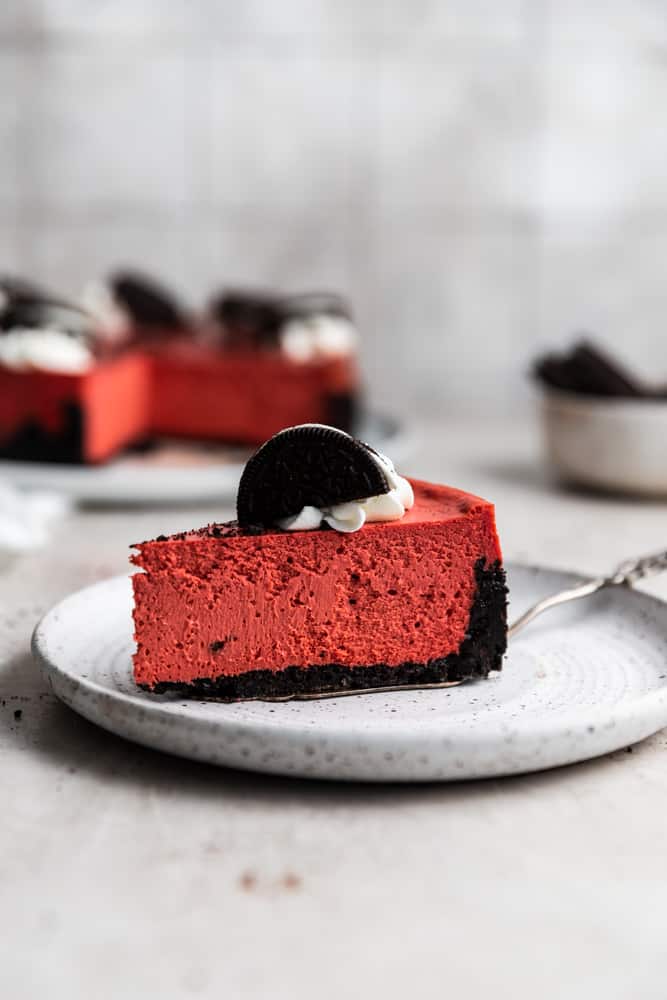
Easy Red Velvet Cheesecake with Oreo Crust
This Red Velvet Cheesecake has a crunchy oreo cookie crust and a smooth and creamy red velvet filling. It is super easy to make and doesn’t require a traditional water bath. Slicing into this cheesecake is like a dream!

This easy red velvet cheesecake with oreo crust is a cheesecake lover’s dream come true. Imagine luscious red velvet cheesecake baked in a chocolatey, delightfully sweet Oreo crumb crust. YUM.
As a trained pastry chef, I love experimenting and know a successful baking experiment when I see one. A classic red velvet cake has a cocoa-forward flavor and velvety finish (hence the name!), but if you’re looking for something even more decadent and divine, you must make this red velvet cheesecake with oreo crust. It’s truly something special.
Like my chocolate red velvet cake, red velvet brownies, and red velvet bundt cake this cheesecake is made with a hint of cocoa and vanilla for the classic red velvet taste.
Hot tip: You need to use softened cream cheese to ensure the batter is silky and not lumpy. If you need to bring it to room temperature quickly, check out how to soften cream cheese quickly.
If you are an Oreo cookie lover, or just have some left over, you can use this up in this easy Chocolate Icebox cake. Also, don’t miss out on these Oreo Cupcakes or Oreo Frosting!
What is red velvet?
Red velvet is a combination of chocolate and vanilla flavors, but has much less chocolate or cocoa than a traditional chocolate cake. In cakes it also has the addition of buttermilk, baking soda, and vinegar. When the baking soda reacts with the acidic ingredients (cocoa, buttermilk, vinegar) it brings out a reddish chocolate hue and a tangy flavor.
For this cheesecake the tang comes from the cream cheese an buttermilk, plus has the combination of chocolate and vanilla.
INGREDIENTS NEEDED
Ingredients for the Oreo cookie crust:
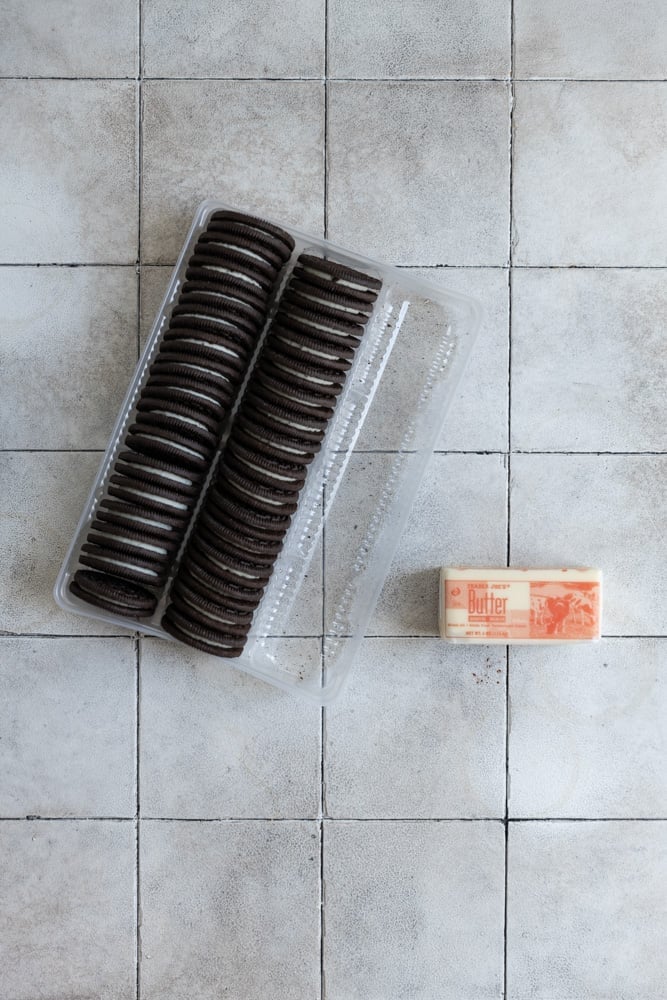
- 32 Oreos or 2 sleeves of cookies from 1 pack
- Unsalted butter
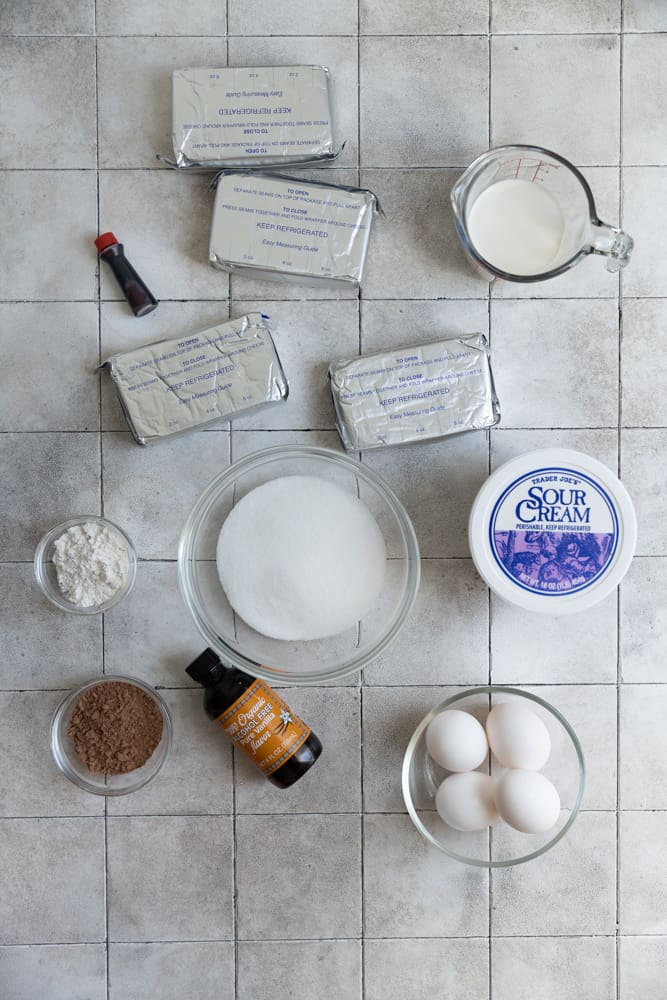
For the Red Velvet Cheesecake filling:
- Cream cheese – Softened cream cheese creams beautifully with sugar and sour cream to create a thick and creamy mouth feel.
- Sugar – Sweetens! For the smoothest cheesecake, use superfine granulated sugar.
- Sour cream – Adds a tart, tangy element and extra moisture to help prevent the cheesecake from drying out in the oven.
- Eggs – Gives the cheesecake a custard-like smooth finish.
- Vanilla extract – Use a quality, pure vanilla extract to enhance the decadent, creamy flavors.
- Red food coloring – Water-based food coloring is the best red food coloring for red velvet cakes and cheesecakes. It doesn’t leave a bitter aftertaste like some gel red food coloring tends to do.
- Buttermilk or Half & half – This helps thin the batter, and is interchangeable depending on what you have on hand or want to use.
- Unsweetened cocoa powder – A classic red velvet cake has just a little cocoa powder for a chocolate flavor.
- Flour – Adding a small amount of starch to the batter keeps the cheesecake from cracking and makes it easier to slice.
- Garnish – More crushed Oreos and whipped cream will do the trick!
The best red food coloring to use
I like to use a water based food coloring instead of gel because a gel can leave a bitter taste to the dessert. You will need 1 tbsp food coloring for the recipe and that’s enough for the gel to leave a bad taste. You can find water based food coloring in any grocery store.
HOW TO MAKE RED VELVET OREO CHEESECAKE
Make the crust
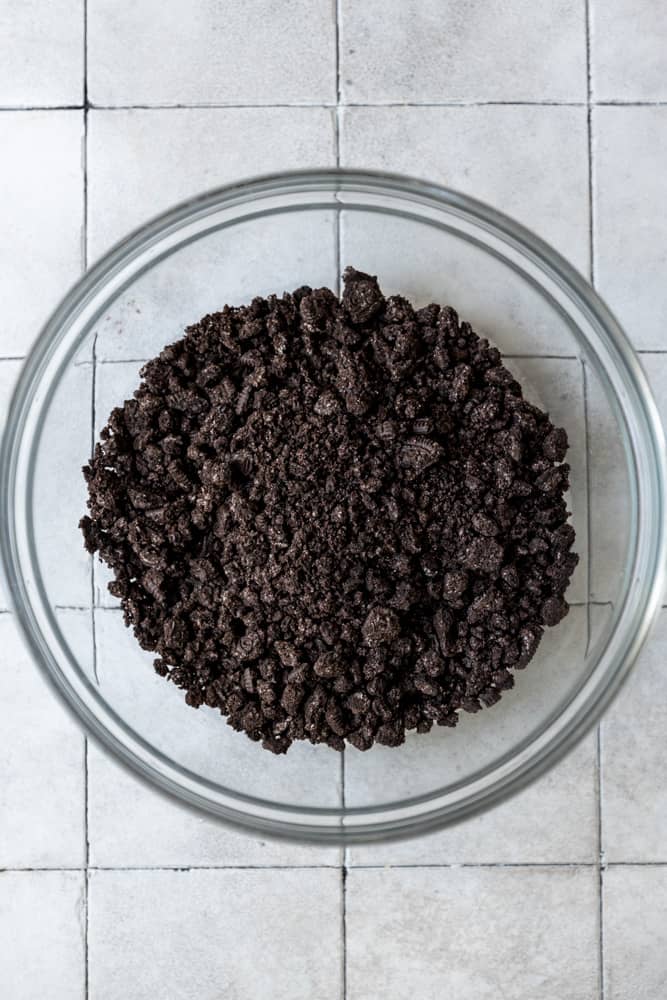
Crush the oreos: If you don’t have a food processor, crush the Oreos in a zip-top bag with a rolling pin to make a coarse sand-like texture.
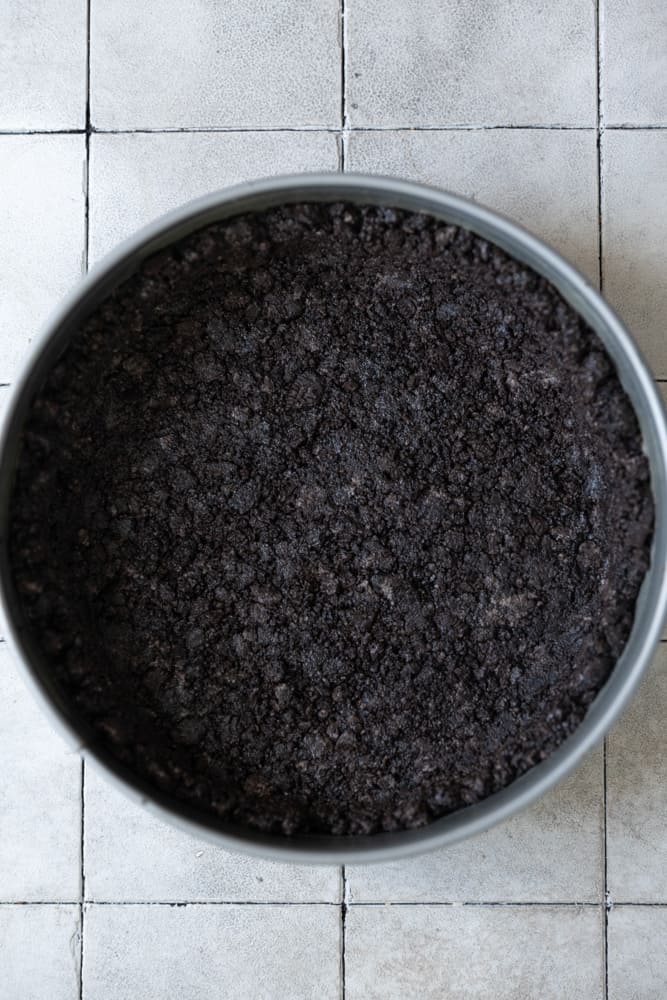
Make oreo crust: Add crushed Oreos to a mixing bowl, and pour the melted butter over the top. Stir well until the mixture resembles wet sand. Then, press it into the bottom of a greased 9″ springform pan, and bake for 8 minutes at375° F. Once finished, lower the heat to 350° F.
Make the batter
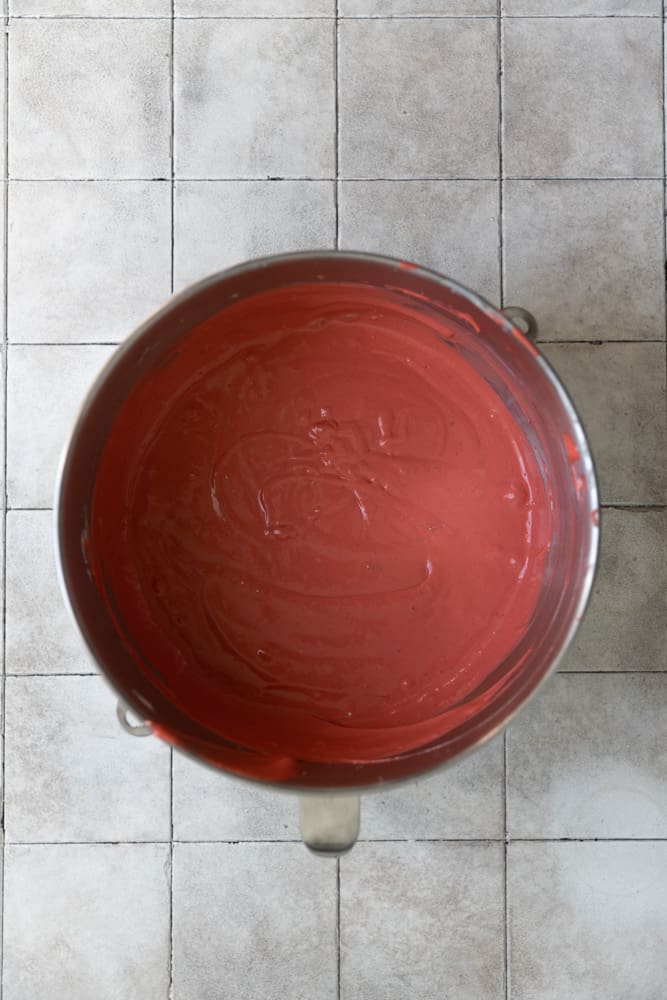
Cream butter with sugar and sour cream: While the crust sets in the oven, start on the cheesecake. Make sure all your refrigerated ingredients are at room temperature. Add cream cheese and sugar to the bowl of your stand mixer and mix with the paddle attachment over low to medium speed until smooth. Then, add sour cream and blend until smooth.
Combine wet ingredients: Next, add the eggs, vanilla, and red food coloring. Mix again until just combined. Scrape down the sides of the bowl, then add half & half, and mix again.
Add dry ingredients: Mix in cocoa powder and flour on low speed until combined. Scrape down the sides of the bowl once more, and ensure the batter is evenly mixed.
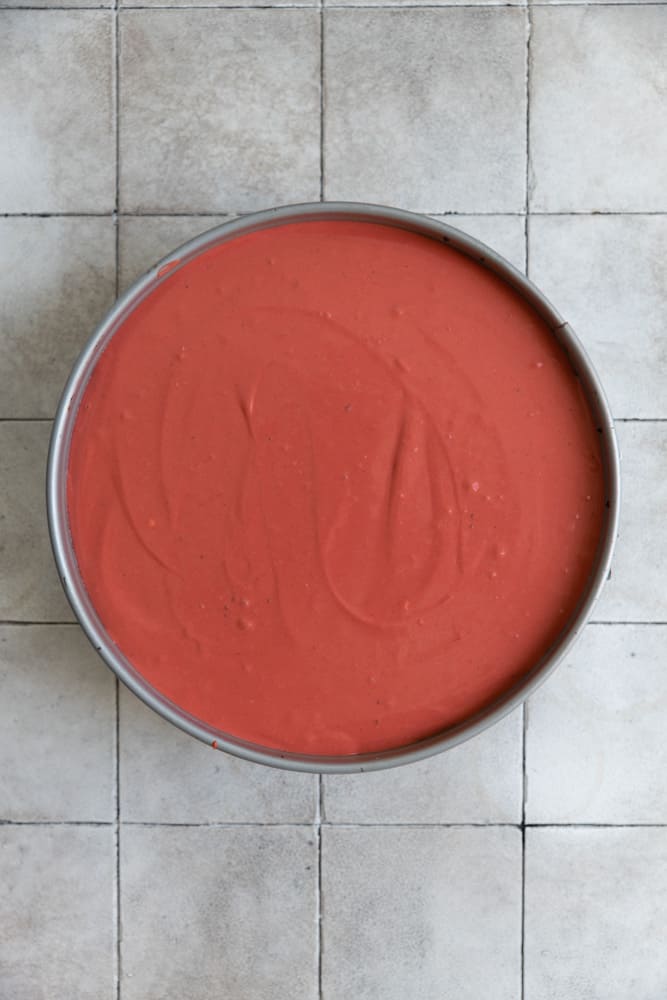
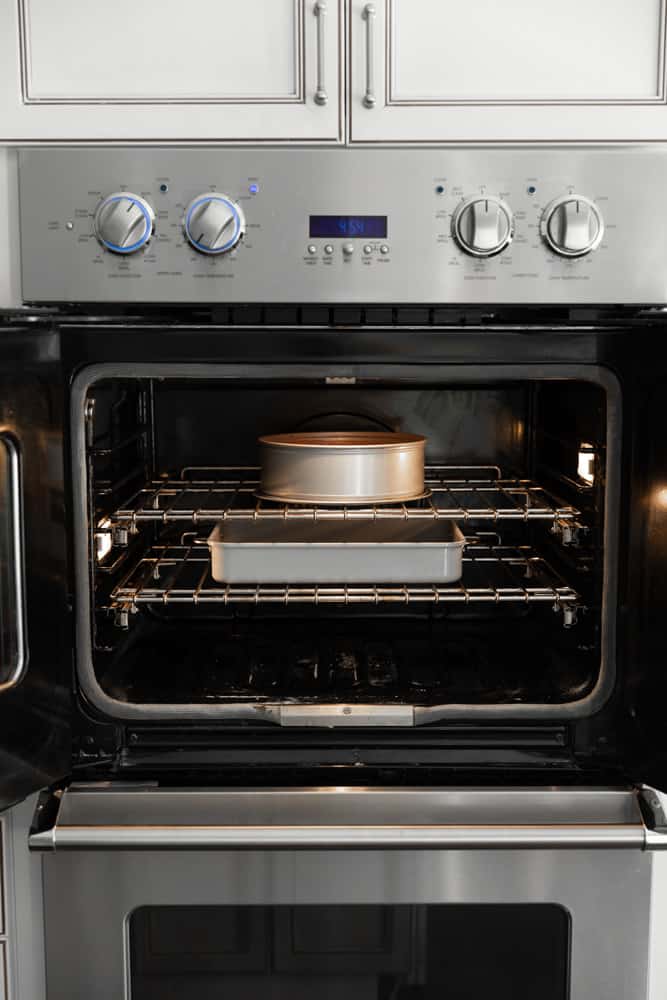
Prepare for baking cheesecake: Pour the batter into the springform pan, filling the crust evenly, and place it on the top rack of the oven. Place a 9″x13″ baking tray on the bottom beneath and fill it with 1″ of water.
Bake: Bake until the edges start to brown and pull away from the sides of the pan, but you want the middle to be still jiggly (45-55 minutes).
Cool: Turn the oven off, crack the door, and leave the cheesecake to cool for 1 hour in the turned-off oven. Remove from the oven and finish cooling to room temperature on the counter.
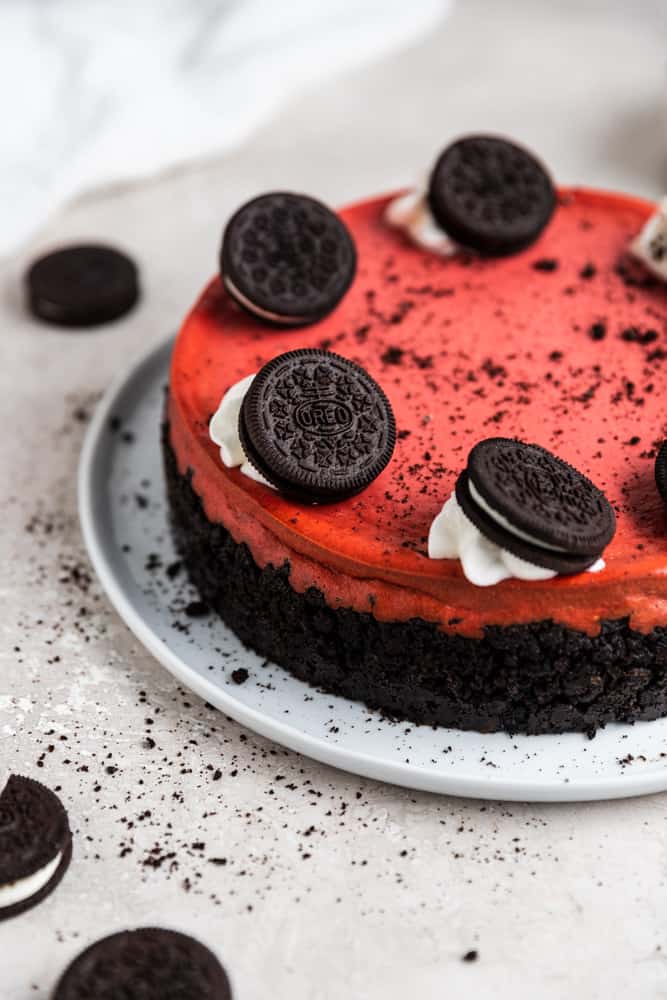
Chill, decorate, and serve: Transfer the pan to the fridge and chill for at least 4 hours or overnight. Garnish with more Oreos and whipped cream, and serve!

How to make this without a water bath
A water bath is used when making cheesecake because the steam rising from the water keeps the filling creamy.
I never use a traditional water bath for my cheesecakes. Instead I fill a 9×13″ pan with water 1-2″ high in the pan and put it on the lower rack in my oven. The cheesecake then goes on the top rack. See the photo above for a visual!
This way, you still get the steam from the water but you don’t have to wrap your cheesecake in foil and put it IN the water and risk it seeping into the pan. Win, win!
How to prevent cheesecake from cracking
To keep your cheesecake from cracking you can do two things. First, follow my water bath hack above. Then when the cheesecake is done turn off the oven and leave the door open a bit for the first hour after the cheesecake is done to cool.
If you take the cheesecake out immediately, the drop in temperature will cause it to crack.
TIPS FOR RECIPE SUCCESS
- ALL refrigerated ingredients must be at room temperature to mix smoothly into the cheesecake batter, or else it will be lumpy.
- Use a springform pan for best results and easily slice the cake.
- To press the oreo crust into the pie pan, use the bottom of a small heavy measuring cup or mug to smooth it out evenly and pack it in firmly.
- You can tell the cheesecake is done by tapping on the edge of the pan and if the middle still jiggles but the sides are set, it’s done!
STORAGE AND FREEZING
Storing: If you plan to enjoy your cheesecake within a week, keep it covered in the fridge.
Freezing: Otherwise, you can freeze individual slices or the whole thing wrapped securely in freezer-safe plastic wrap and a layer of foil. Freeze for up to 3 months and thaw in the fridge before serving.

Easy Red Velvet Cheesecake with Oreo Crust
Ingredients
For the crust
- 32 Oreo Cookies, (2 sleeves)
- 6 tbsp unsalted butter
For the red velvet cheesecake
- 32 oz cream cheese, room temp (4 blocks)
- 1 cup sugar
- 1 cup sour cream, room temp
- 4 eggs, large, room temp
- 2 tsp vanilla extract
- 1 tbsp red food coloring
- ½ cup half n half, room temp
- 3 tbsp unsweetened cocoa powder
- 2 tbsp all purpose flour
Garnish
- Oreos
- Whipped cream
Instructions
For the Oreo Crust:
- Preheat your oven to 375° F.
- Crush up the 32 oreos in a food processor, or place them in a zip top bag and crush them with a rolling pin into small pieces. Place the pieces into a bowl.
- Melt the 6 tbsp butter in the microwave and then pour it over the cookie pieces. Mix to coat the pieces with butter. The mixture should resemble wet sand.
- Spray a 9″ springform pan with baking spray. Press the cookie pieces into the bottom and sides. You can use the bottom of a measuring cup to help press it down hard and evenly.
- Bake for 8 mins to set the crust.
For the Red Velvet Cheesecake
- Lower the oven temperature to 350° F.
- In the bowl of a stand mixer fitted with the paddle attachment, add the 4 blocks cream cheese and 1 cup sugar and mix on low- medium speed for 2 minutes until smooth.
- Add in the 1 cup sour cream and mix again on low-medium speed for 1 minute.
- Add in the 4 eggs, 2 tsp vanilla, and 1 tbsp red food coloring and mix again until combined.
- Stop the mixer and scrape down the sides of the bowl.
- Add in the ½ cup half n half and and mix again.
- Next add in the 3 tbsp cocoa powder and 2 tbsp flour and mix on low speed until combined.
- Scrape down the sides and bottom of the bowl to make sure everything is mixed evenly.
- Pour the batter into the springform pan and place it on the top rack of your oven.
- Take a 9×13” tray and put it on the lower rack of your oven.
- Pour water into the 9×13” tray till it reaches 1”.
- Bake for 45-55 minutes. The cheesecake is done when the edges start to brown and break away from the sides of the pan. It will still be jiggly in the middle- you want that!
Cool the cheesecake
- Turn the oven off and crack the oven door open a little bit.
- Leave the cheesecake to cool for one hour in the turned off oven, then remove to finish cooling on the counter.
- Chill in the refrigerator for at least 4 hours or overnight.
- Garnish with more oreos and whipped cream.
Notes
- Fill a 9×13 pan with 2 inches of water and place it on the lower rack of your oven
- Place the cheesecake on the upper oven rack.
- You did it!

Can you clarify? Your ingredients list 16 oz cream cheese (2 blocks) but your instructions say, “four blocks.” Is it 16 oz or 32 oz of cream cheese?
Hey Francis! Thanks for letting me know- its 32 oz, so 4 blocks, I fixed the recipe 🙂
Hi Sam!
What happens if I use heavy cream instead of half and half?
Thanks!
You can use heavy cream for sure!
When do you take the cheesecake out of the pan after it cools for 4 hours
If youre making it in a springform pan you can take the pan off after it’s chilled in the fridge.
What if you don’t have a stand mixer?
You just need a sturdy spatula and muscles lol
lol ty!! i can do that
Hi what if I leave out the flour? Thanks made it a ton of times making it gluten free for a friend and using gluten free oreos but I need to leave out the flour or use almond flour not sure never done that before. Thank u 💓
You can totally leave it out or you can sub for GF flour, it just helps with the binding and not cracking but wont do anything to the flavor. 🙂
Aloha Sam, Mahalo for the tip. I wanted to let u know I left the flour out completely and they turned out just as perfect as usual. No cracks at all. Like I said before, I have used this recipe so many times I almost know it by heart ❤️. I used a very dark cocoa and the color is always stunning. At Christmas time I use the red oreos and it just makes it all the more special. I also don’t add butter to my cookie crumbs bc I have found there is just enough fat in the cream itself to bind the crust. With my oven and location this works better for me; the crust is too greasy if I use butter. Since my springforms are used alot and have some age on them I cover them first with crock pot liners then wrap in tin foil. One of my bookmarked recipes thank you again 🥰🤙🌺
Hi Christine, thank you so much for letting me know! So happy it worked out perfectly! The red oreas is such a great idea, Ill have to try it! Thank you so much for making this one of your go to recipes, I appreciate it so much. Happy Holidays!!
Hi, what about baking powder? Is it missed in the recipe?
Hi, no there is no baking powder needed for cheesecake recipes 🙂
I make this every year for Christmas, it’s perfect every time. Everyone raves over this cheesecake. The only change I make is I scrape the frosting out of my Oreos before I bake the crust (personal preference on texture and taste). I top this cheesecake with a sour cream topping (sour cream, sugar, and vanilla). Thank you for sharing this great recipe!
Wow Callan – Being included in your yearly traditions is the best compliment I think anyone has ever given me! I love your addition of scraping the frosting out of the oreos. I’m assuming that gives it a bit more of crunch on the crust.
Can I leave out sugar in this recipe or will it affect the way the cake tastes in any way?
Hey Elizabeth!I would reduce by half first, because otherwise it will taste more sour between the tang of the cream cheese and the sour cream.
Hi! If I use a pillsbury sugar cookie as my crust, would you recommend baking that first and then baking the cheesecake on top of it or baking everything together at once (cookies raw) Thanks! So excited to make this
Hey Hayley! Hmm I havent tried this but I would probable bake it for half the baking time it calls for and then pull it out and cool for 5 mins. Then pour the cheesecake batter on top and put it back in the oven and bake until the cheesecake is just a little jiggly still. Lemme know how it comes out!
Can you create a swirl affect by saving some batter before adding the food coloring? Also, any specific type of cocoa?
Hi Lia, I havent tried the swirl effect because I wanted that deep intense color throughout, but I dont think the swirl would end up being that much of a contrast because the cocoa powder would tint it. I would use a good quality cocoa here, or even a dark or black cocoa for a deeper flavor or color.